Clay Picture Frames – Part I

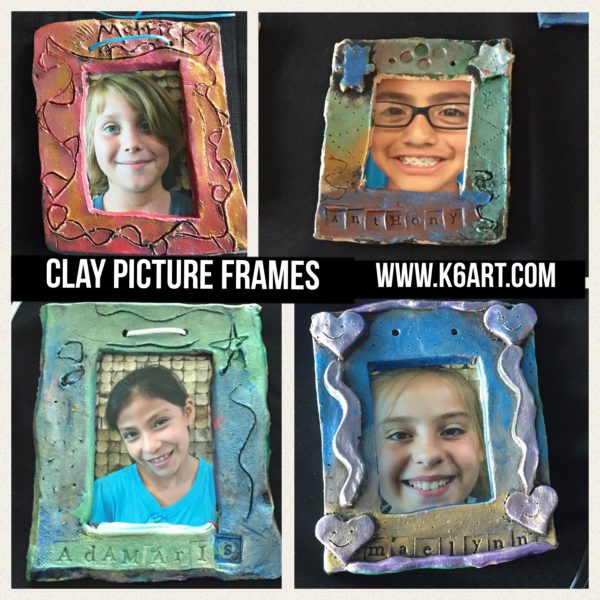
Painted and assembled Clay picture frames

This spring I collaborated with our third grade teachers on an identity project. These clay picture frames were a perfect fit: they are personal and fun to make. The parents and grandparents absolutely loved these.

The frames require only a single bisque firing and it generally takes only one session to paint them.

Let’s get started!

Materials:

To make the frames

  • Clay
  • Rolling pins and slats (or slab roller)
  • Cardboard templates
  • Pin tools
  • Textured items
  • Small cookie cutters
  • Letter stamps (like these)
  • Toothbrushes and water
  • Drinking straw
  • Optional: gallon-size Ziplock storage bags and damp paper towels if you need to store for a second class period.

To paint the frames

To assemble and hang the frames

  • Student photos
  • Tape
  • Plastic lanyard cord
  • Pony beads

Prep:

Print out student photos (ours were 4″x6″).

Create two rectangular cardboard templates: a larger rectangle for the outer frame, and a smaller rectangle for the interior window. Your smaller template should be slightly smaller than the printed photo (ours were 3.5″x5.5″). This will allow you to tape the photos to the back of the frame. I made one set of templates for each table.

Cut a mock frame from cardboard. Test each photo by placing it behind the frame. Be sure the student’s face is visible. Keep in mind the actual clay frame will have a slightly smaller window, as the clay shrinks as it dries.

Directions

Cover tables. Set out clay, rollers, and slats (or set out pre-rolled slabs if you have a slab roller). Distribute pin tools and both large and small templates.

Roll the slab (rolling pins/slats or a slab roller). Position the larger rectangle template on the slab and cut around it with the pin tool to create the picture frame (Note: we were able to get two cut rectangles from each slab). Center the smaller window template on the clay frame and cut around it with the pin tool. Set scraps aside and don’t squish them!.
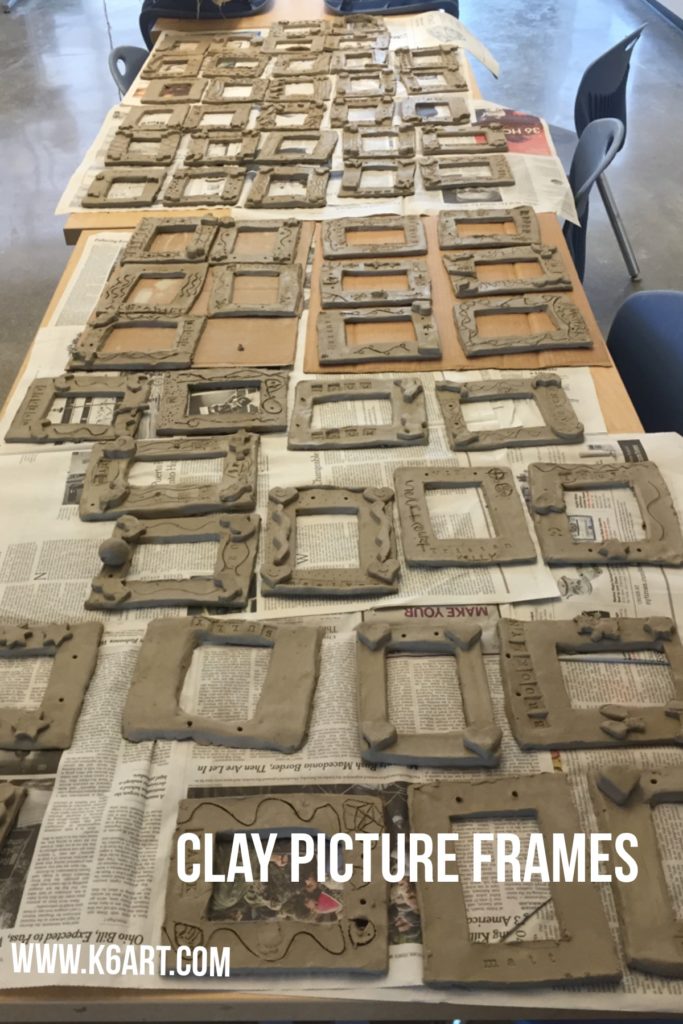
Completed clay frames. Allow 10 days to dry.

Rotate clay frame to portrait position. Stamp name at bottom using letter stamps. Texture frame using texture tools. Optional: use cookie cutters on to create decorative shapes. Attach shapes to the corners: dip a toothbrush in water and gently scrub clay to create slip. Press on the decorations.

Make the hanging holes: an adult should do this. Punch the top of the frame with the drinking straw to make two holes. The straw will fill with clay – don’t remove it, just keep going.

Air dry for 10 days. Bisque fire.

Tips:

  • Make sure the hanging holes are big enough. Really twist the drinking straw in the holes and make sure it goes all the way through the slab. I had to Dremel out a couple of holes in the fired frames because I wasn’t perfectly diligent in this step.
  • Build the template around the printed photo. Roll and fire a clay sample and make sure the cut window is a just a little smaller than the dimension of the photo. Be sure you can see the student’s face clearly in the photo. Remember, clay shrinks as it dries. That window will shrink…
  • If you are doing this project after school picture day, you could use a standard school pictures to create your template.

I found that showing an instructional video is the best way to teach a clay project like this. The kids have a clear view of my hands. I can show it over and over each class period, and share it with kids who were absent on the day we did the clay project. Plus, I get to show it next year, or whenever I choose to do this project again.

I created a YouTube playlist with the whole process. Here you go!

(P.S. I make instructional videos all the time! Subscribe to my YouTube channel for my latest videos).

Enjoy!

In my next post I will show you how we painted and assembled the picture frames .

Blick Art Materials flat rate shipping is $4.95!

Creative Self-Portraits at Young Art Show


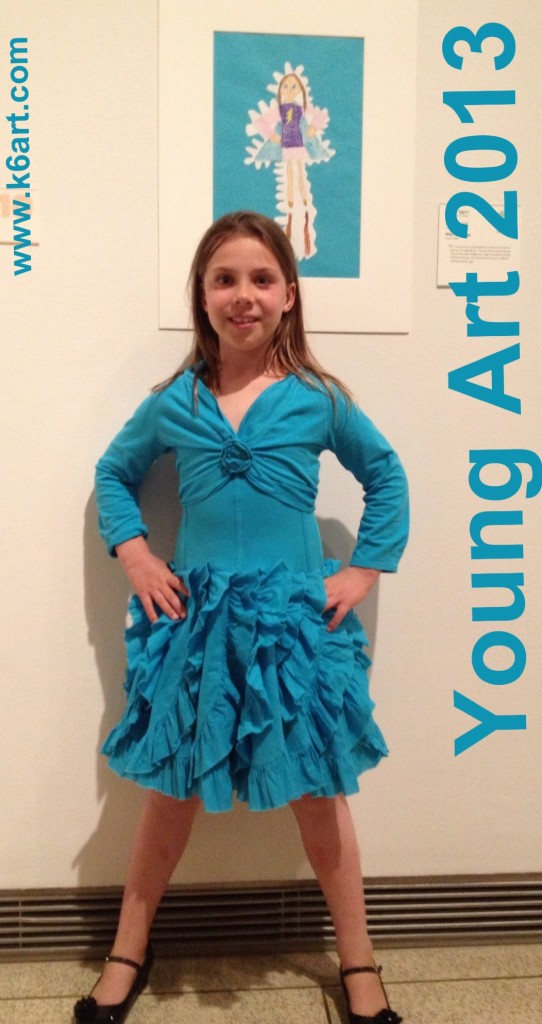
Young Art 2013 at San Diego Museum of Art

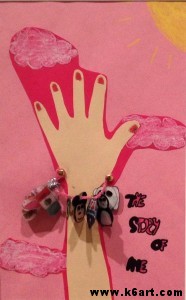
For over 80 years, the San Diego Museum of Art has held a juried exhibition of student art. This year’s show is all about identity. Young Art ‘The Story of Me’ is on display right now at the Museum at the Center for Community and Cultural Art. Learn more in this article.

Our school had a record 12 pieces in this year’s show. Congratulations to all our young artists! Here are all their fabulous projects, arranged by grade:

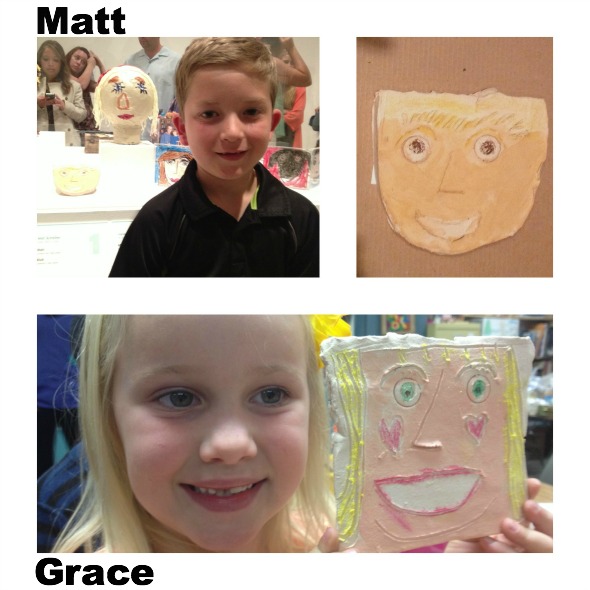
First Grade: Clay Self-Portraits

matt and grace

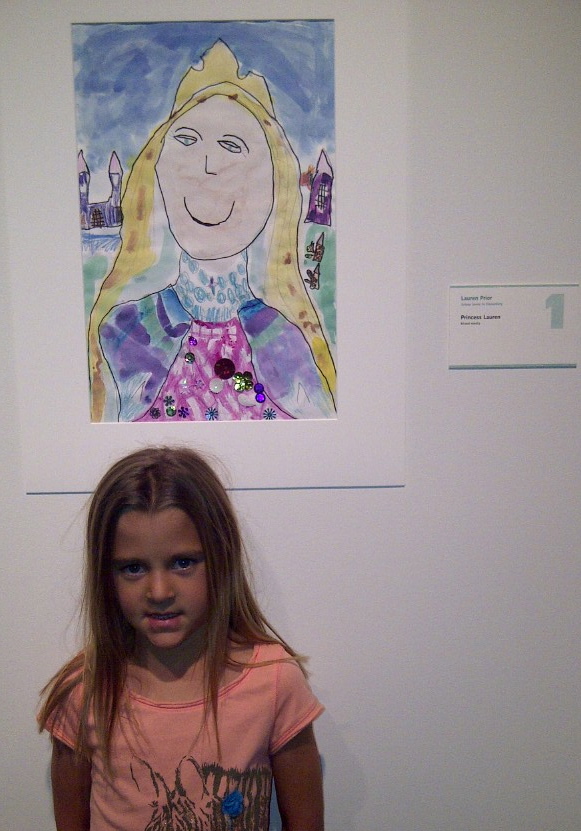
 First Grade: Royal Self Portrait

L. and her royal self-portrait

L. and her royal self-portrait


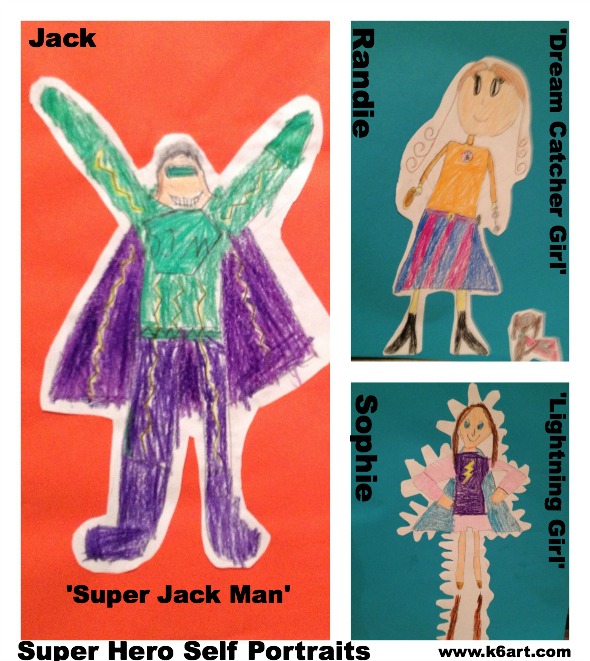
Second Grade: Super Hero Self Portraits

super hero collage young art

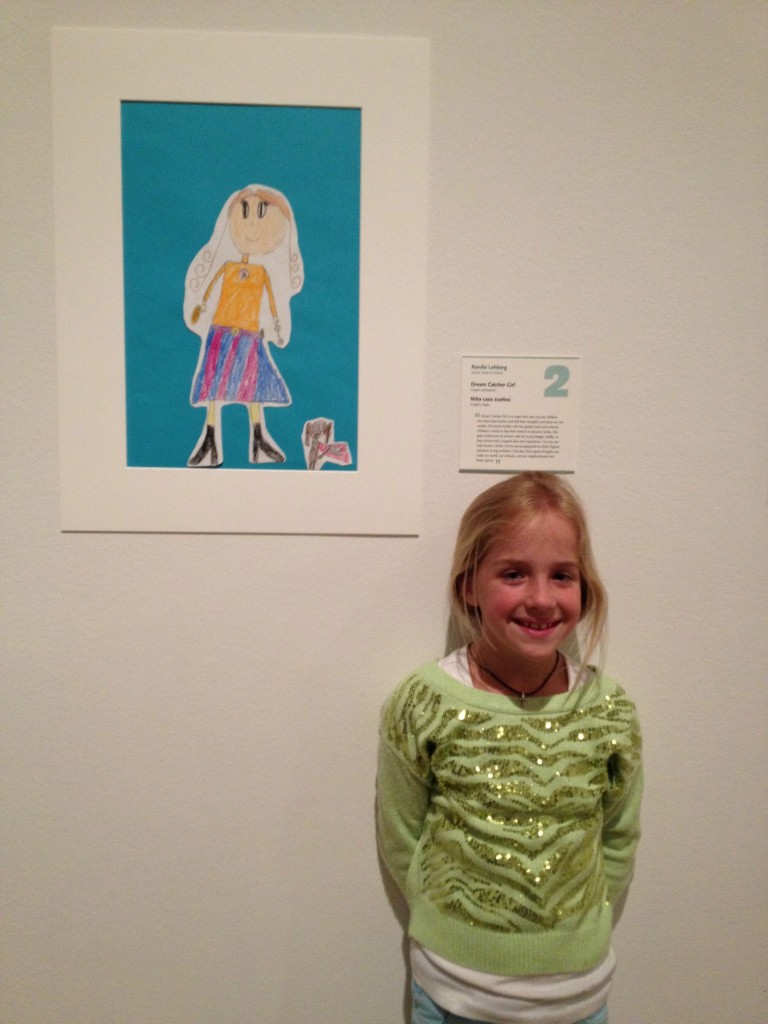
Dream Catcher Girl

Third Grade: Heritage Self Portrait

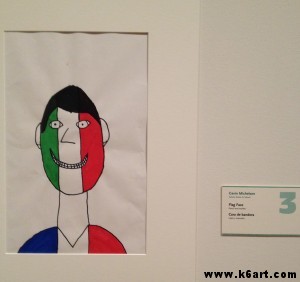
Gavin’s heritage self-portrait, ‘Flag Face’, incorporates the flags of France and Italy.

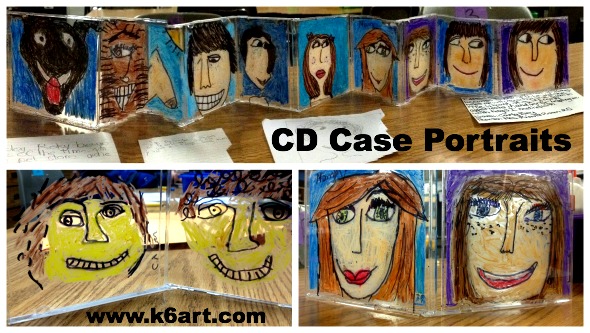
Fourth Grade: CD Case Double Portraits

cd case portrait collage


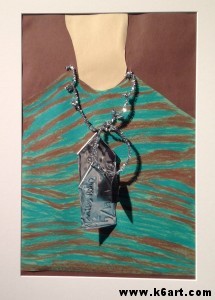
 Fifth Grade: Charm bracelets and dog tags

Mo and his charm necklace

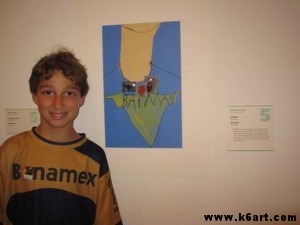
Mo’s self-portrait is a T-shirt and neck chain, with charms for skiing and Spiderman.


Bella's charm bracelet has charms for Mexico, swimming, Disneyland and more.

Bella’s self-portrait charm bracelet includes charms for Mexico, swimming, and Disneyland.

Jacob's salute to his family's military background includes a camouflage shirt and individual dog tags for family members in the service.

Jacob’s salute to his family’s military background includes a camouflage shirt and individual dog tags for family members in the service.


Well done artists!!!! The show is up until May 26, 2013. Hope you can visit!

Thanks to the fabulous art education team at SDMART for making Young Art happen. Our community truly appreciates all your hard work.

Enjoy!


CD Case Portraits

CD case portraits

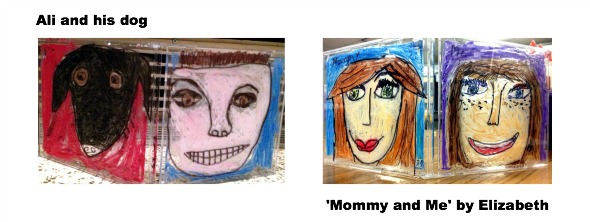
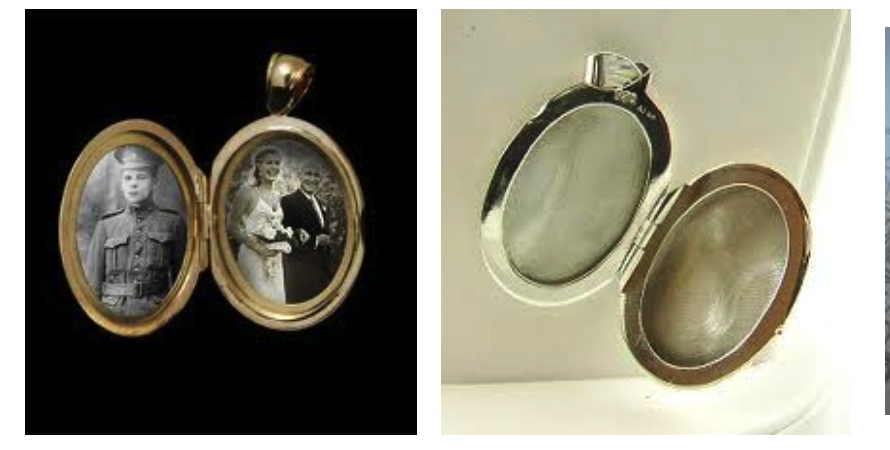
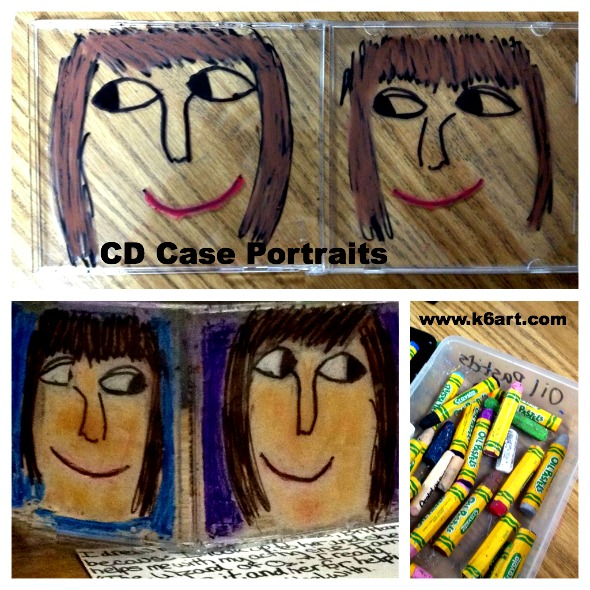
Do you remember those old-fashioned lockets with little portraits inside? Our fourth graders made modern-day double portraits using recycled CD cases, Sharpies and oil pastels.

Materials:

  • Clear plastic CD ‘jewel’ cases, with trays removed
  • Sharpies
  • pencils/erasers
  • oil pastels (we used Crayola Oil Pastel Sticks plus a few Pentel Oil Pastels for the skin tone)
  • paper for sketching
  • baby oil + q-tip (for correcting oil pastel mistakes)
  • rubbing alcohol + q-tip (for correcting Sharpie mistakes)

We began by looking a pictures of lockets from Google images.

lockets

We talked about how you could only put a couple of photos into your locket.  You had to choose carefully. Our students then sketched two portraits to fit their CD ‘lockets’: one self-portrait, plus one portraits of someone very special.

tracing the portrait in sharpie

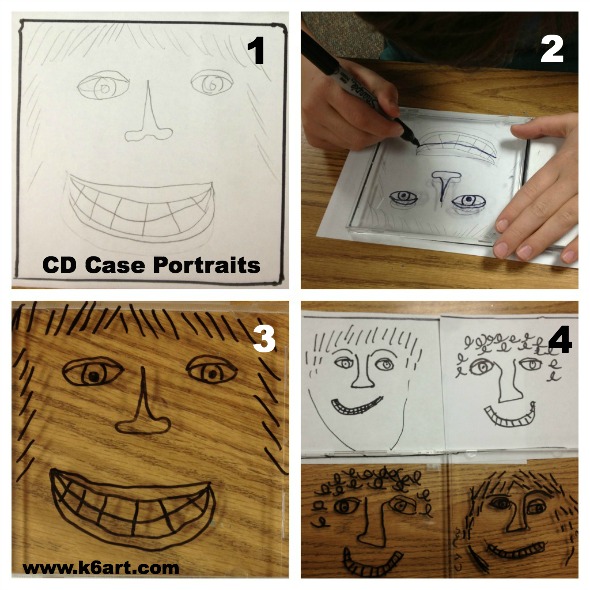
  1. Trace around CD case with Sharpie, then sketch a portrait in pencil.
  2. Place sketch under CD case. Trace lines in Sharpie on OUTSIDE OF CASE.
  3. Completed line drawing of single portrait.
  4. Completed line drawing of double portraits.

It was really wonderful to see who the students drew for the second portrait. Most drew a parent or a sibling. Several drew their current or late pet. A couple of students drew religious portraits. My intention was to do an identity project, and I do believe we got a better idea of the student based on who he or she selected for that second portrait.

The last step was coloring with oil pastel INSIDE OF THE CASE . The oil pastel is messy and can smear – by putting the pastel on the inside we can trap that mess for tidy storage.

Tips for success:

Sharpie on the outside of the case, oil pastel on the inside of the case. Erase Sharpie mistakes with a little alcohol and a cotton ball; erase oil pastel mistakes with baby oil and a cotton ball or q-Tip.

color with oil pastel on the inside


The project took three 40-minute classes, including writing an artist statement. It was lots of fun and extremely successful. These look great displayed accordion style on a table, especially with a light coming through from behind. I think the 4th graders will be very proud to show their families their very special double-portrait ‘lockets’.

This would also be a great recycled art or Earth Day project. It would also be a GREAT Mother’s or Father’s Day gift!

P.S. I got double duty out of my 250 donated CD cases! Here is a Kandinsky circles project made from the discarded CD trays.


Heritage Self-Portraits

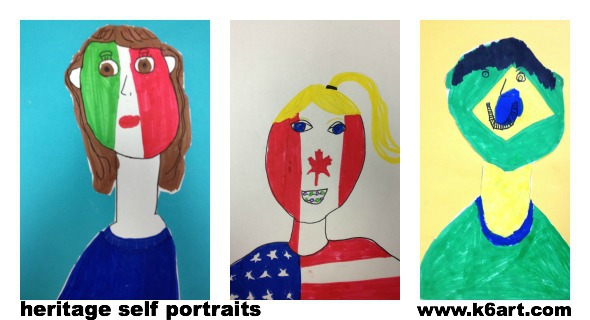
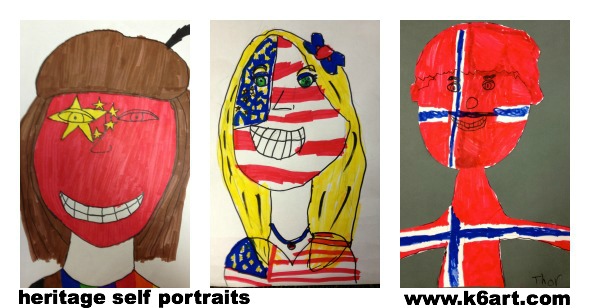
heritage self portraits

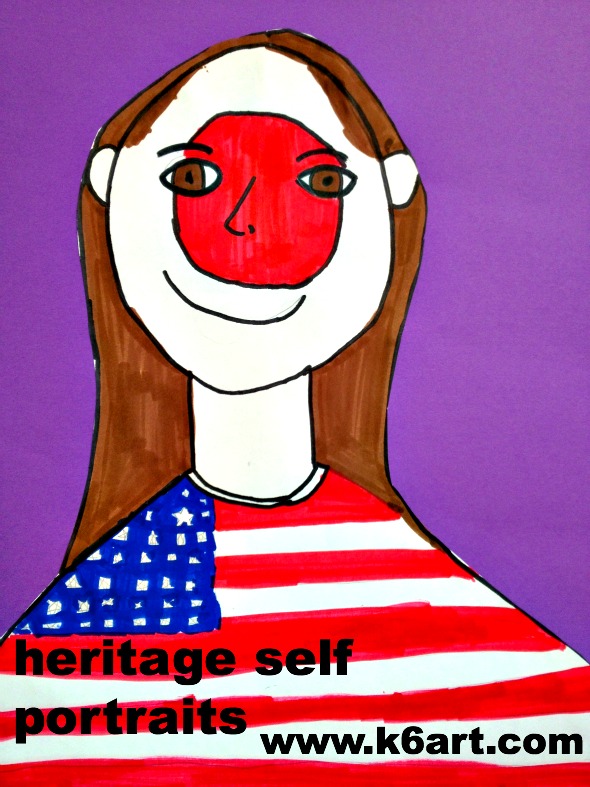
Thinking about a self-portrait project? This project starts as a basic self portrait but turns into a family ancestry art project when students add in national flag designs. This lesson uses basic materials and takes just two 40-minute classes. It comes straight from the wonderful Artisan Des Arts blog.

Materials:

  • White drawing paper, 12″x18″
  • Pencils and erasers
  • Chisel-tip markers (we used Mr. Sketch)
  • reference photos of national flags

We began by looking at the great student examples on the Artisan Des Arts blog post. Then I asked the students, “Where does your family come from?” After a quick discussion,  Next we looked at flags of the world. Then the students drew their portraits in pencil.

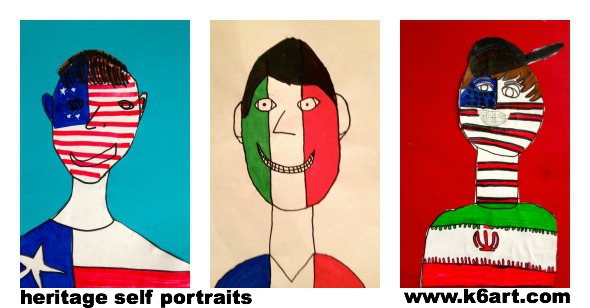
Because most of our students have mixed heritage, they had the option of using multiple flags in their design.  It was up to them to figure out their own designs. The most common choice was to have one flag design on the face and a second on the shirt.

As a final touch, students had the option of cutting out their self-portraits and mounting them to construction paper.

I really look forward to our next art show.  I think the parents will be THRILLED to see their heritage honored in this project.

heritage self portrait 2

heritage self portraits 1

heritage self portrait 3

What a fabulous lesson plan! I will definitely repeat next year. Thanks to Aly at Artisan des Arts for sharing this great project.

Do you have a special twist on a portrait project?

Related Posts Plugin for WordPress, Blogger...