Kandinsky Circles Mural

kandinsky circles mural

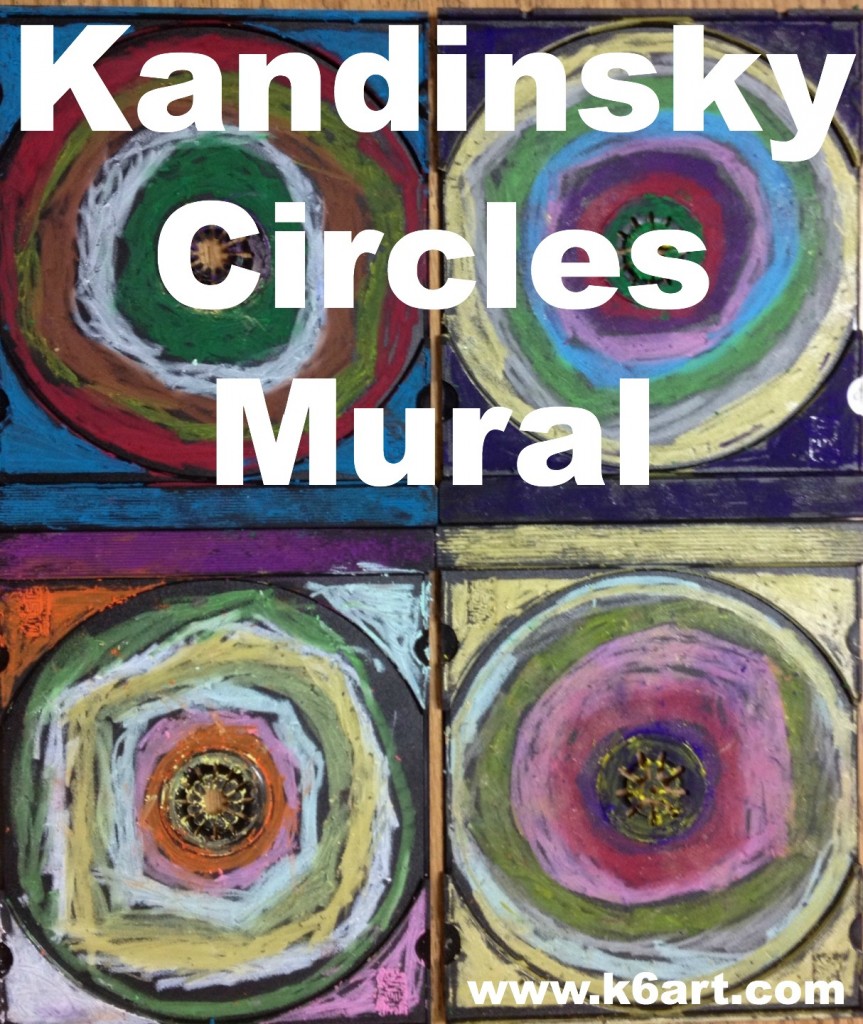
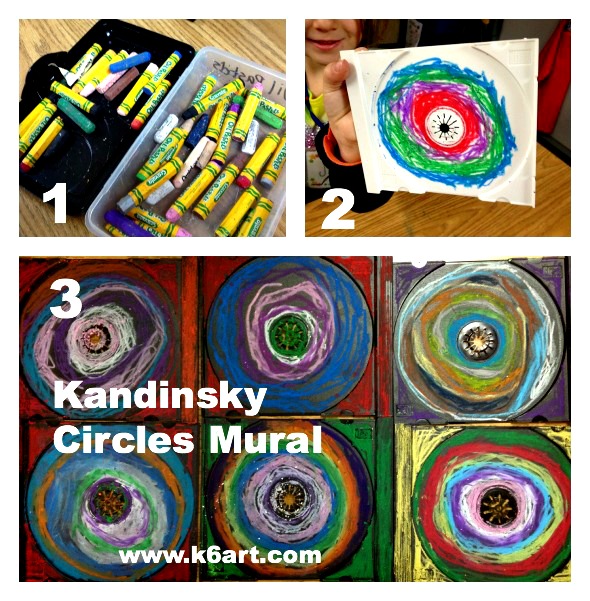
Here is a twist on the popular Wassily Kandinsky circles project: a group art mural made from recycled CD case trays. This project is perfect for Earth Day, but it does require advance planning.
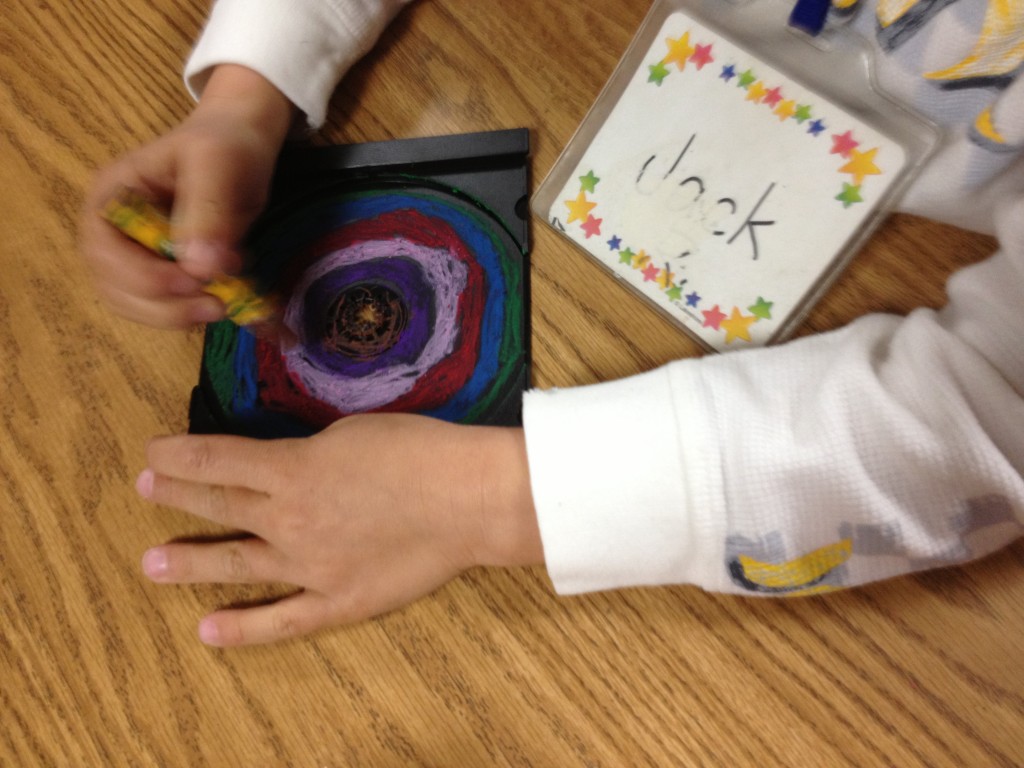
Kindergarteners use oil pastels to draw concentric circles in CD inserts. Allow one 40 minute class, plus time to assemble mural.

Kindergarteners use oil pastels to draw concentric circles in CD trays. Allow one 40 minute class, plus time to assemble mural.

Materials:

  • CD Jewel Case insert trays, preferably donated, one per student
  • Oil Pastels (we used Crayola)
  • glue and backing for mounting (see below)

Prep:

  • Source CD jewel cases. I got 250 CD jewel cases via the ‘for sale – free’ section on Craigslist. Like many others, the donor had switched from CDs to MP3s and didn’t want the old CD cases going to a landfill. Score!!!! Free art materials AND trash kept out of the landfill.
  • Pry off the colored plastic CD trays from the clear jewel cases (a parent volunteer helped me with this step). Save the clear cases for another project.

The Art Lesson:

I introduced Wassily Kandinsky to the kindergarteners. We looked at several of his famous artwork including Color Study: Squares with Concentric Circles. We noticed Kandinsky liked to make paintings with bright colors and shapes – not landscapes or paintings of people. Here are two brief YouTube videos I showed the kinders.

http://www.youtube.com/watch?v=Pa6WK6IWrkU


kandinsky circles how to

The Art Project

The art project couldn’t be easier:

1. Pass out oil pastels and CD case insert trays. Flip trays so central ‘bump’ is up.

2. Students start by coloring a fat ring around the center bump. They trade colors with a neighbor, then color another concentric circle. Repeat until the entire plastic circle is colored. Finally, they color the edges.

3. Group completed insert trays and mount

So easy and fun!  100% of kindergarteners had success with this project.

Mounting:

I plan on using four glue dots per CD tray and mounting on foam core.

UPDATE: The glue dots failed immediately. I had better luck with strong spray glue (3M Super 77 Spray Adhesive – use it outside or in a well-ventilated area). One week after the art show, I was able to remove the plastic circles to hand back to the kids.

However, you may choose to use a different adhesive and base depending on the number of circles you have, and the length of time you want the mural on display. Because I have 45 circles and only want the mural on display for one week, I am creating a display that can be easily dissembled.

UPDATE:  If you want to a more powerful adhesive for long-term mounting, try 3M Scotch Heavy Duty Mounting Tape. I created CD case mural using the mounting tape, and sent it off to a museum show. The mounting tape worked beautifully.

 Another option: keep the plastic insert inside the jewel case. Color, then close and mount each case to display surface (I separated the insert tray from the jewel case because I needed the clear cases for another project).

This would be a great activity for an Earth Day event – each participant can make a square for the mural. The entire activity, including the videos and clean up, took only 40 minutes.  I also see this as a fun art activity booth at an art fair or school carnival.

Enjoy!

Do you have a great resource for free art supplies?

 Do you have a favorite recycled art project?

Thiebaud “Cakes” Mural (and more!)

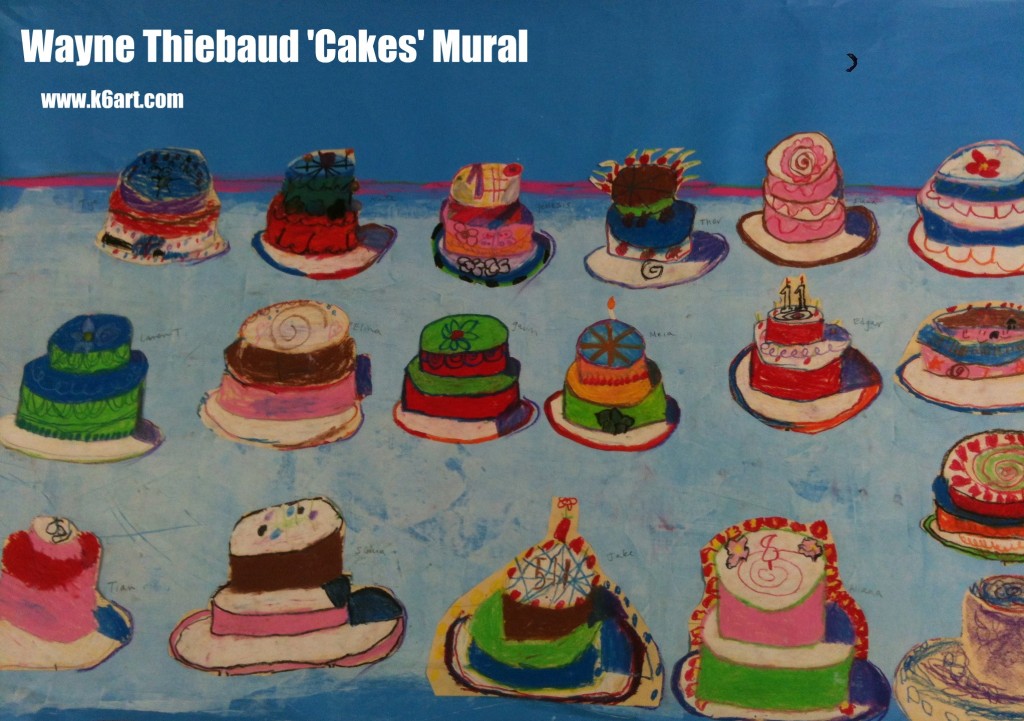
This is a universal truth:  kids love dessert.  Second grade recently completed their Wayne Thiebaud group art mural based on Thiebaud’s famous artwork, “Cakes”.

We began with my Wayne Thiebaud Powerpoint. We discussed repetition of simple shapes, variety, use of thick paint, horizon line and shadow. This year we also discussed halation – the vibrant lines of color Thiebaud uses to outline his work. If you are unfamiliar with halation read this excellent Thiebaud post on Art for Small Hands.

Next we watched a great 7-minute long Thiebaud video from CBS this Morning.  Here is the link.

Materials:

  • Drawing paper, 9″x12″
  • pencil and eraser
  • oil pastels
  • scissors
  • glue stick
  • bulletin board paper (allow 5 foot length for 22 students)
  • tempera

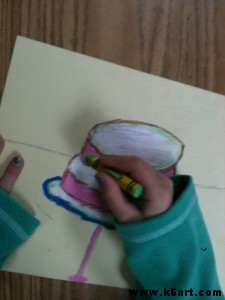
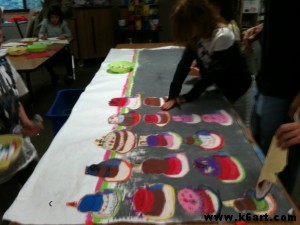
Students drew the basic cylinder cake first in pencil, then in oil pastel. We outlined in bright colors.  Because we were making a mural, for consistency students added purple shadows on the right side of their art.

The kids had a fabulous time ‘decorating’ their cakes, again with oil pastel. We had a ‘no words’ rule, but numbers were OK.

Students outline their cakes with vibrant colors

Students cut out their cakes and covered the backs with glue stick.  I arranged the cakes on painted bulletin board roll paper.

Assembling the mural

I made two murals: a 9 foot mural for 45 cakes, and a 5 foot mural for 22 cakes.  Next year I will make one 5-foot mural per class as the big one was beautiful but too unwieldy.

After the art show I will cut apart the mural. The second graders will trim and mount their cakes onto 12″x18″construction paper.

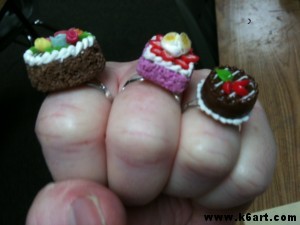
The perfect jewelry for any Thiebaud lesson 🙂

Have fun!

P.S. Want to try a digital Thibaud art activity? Try the National Gallery of Art’s

Thiebaud ‘cake maker’ interactive

UPDATE: NEW! Click here for my new lesson, Wayne Thiebaud Geometric Desserts. New video and Common Core connections.


Seurat Pointillism Mural (and more!)

Seurat Pointillism Mural group project uses $8 downloadable PDF

Need a group art project? 4th grade just completed a pointillism mural based on Seurat’s “Sunday Afternoon at the Island of La Grade Jatte”.

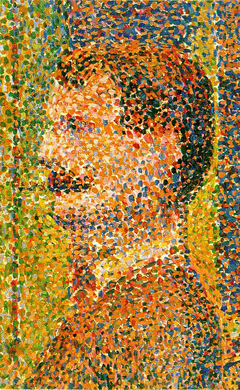
‘La Parade’ by George Seurat. 1889


Day 1:

Introduce pointillism. We discussed how Seurat made paintings in a whole new way: instead of blending colors, he placed different colors of dots side by side and let the viewer’s eye mix them.

Close up view:

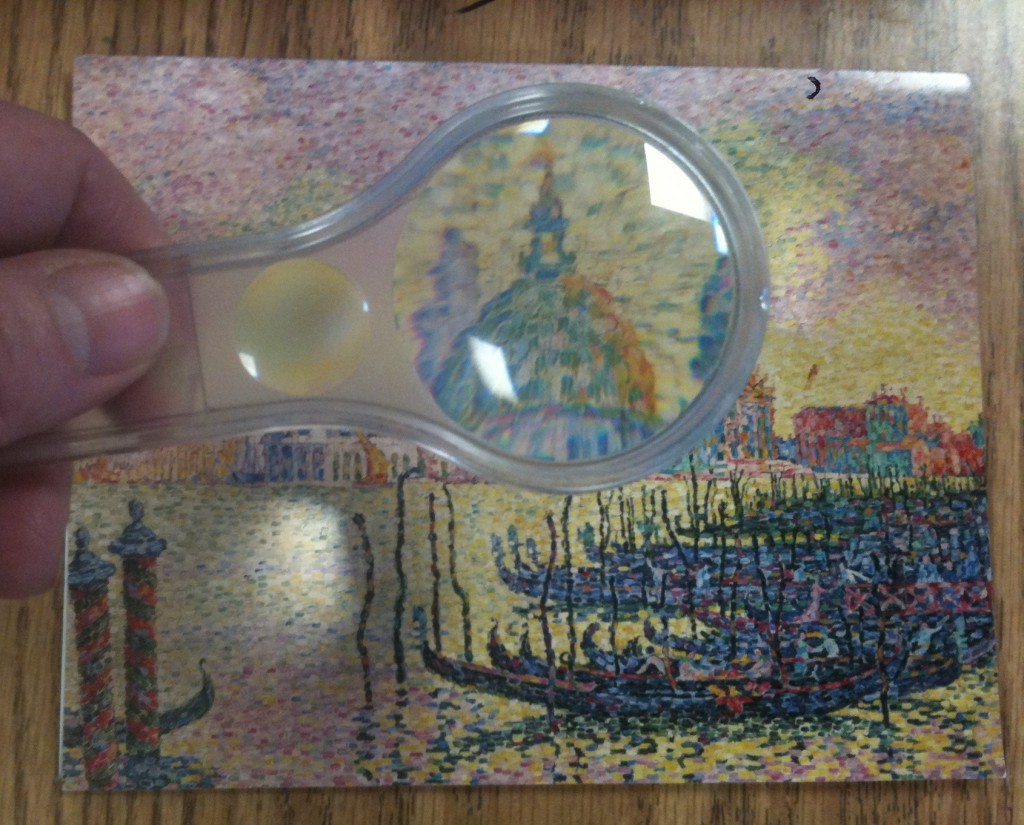
I passed out some greeting cards with pointillist art and let students examine them closely. They really need to see the art works up close to appreciate how many dots Seurat put in his paintings (tip: pass out magnifying glasses for a close up view).  I added some great close-ups to this Seurat Powerpoint  (sadly I am not sure who posted this Powerpoint).

Pointillist notecards + magnifier

UPDATE: Thanks to Google Art Project, you can view A Sunday on La Grade Jatte at incredible zoom level (flash required).
Google Art Project has a Seurat from MoMA in its online collection: you can view Seurat’s ‘Evening, Honfleur’ at incredible zoom level. Notice that Seurat used dots on the artwork and the picture frame!
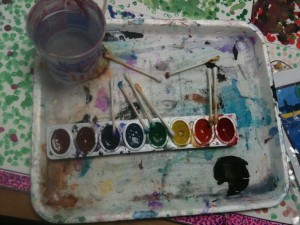
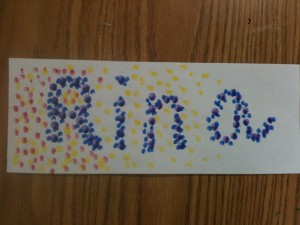
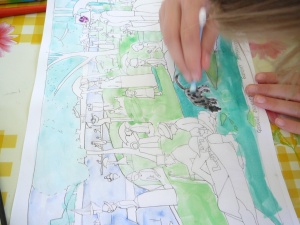
Individual warm-up project: make your name in dots on a 4.5″x12″ strip of paper. Color the background with dots as well. We used Q-tips and pan watercolors.

Make your name in dots as an introduction to pointillism.


Days 2-3:

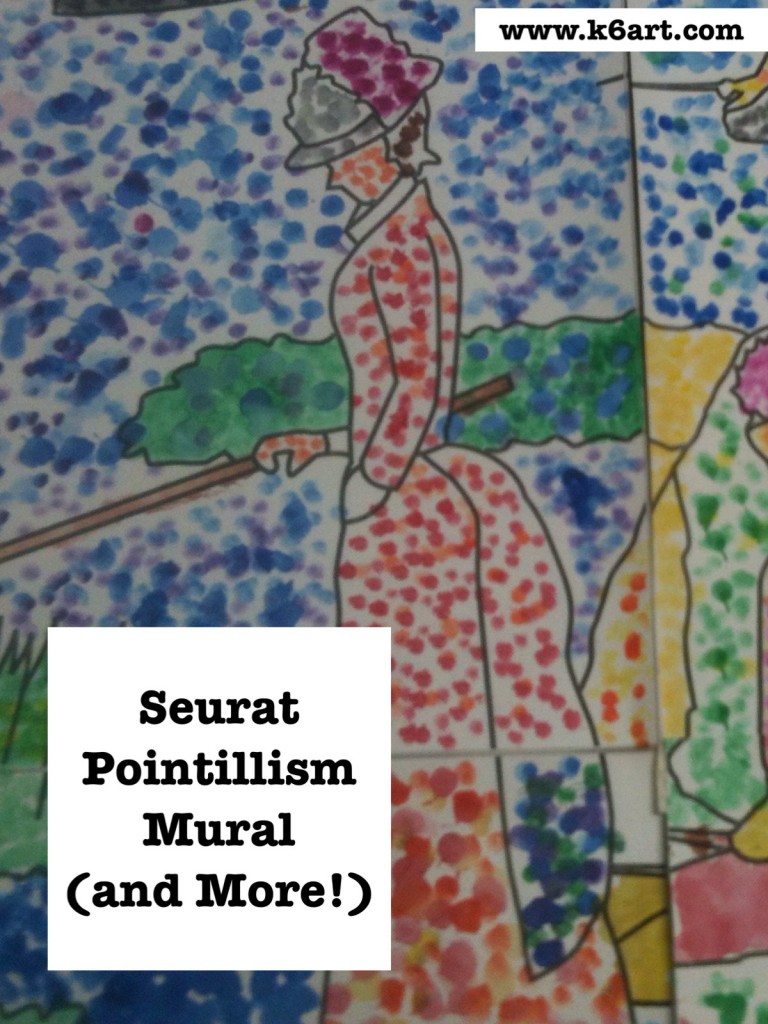
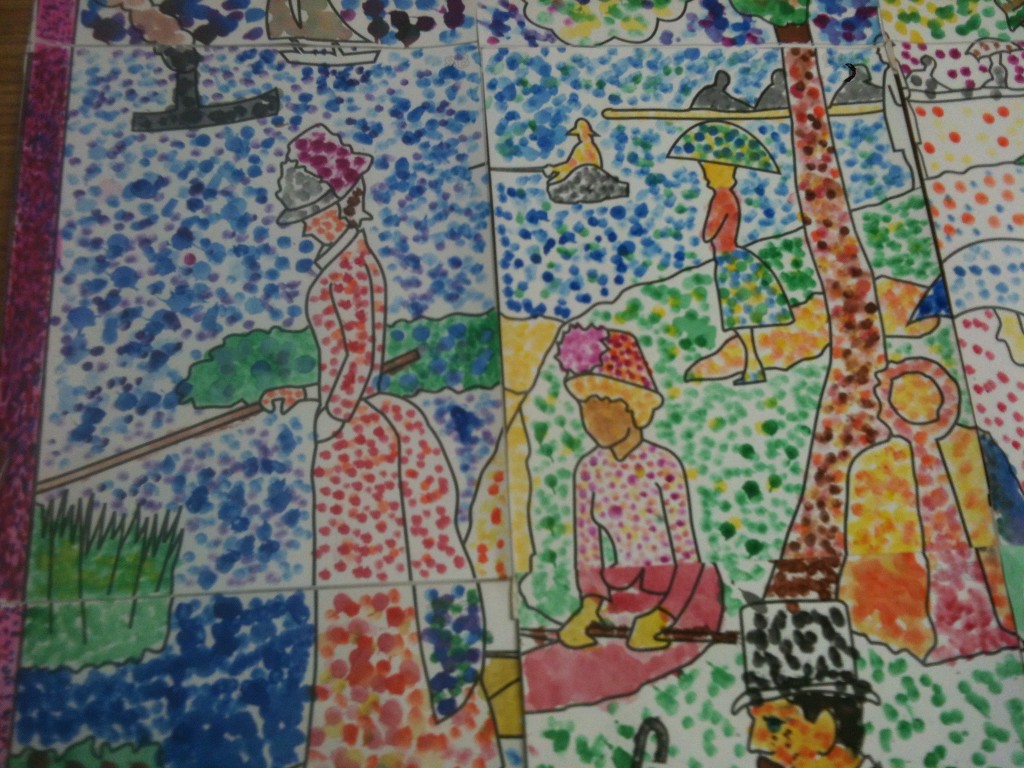
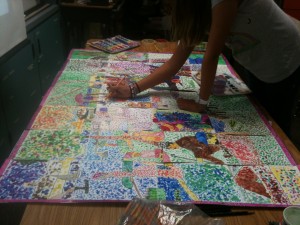
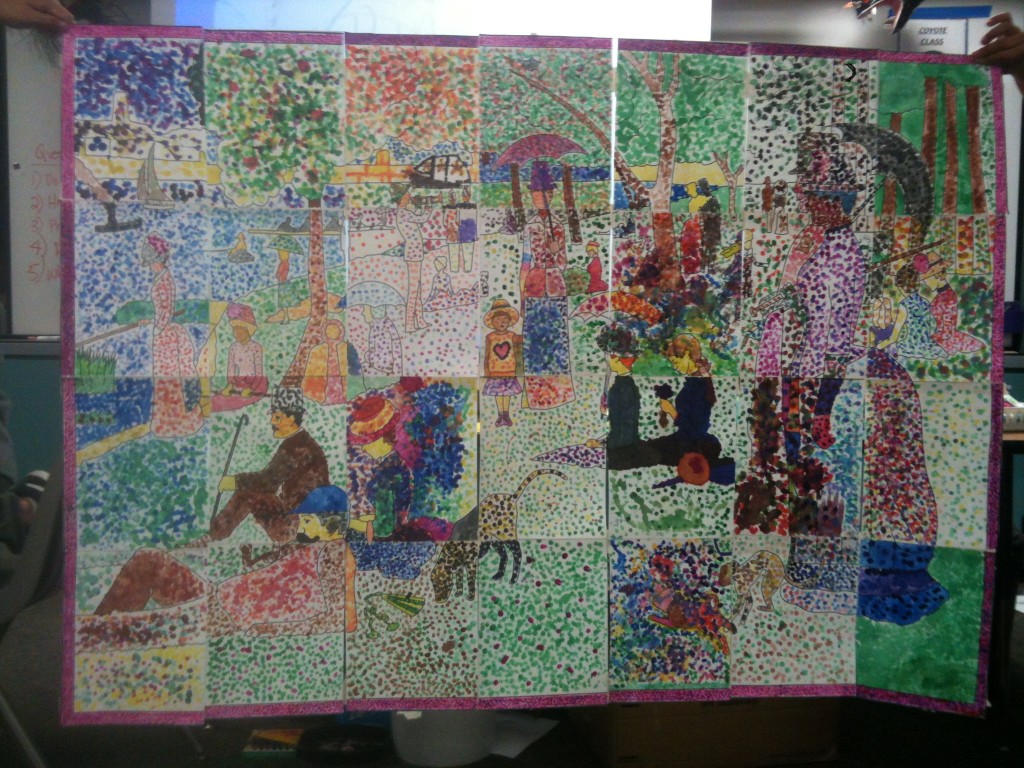
Group project. I purchased the downloadable pdf mural ‘Sunday in the Park’ from Art Projects for Kids ($8). The pdf contains a 28-piece mural (perfect size for a 4th grade class!) which you print onto cardstock. Each student ‘dotted’ their respective part of the mural, using the coloring guide included in the download.


Seurat’s famous ” (aka ‘Sunday in the Park’). Seurat’s masterpiece contains over 3 million dots and took over 2 years to complete.


28 individual pointillist artworks come together to form Seurat mural.

The assembled mural is 55 inches x 40 inches.

We carefully assembled the mural by attaching long strips of masking tape on the seams (note: get a helper for assembly!). Bonus: it folds up like a map! Easy to store until the art show.

The completed mural.

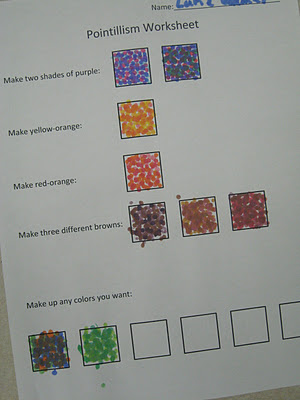
The kids really enjoyed this project.  I did notice there was a lot of variety in the assembled mural – some students made a near-solid dot pattern with almost no white paper showing.  Others had sparsely dotted areas. Next year I will use this pointillism practice worksheet from Miss Young’s Art Room blog.

Pointillism worksheet from Miss Young’s Art Room blog.

Options:

Individual coloring sheet for ‘Sunday in the Park’. From Practical Pages blog.

Want an individual project based on ‘Sunday in the Park’? There is a great post including download on the Practical Pages blog.

Try out different materials for pointillism:

  • Q-Tip + tempera
  • Marker
  • Unused eraser tip from a standard pencil + pan watercolor
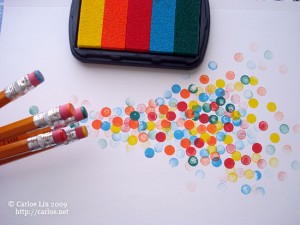
  • Unused eraser tip from a standard pencil + stamp pad

Stamp pad + eraser tip


How do you teach pointillism to your students? Leave a comment!

UPDATE 10/17/13:

NEW!!! Pointillism art project – make pointillist FOOD using watercolors, q-tips and markers! AWESOME pointillism video! Click here.

seurat pointillist food: Q-tips, pan watercolor and markers. Very successful!

*****Thanks for visiting! Don’t forget to please vote for 2012 Art Ed Blog of the Year, which you can do by clicking this link and voting for K-6 Art! Voting open through December 14, 2012.******


Related Posts Plugin for WordPress, Blogger...