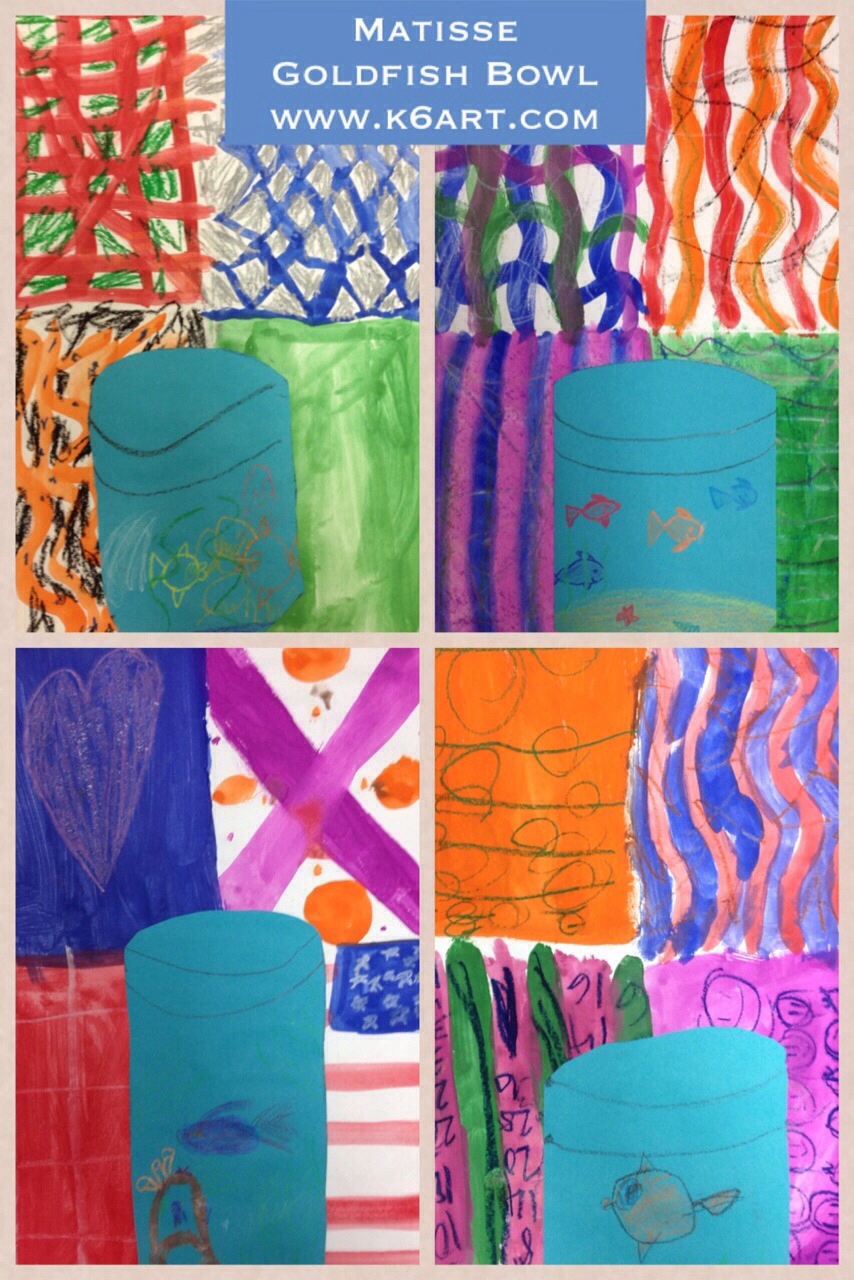
Matisse Goldfish

20140411-175346.jpg
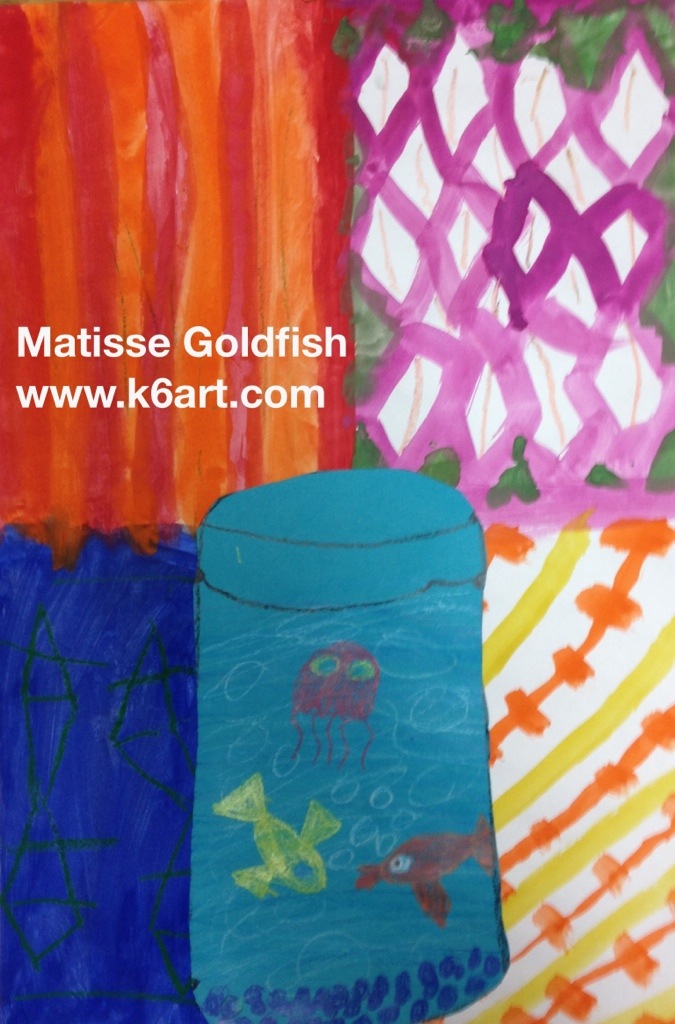
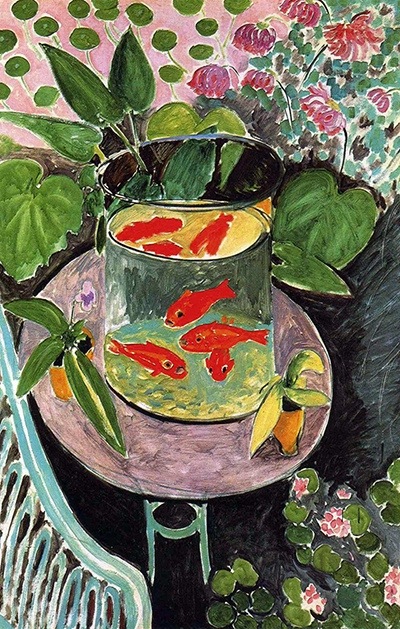
I love to create Matisse-inspired art projects with kids. Matisse’s paintings are full of color, pattern and energy. Here is a project that combines features of two of his famous paintings, Woman in a Purple Coat and Goldfish.
Day 1: pattern hunt
20140412-173143.jpg
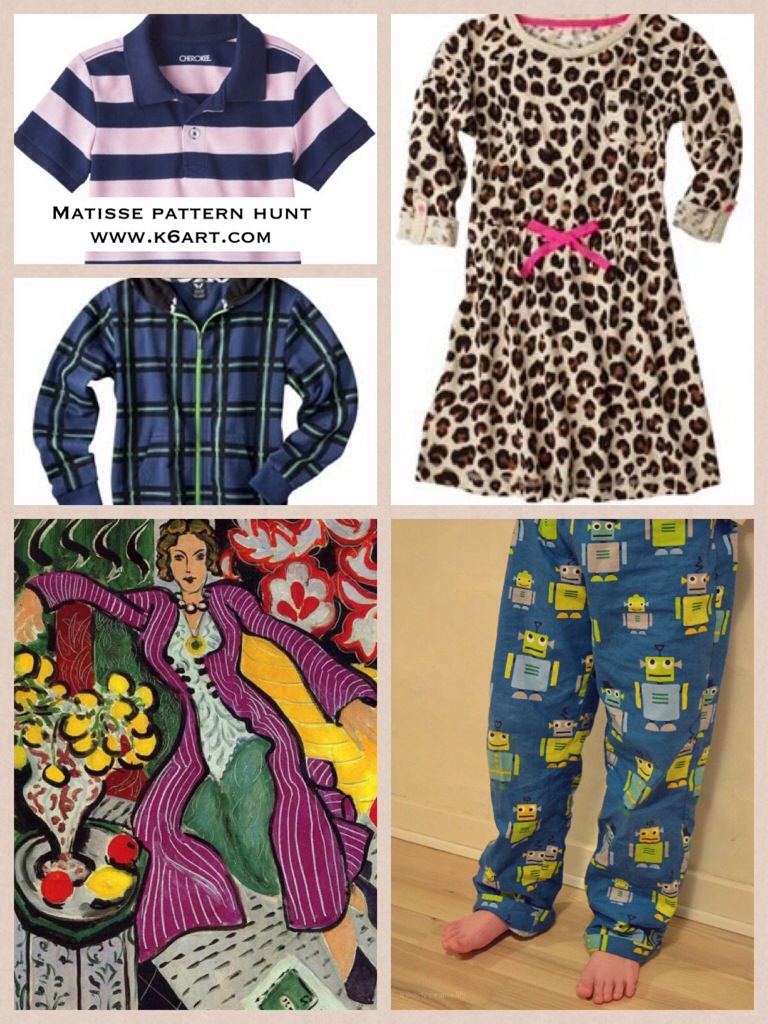
We begin with a ‘pattern hunt.’ I look around the room and find kids wearing patterned clothing. They stand up and we discuss their patterns. Then we take a very close look at Matisse’s Woman in a Purple a Coat, and tally up all the patterns one by one. I can’t tell you how excited those first graders became when they identified the patterned curtains and wallpaper in the painting. They tallied up 13 patterns, including the fruit on the table.

Day 2: create patterned paper
Materials:
White paper 12″x18″
Tempera cakes
Water cups, brushes
Oil pastels or construction paper
20140412-175214.jpg
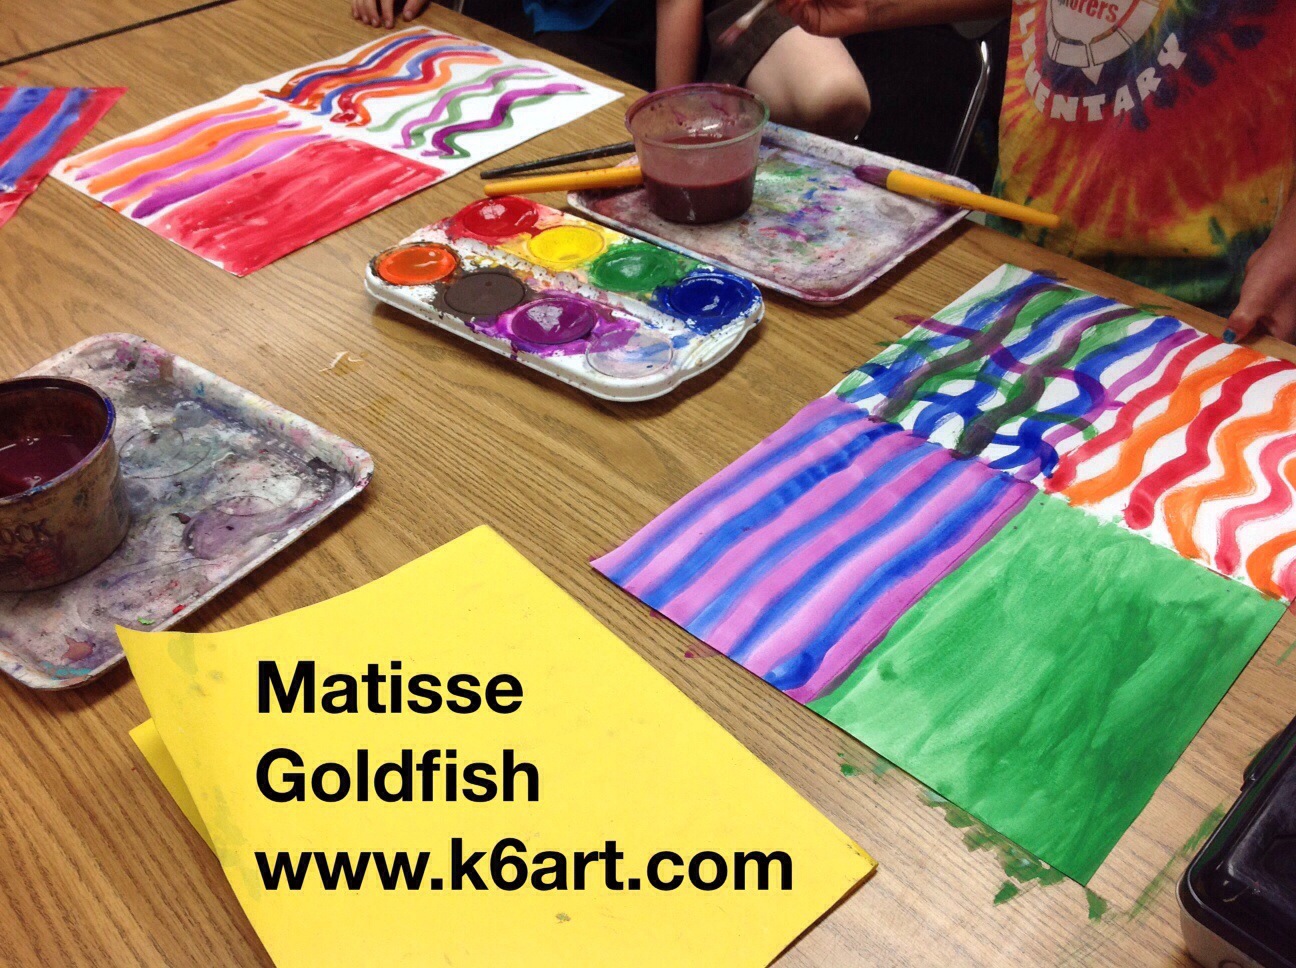
Here is a fast way to create four patterns. Fold the white paper into quarters and open. Using tempera cakes, paint one quarter a solid color. Paint the remaining quarters with patterned lines (wavy, zig zag, etc.). Now take oil pastels and create a pattern on the solid quarter. The tempera cake dries so quickly you can draw on it in just a few minutes. Add oil pastel patterns to the remaining quarters. Place on drying rack.

Day 3: create a goldfish bowl

>
20140412-224813.jpg
Materials
Blue paper, 6″x10″
Oil pastels (or construction paper crayons)
Scissors
Glue sticks
Turn blue paper vertically and draw a ‘rainbow’ at the top using a black oil pastel. Draw a ‘smile’ under the rainbow. Cut along the top line to remove the corners and create the look of a round vase edge.
Add goldfish or other aquarium creatures. Glue to patterned background paper with glue stick.

First Grade Results:
>

20140412-173748.jpg
Enjoy!

Do you have a favorite Matisse lesson?

>

Laurel Burch Complementary Color Cats

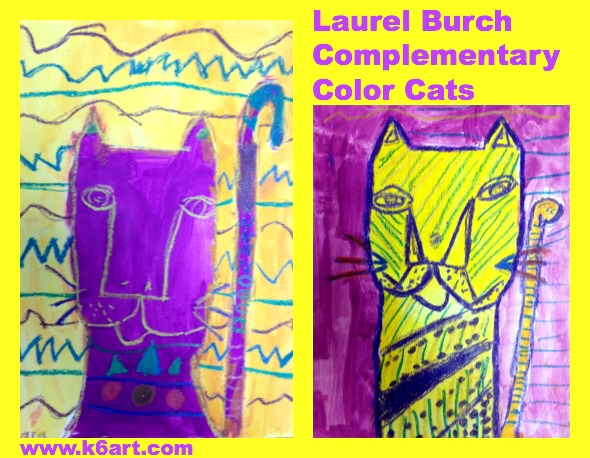
complementary color laurel burch cats

This Laurel Burch-inspired cat art project covers complementary colors, pattern and negative space. Tempera cakes and construction paper crayons are all you need for this project – quick, easy and neat!

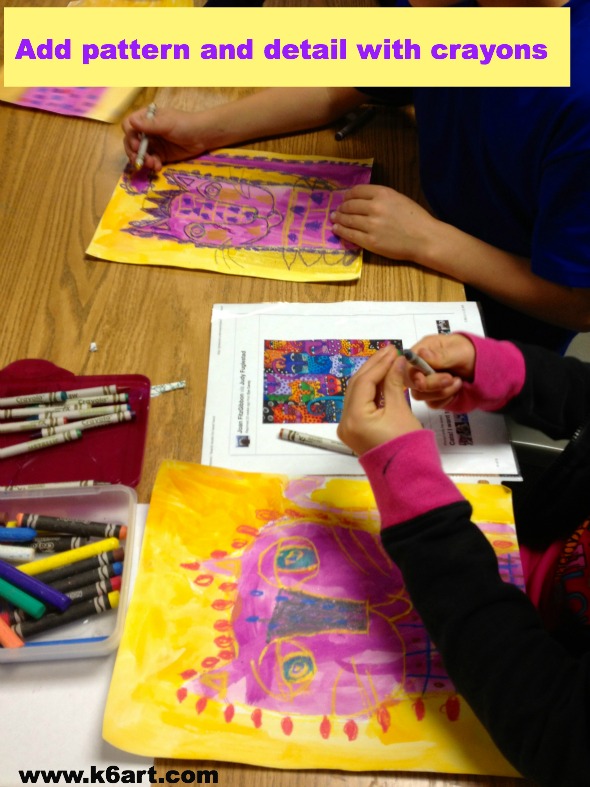
Second graders learn about the complementary colors, then draw and paint a cat in the style of Laurel Burch. When dry, they add pattern and detail with a variety of crayons. Allow two 40-minute classes.

Second graders learn about the complementary colors, then draw and paint a cat in the style of Laurel Burch. Allow two 40-minute classes.

Meet Laurel Burch

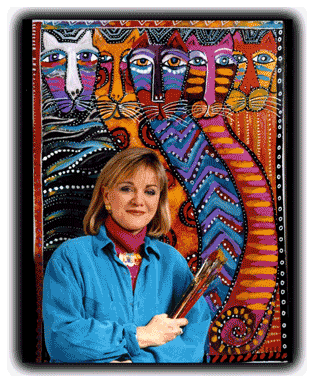
Laurel Burch. Photo source: laurelburch.com

Laurel Burch. Photo source:

Laurel Burch was a self-taught  jewelry designer and painter. She was extremely successful despite serious illness. The Laurel Burch website has every resource you could want, including a great biography video and ‘fantastic feline’ slide show. We took a close look at the cat illustrations, and noticed the simple shapes, lines and patterns.

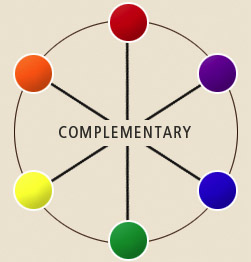
complementary color wheel

The Complementary Colors

I displayed the color wheel and we discussed the complementary colors (see this post). The complementary colors are directly across from each other on the color wheel.

There are three complement pairs: red/green; purple/yellow; and orange/blue. When two complements are displayed together, the colors contrast and ‘pop’.


The Art Project

Materials:

  • white sulphite drawing paper, 9″ x 12″ (or other white paper strong enough for painting)
  • primary and secondary color tempera cakes
  • brushes
  • water
  • examples of Laurel Burch cat illustrations
  • construction paper crayons
  • optional: metallic crayons

(note: this post contains compensated affiliate links)

Day 1: Draw and Paint the Cat

  1. Choose a complementary color pair.
  2. Draw the cat using a single construction paper crayon.
  3. Add eyes and other facial features, but do not add pattern or other detail.
  4. Paint the inside of the cat one of the complementary colors.
  5. Paint the negative space (background) in the other complementary color.
  6. Let dry.

Day 2: Decorate the Cat

  1. Hand out examples of Laurel Burch cat illustrations and construction paper crayons.
  2. Look at the patterns and other details on the cats and in the negative space (background).
  3. Do a quick review of the complementary colors.  Ask “What color is your cat? Find a crayon that is a complement of the cat color”.
  4. Retrace the cat’s original lines with that crayon.
  5. Use all the colors of construction paper crayons to color in the eyes, add designs and patterns. .
  6. Optional: add a little sparkle with metallic crayons.

color Laurel Burch paintings with crayons

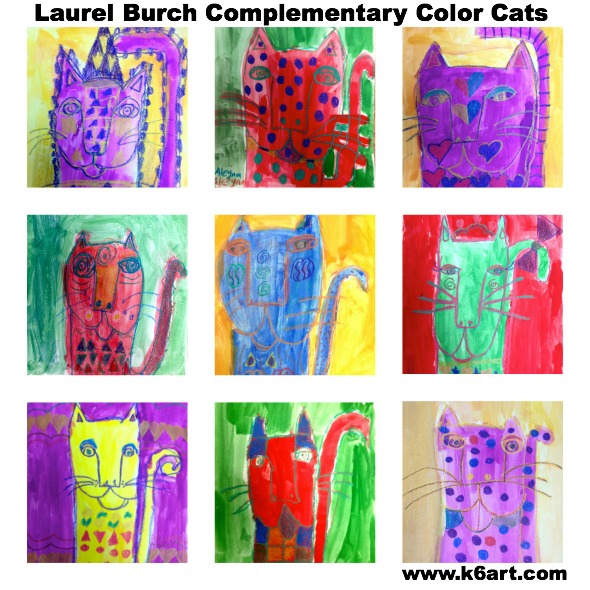
 Second Grade Results:

Laurel Burch Complementary Color Cats gallery

I just love the way the complementary colors pop against each other. I also love how the opaque construction paper crayons pop atop the tempera paint!

I used tempera cakes and construction paper crayons because they were quick to set up and clean up. You could easily substitute regular tempera and oil pastels, or watercolor and regular crayons.

No matter what materials you use, this is a fun and successful project your students will really like.


Enjoy!


Fancy ‘Gold’ Frame for Mother’s Day (or anytime)

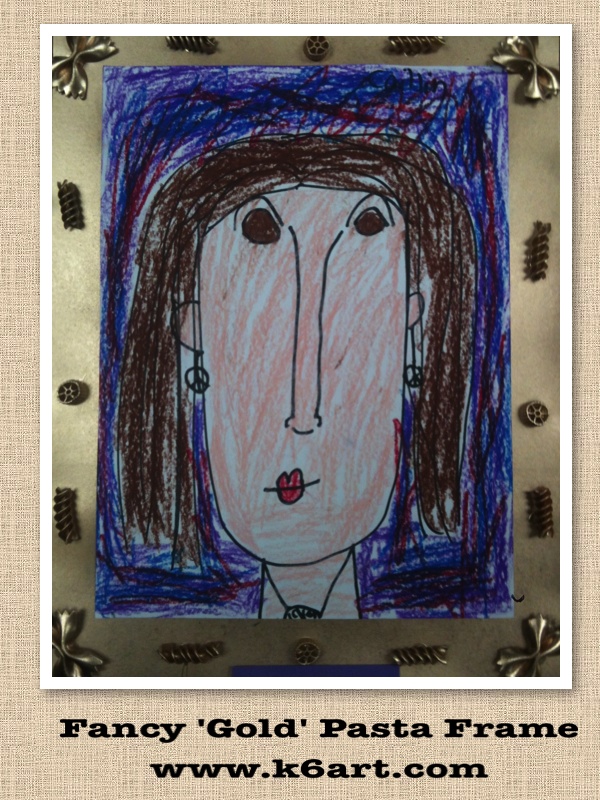
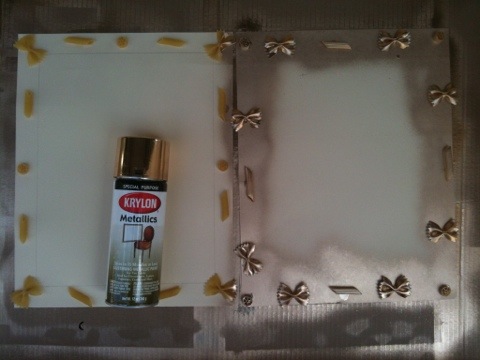
Looking for a fun and pretty Mother’s Day project for kindergarteners and first graders? First graders just put the finishing touches on their Mother’s Day project: a shiny gold frame made with pasta! Bonus for primary students: this project reinforces pattern lessons taught in the general ed. classroom. It’s two lessons in one.

20120428-081935.jpg

First graders use tag board, pasta and glue to create a picture frame. Look carefully at the pasta: can you see the A-B-C-B-A pattern?

Materials:
Tag board
White glue (Elmer’s)
Template cut to size of art you wish to frame
Dry pasta (we used four different shapes)
Gold spray paint

Prep:
Cut tag board to desired dimension. Center template on tag board and trace with pencil.

Lesson:
Students glue pasta on the outside edge of their tag board. Explain to students we can’t put pasta in the center of the frame because that is where the art will go.

Dry on drying rack. Be sure to dry in horizontal position ( you may even tell the kids to hold the art ‘flat’ as they carry it to the drying rack).

Option 1: create pattern with pasta. We alternated pasta to create an A-B-C-B-A pattern.

Option 2: student’s choice! So fun and unique.

Finishing the project:

Spray the pasta with gold paint. No need to paint the center of the frame. Spray outside!

Insert art and wait for the oohs and aahs!

The pasta/glue bond is quite strong, especially if you encourage kids to use a big dot of glue. In fact, the inspiration for this project came from my son’s kindergarten teacher. I have been carrying around that pasta frame holiday gift for over 10 years, and it is still intact 🙂

20120428-084436.jpg

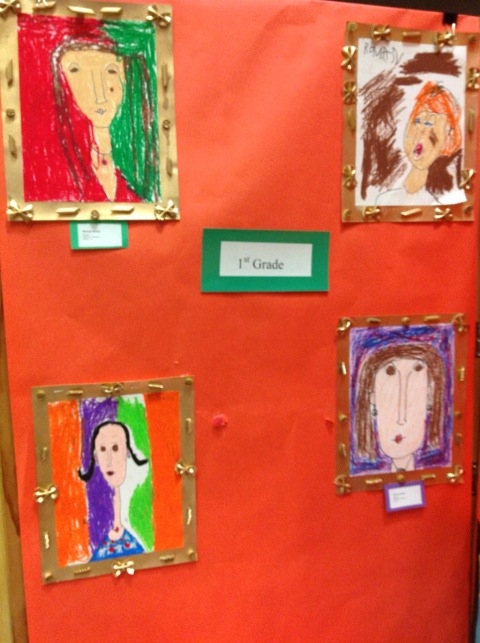
We added the Modigliani Mother’s Day portraits I wrote about in this post.

Related Posts Plugin for WordPress, Blogger...