Paul Klee Cats

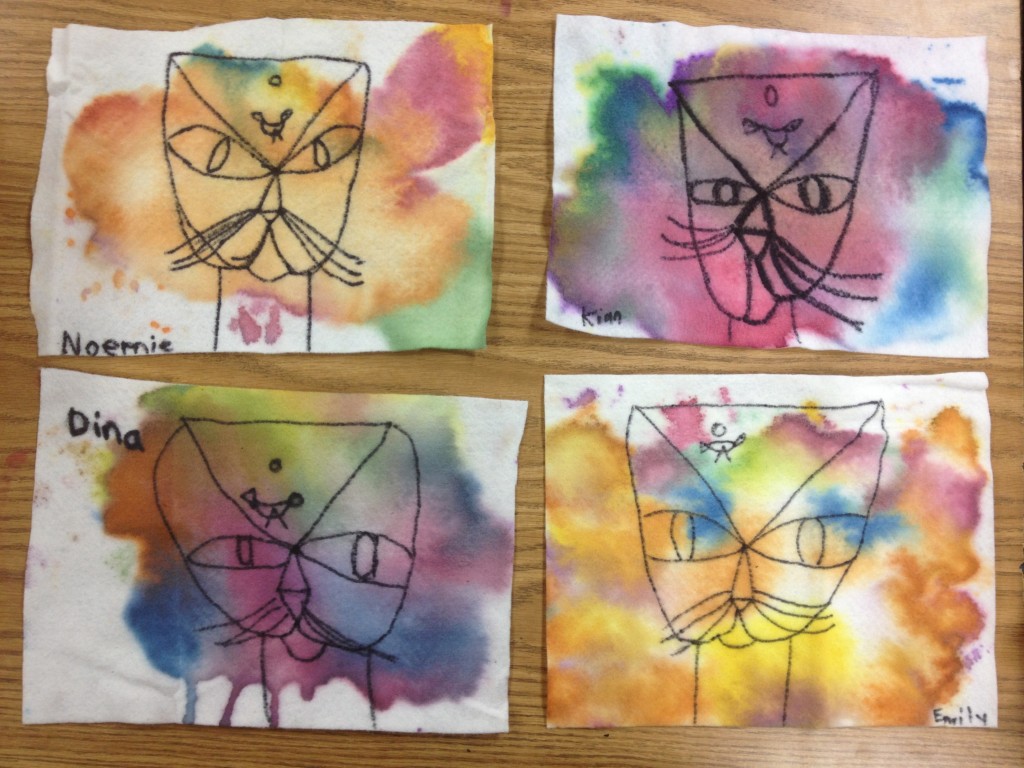
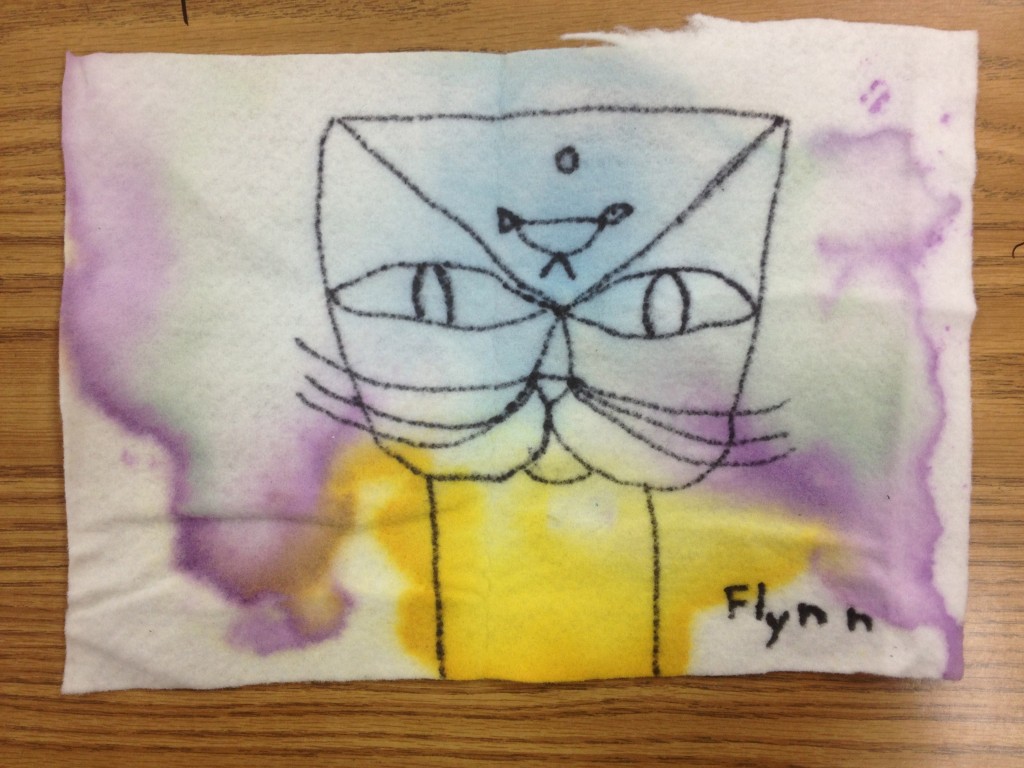
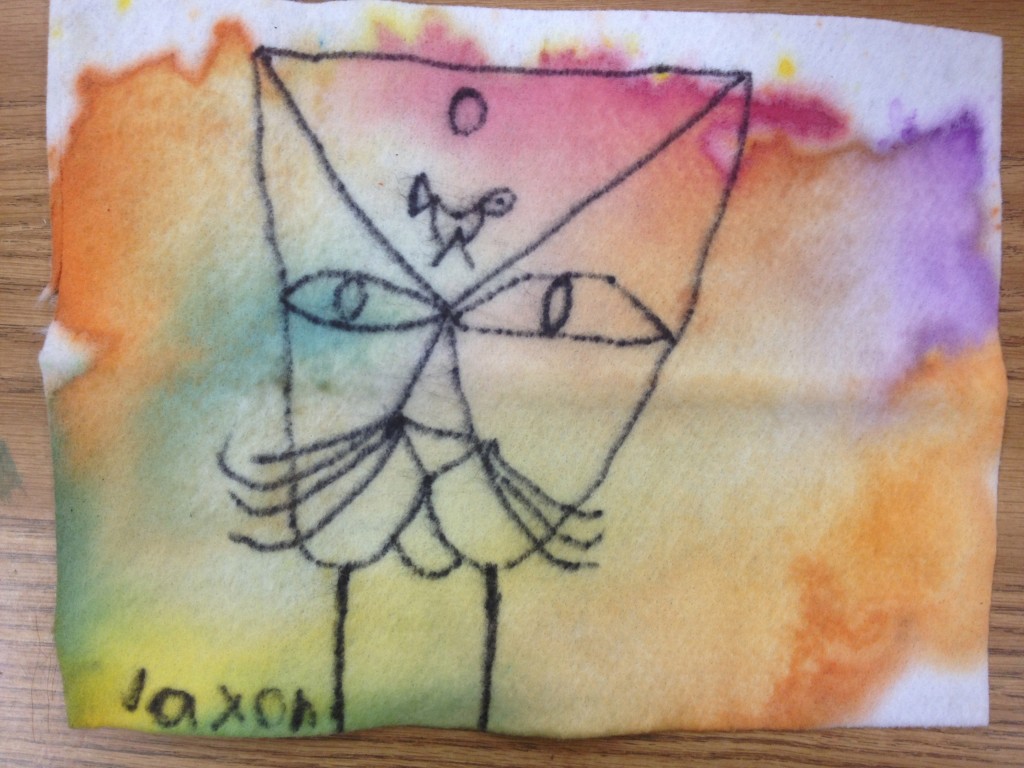
This week the second grade made Paul Klee cat paintings ON FELT!!
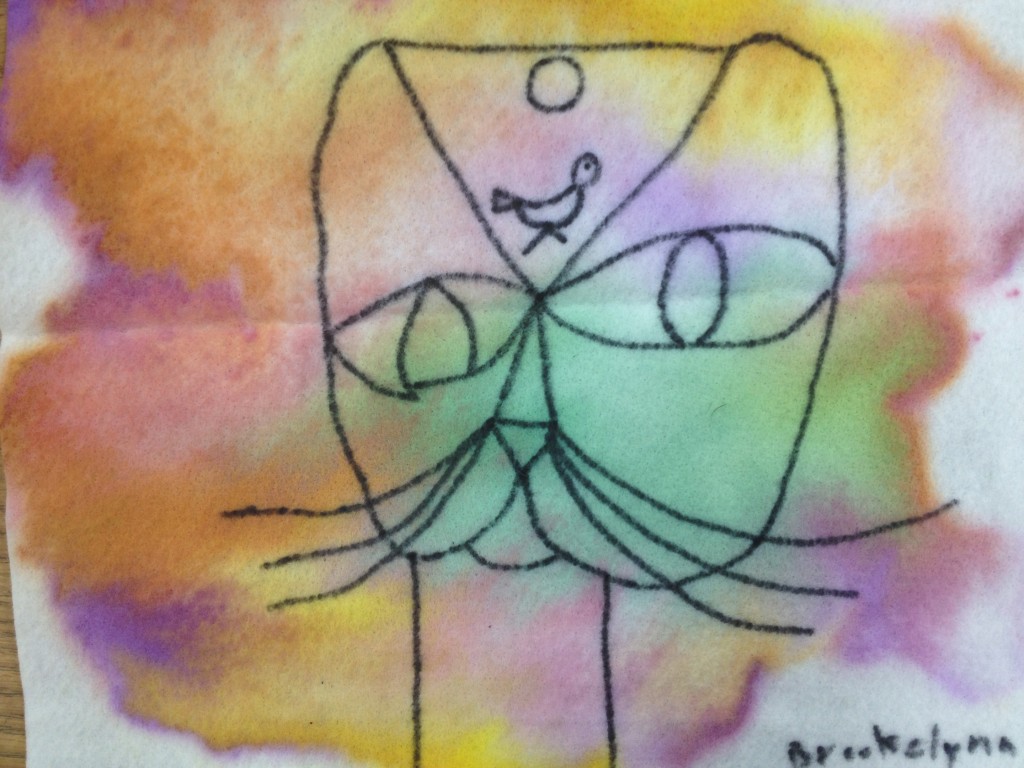
Second graders made Paul Klee cat paintings using white felt and liquid watercolors. Allow one hour.

The lesson plan is adapted from this post on The Art Annex blog.

We started out by watching this brief video on YouTube:

We used only three materials: white felt (9″x12″), black Sharpie and liquid watercolor, plus spray bottles of water.

I did a directed draw of the cat, focusing its lines and simple shapes. Students drew directly on the felt with their sharpies. Then we painted the cat by dabbing on liquid watercolor. The final step: spraying the felt with water so the colors could bleed and blend.

I dried the art on large sheets of cardboard.

Just in case you are wondering….I did this with just 12 students AND a volunteer. Students got to spray their own art. If I did this with a large class, I would probably assign the spraying to s few responsible students.

This is the second project in our Paul Klee unit. You might also like our Paul Klee abstract name art lesson, inspired by Klee’s Castle and Sun.

 Do you have a favorite Paul Klee lesson plan?

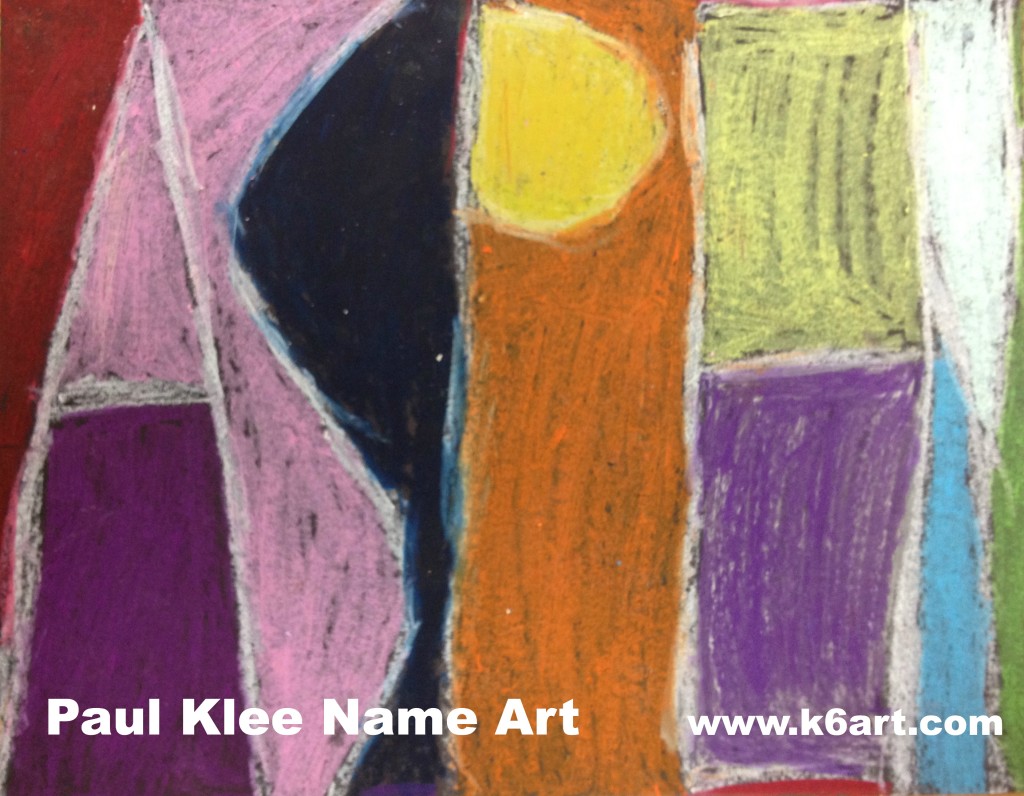
Paul Klee Name Art

Looking for an exciting name art project? How about introducing a famous artist at the same time? Try this Paul Klee-inspired graphic name art project.

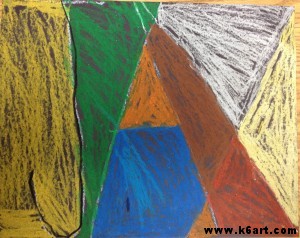
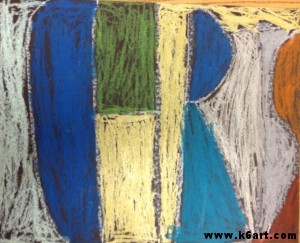
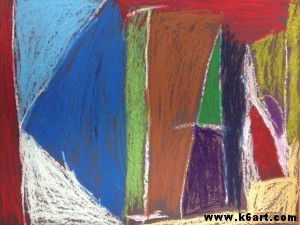
Second graders create name art in the style of Paul Klee. Allow 1-2 40 minute classes. Artwork by Tyler.

Start out by introducing artworks by Paul Klee. This project is inspired by his graphic works such as Castle and SunWikiPaintings has lots of images of his art. Click here,  herehere, and here to see some of Klee’s other graphic artworks. This is a good time to talk about abstract art.

Materials:

  • Black construction paper, 11″x14″
  • pencils and erasers
  • Oil Pastels (including white)

Students should turn their paper horizontally. They write their names in pencil, using all capital letters. Encourage students to S-T-R-E-T-C-H their letters from the bottom to the top of the paper (note: students with long names may need to draw extra skinny letters, use longer paper, or perhaps use their nicknames).  The letters can touch the left and right sides of the paper AND touch each other: letters such as ‘E’, ‘F’ and ‘K’ look more abstract when drawn in this manner.

After they are pleased with the layout, they trace over their pencil lines in white oil pastel.

Students write their name in white oil pastel, then fill in the spaces with colored pastels.

Next they color in the spaces in their name. Encourage them to use a variety of colors, although it is fine to repeat colors. Students must not color in with black pastels.

Completed second grade art:

Randie

Flynn

Jax


Chris

Kian

Show students the completed projects and ask if they can read the artist’s name. Successful artworks are often abstracted to the point it is challenging to see the artist’s name! How does this compare to Klee’s graphic artworks?

This lesson plan was inspired by (or abstracted from!) this fabulous post on the Kids Artists blog.

Enjoy!

Do you have a favorite name art lesson plan for the beginning of the year?


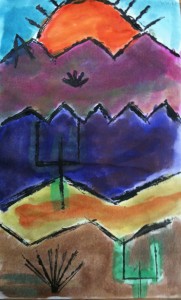
Paul Klee Painted Desert for Third Grade

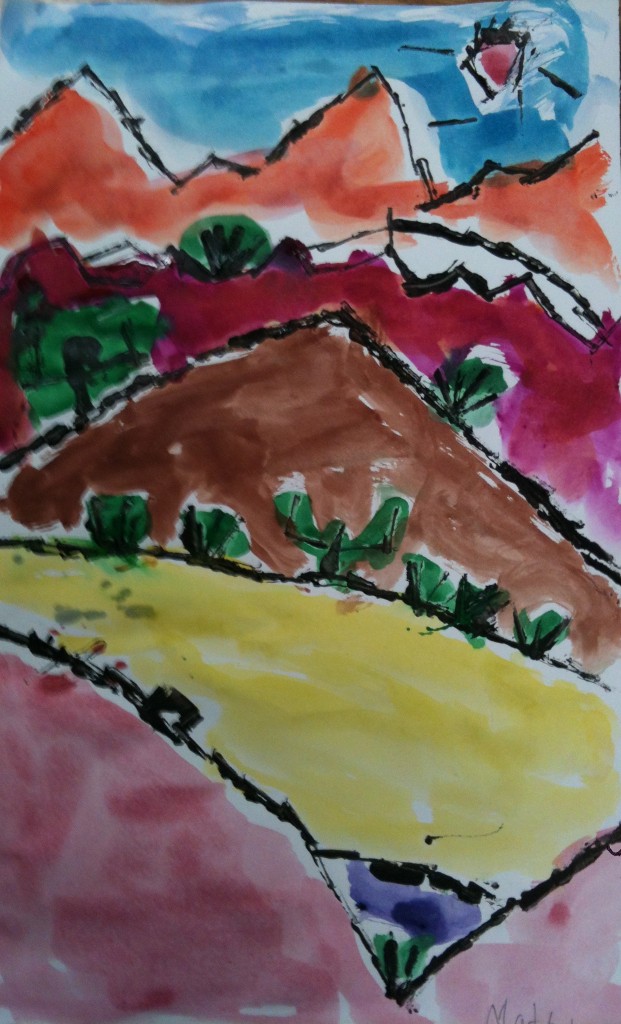
3rd graders stamped a line landscape with black acrylic paint, then painted with pan watercolors. Allow two 40-minute sessions.

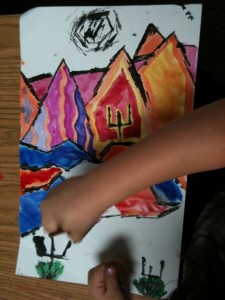
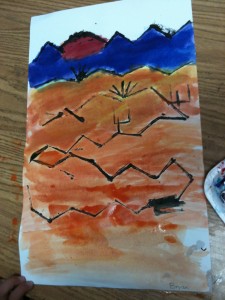
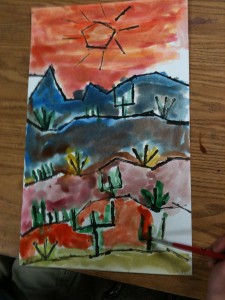
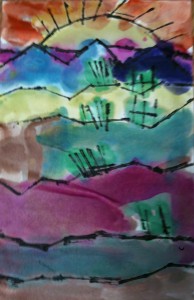
Do you want a landscape lesson plan that delivers gorgeous art with 100% success in only two 40-minute sessions? Try the Paul Klee lesson featured in the book Dynamic Art Projects for Children by Denise M. Logan. Students spent their first class using black acrylic paint and small pieces of mat board to stamp a jagged landscape. They painted with watercolors during the second class. Here are the results:

Dynamic Art Projects for Children is a fabulous book with many colorful, engaging lesson plans for kids in grades 1-6.  I wrote about the book’s Kuna mola lesson plan in this post.

Can you recommend a book with awesome lesson plans?  Leave a comment!


Related Posts Plugin for WordPress, Blogger...