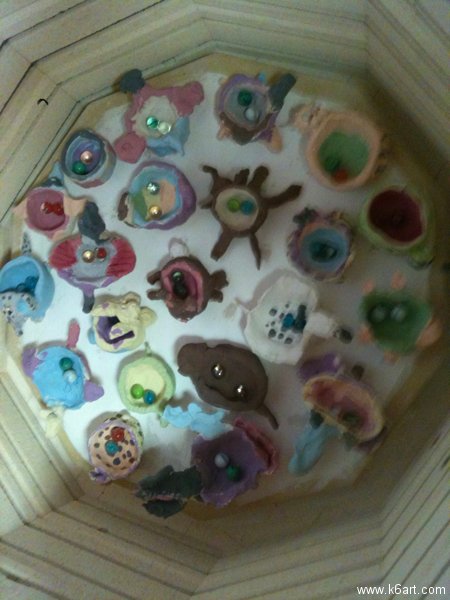
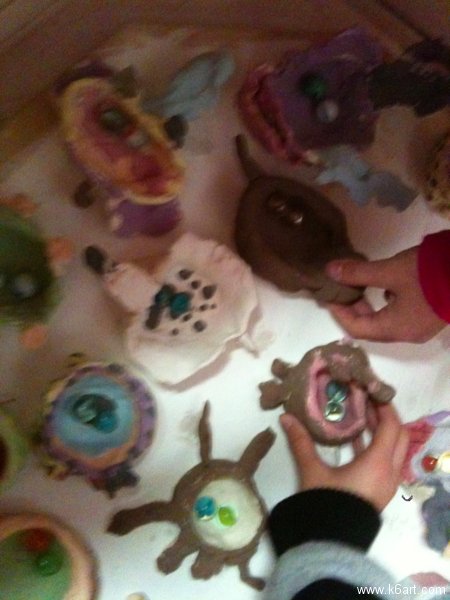
This is it! The most beloved clay project of all. Second graders use clay, glaze and marbles to make glittering animal pinch pots. They visit a kiln and load it themselves. If you are looking for a truly memorable clay project, try this.
Day 1: Make an Animal Pinch Pot
Second graders use clay to make a pinch pot, then use the ‘scratch attach’ (score and slip) method to add head, legs, tail, etc. I let students make any animal they want, real, imaginary or extinct.
I let the clay dry and then bisque fire it.
Day 2: Glaze Day
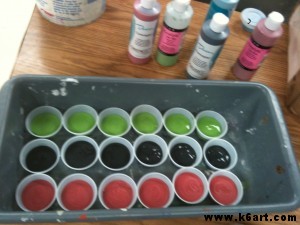
On glaze day, students paint their pots inside and out with many colors.
I put out one glaze color and several brushes on each of my tables. Students switch tables to get different colors. The brushes stay at the table and don’t travel (so I don’t need water on the tables). I use 2 oz. plastic portion cups and lids (also available at Costco) for my glazes. At the end of class I spray the leftover glaze cups with a little water and cap them.
Day 3: Marbles and The Kiln Field Trip!!!
Oh boy! The kids come up to the marble tray and pick two marbles for their pots. There is much deliberation….which to pick? I tell them the marbles don’t have to match, and no matter which they pick, they will be very surprised at the result.


I tell the students we are going to the school kiln – a super-hot oven we use to fire their clay. We then load up the pots on my cart and walk as a group to our kiln (how fortunate we are to have a kiln on site!). I always have a parent (or 6th grade) volunteer help with this step.
Each student puts his or her own pot into the kiln.
Ready for the second firing!
(Note: I use low-fire clay and underglazes. I fire the glazed clay/marbles to cone 06).
Day 4: Return the Pots
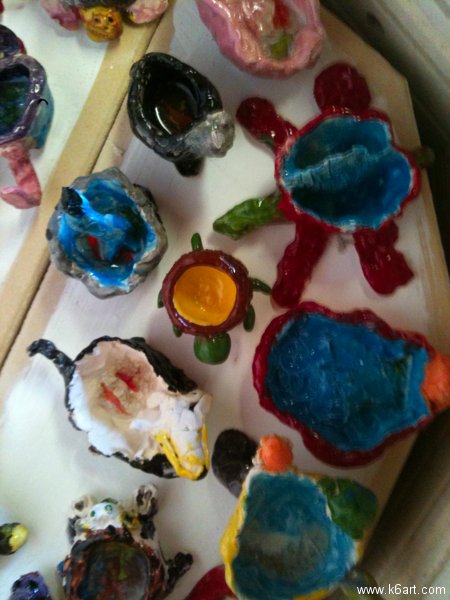
I pass back the fired pinch pots. Wow!

Students are amazed at the melted marbles. Kids describe them as ‘pools of glass’ or ‘pools of ice’. We have to see them all! So we take a ‘museum tour’ and examine ALL the pots.
Tips:
- skip the marbles and use glass gems for flower arranging or glass gems for aquariums, You will get a better range of colors.
- You don’t have to pay a lot of money for marbles. Marbles are available at my local dollar store and in the toy section of my local drug store.
- Caution: do not use this method on coil pots! You do not want molten glass leaking out of the pot onto your kiln shelf.
Kids love this project! I had some 7th graders visit the art room recently – they immediately smiled when they heard we were doing this project again. They said it was their favorite and that they still have their pots.
I learned about this method (years ago!) through one of the art education list serves (I can’t remember if it was The Incredible Art Department or the Getty Museum Teacher Art Exchange).
Good luck! If you end up trying this project and post it in your blog, please link back to this post. 🙂

