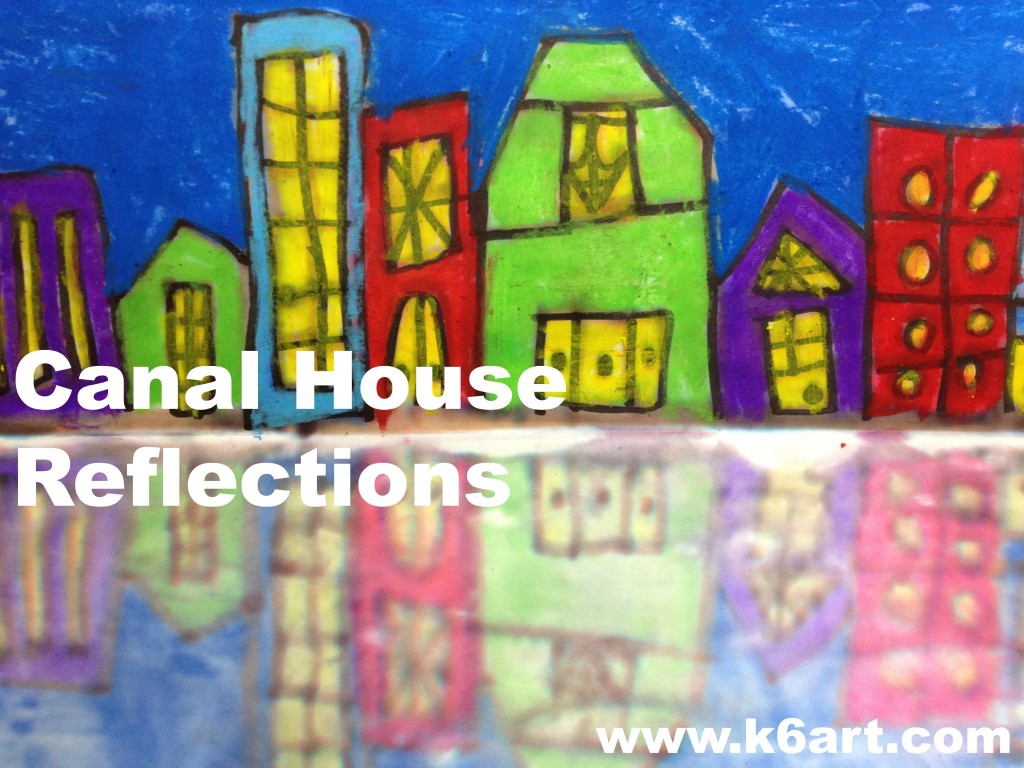
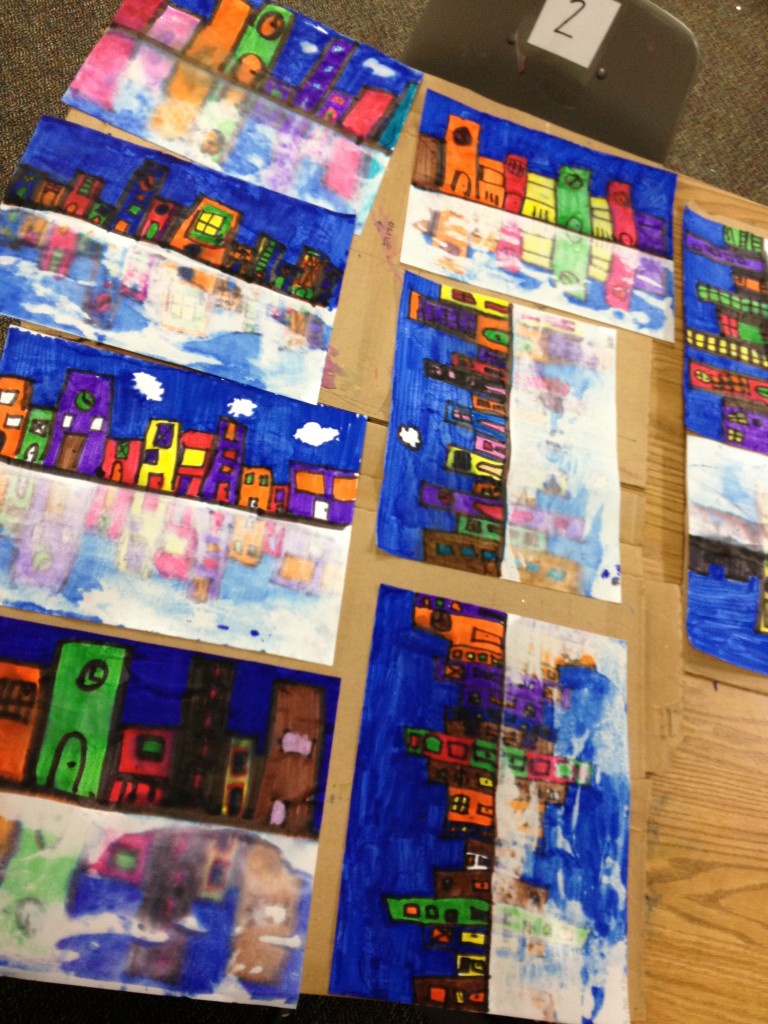
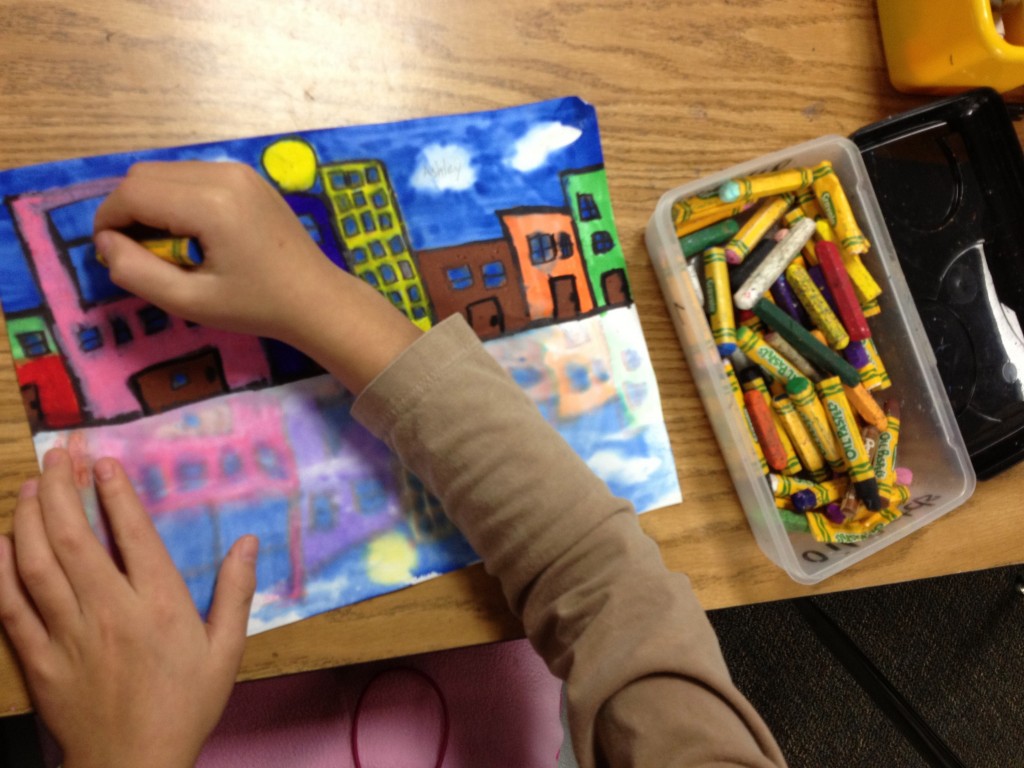
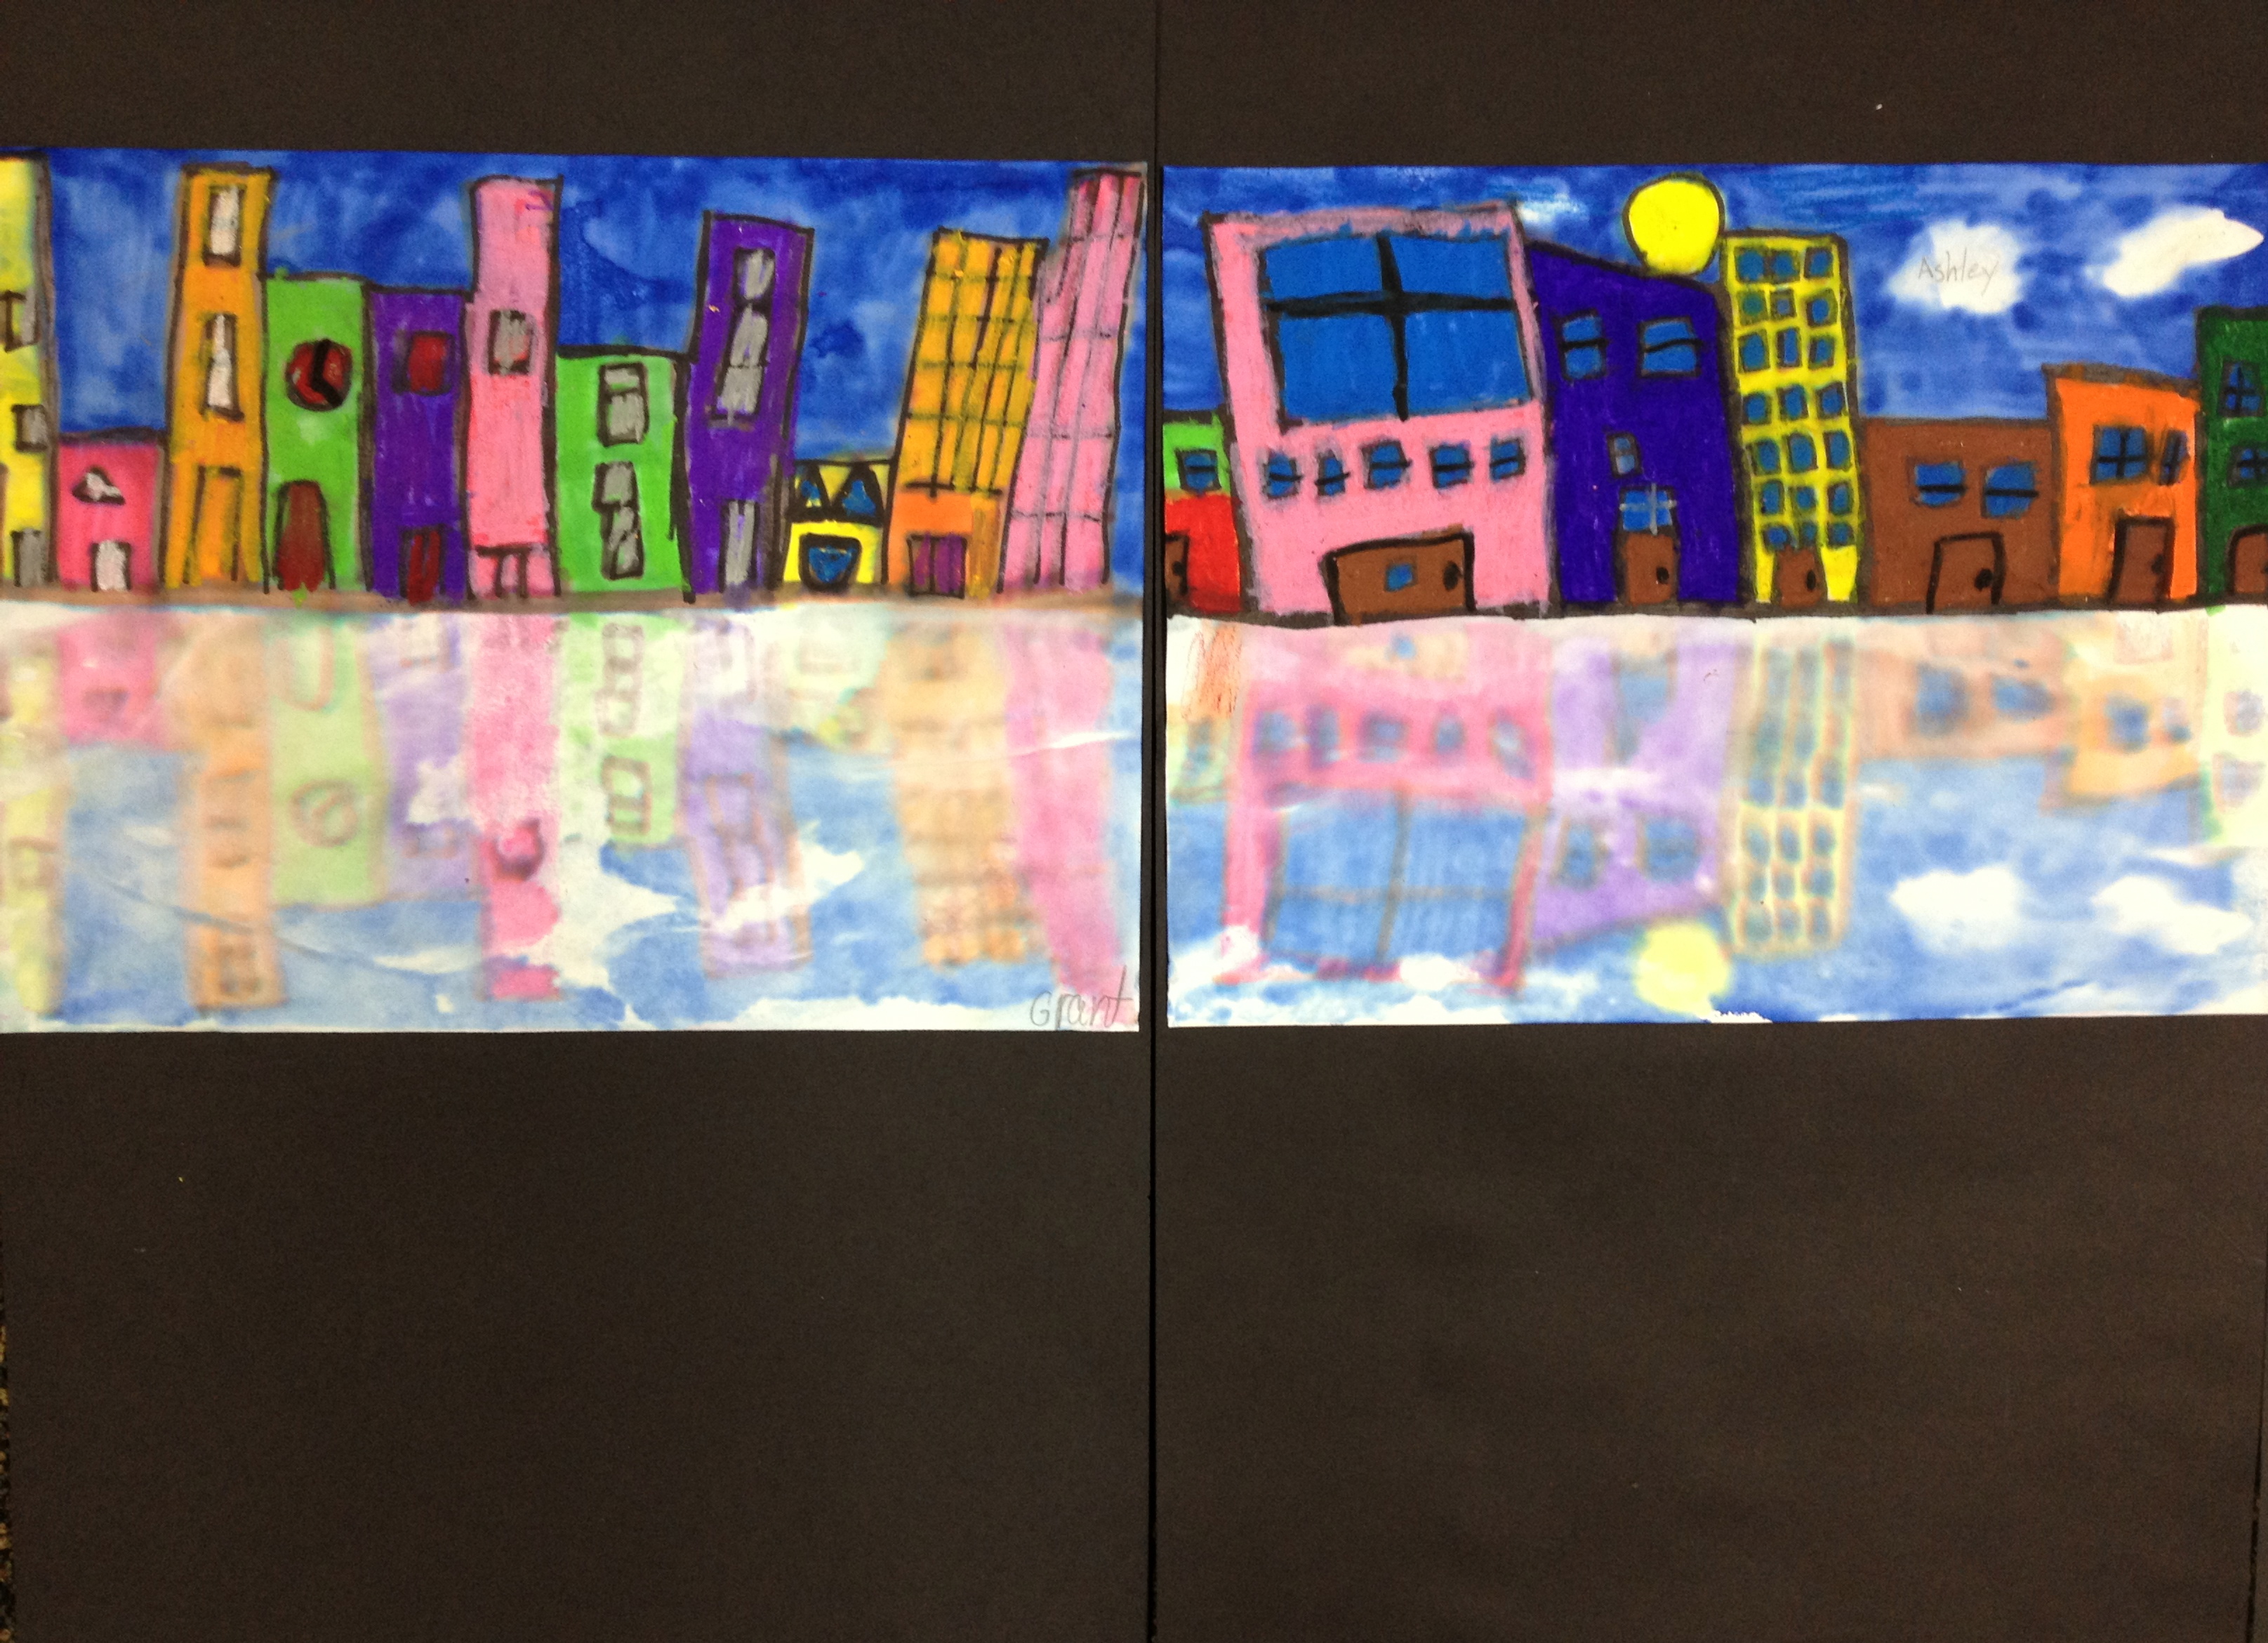
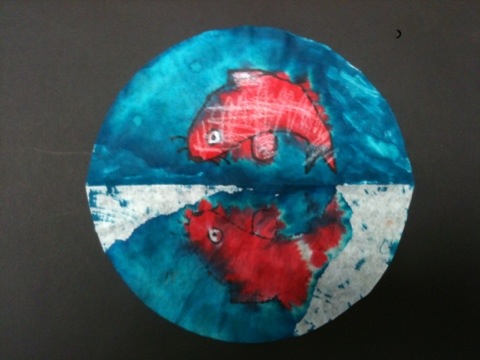
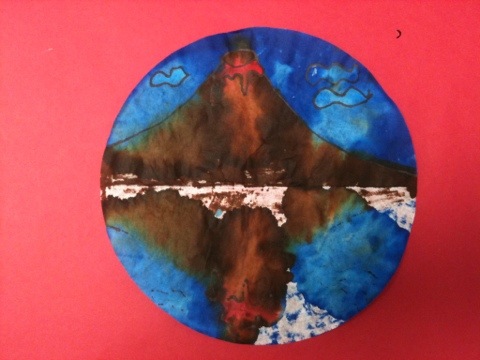
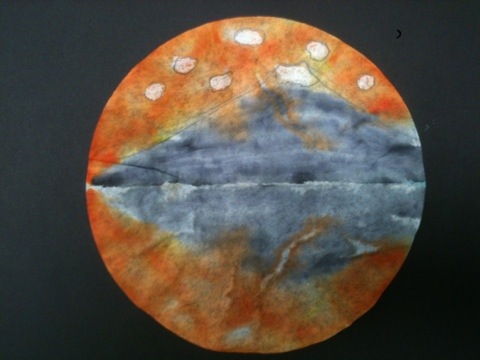
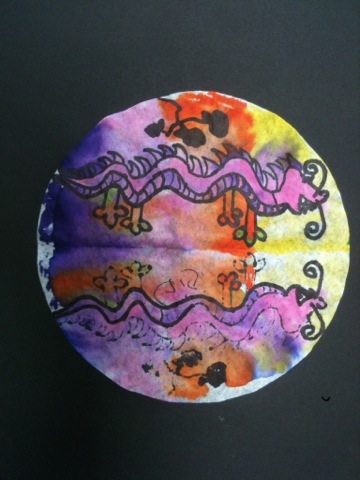
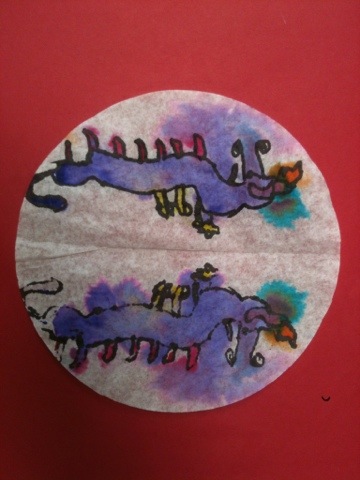
Third graders just finished making reflection prints. They made reflections of the canal homes in Amsterdam, and they just loved the printing process.
Materials:
- white paper, 9″x12″ (we used sulphite paper)
- watercolor markers (we used Mr. Sketch)
- oil pastels (we used Crayola)
- spray bottle
Day 1:
We looked at photos of canal homes in Venice, Italy and Amsterdam. The third graders were excited to see houses that had canals out front instead of streets! We looked at this photo of Amsterdam canal houses, and paid special attention to the reflection of the houses in the water.
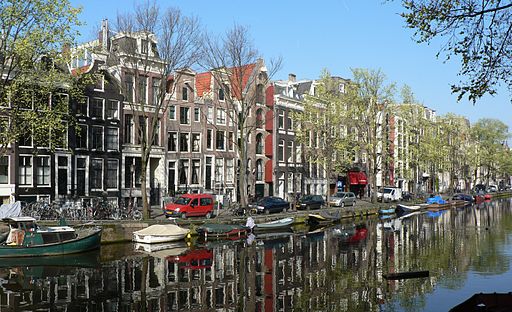
Houses in Amsterdam reflected in canal. Photo source:
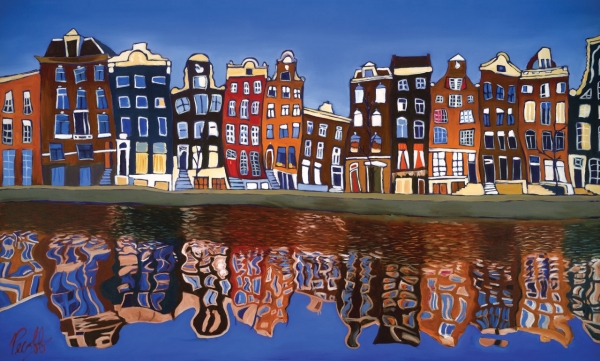
Then we looked at this beautiful artwork, ‘Canal Homes of Amsterdam’ by San Diego artist Grant Pecoff. Students noticed how the reflection was wavy, probably because of waves on the canal. They also noticed the roof tops were a little wavy as well!
Time for the art project!
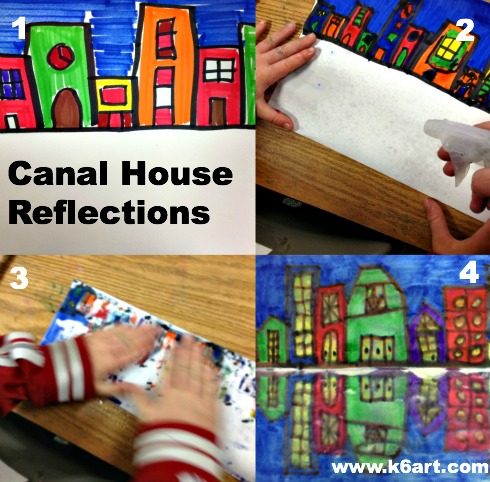
1. Fold paper ‘hot dog style’. On the upper half, make canal houses. Color the sky completely.
2. Take artwork to the printing station. Spray the lower half of their artwork with water.
3. Fold the colored half down and rub.
4. Open carefully. If the color didn’t transfer to the bottom half, spray a little more water and try again.
Let dry.
The dry artworks looked great. However, we noticed the top half was a little blurry after printing. The students re-outlined the buildings on the top half of their reflections. Then they re-colored the top half with matching oil pastels.
We mounted these without left and right borders so they can be displayed side by side, just like real canal houses!
This lesson was adapted from this fun lesson on the Fine Lines blog. To learn more about San Diego artist Grant Pecoff, and see more of his colorful artworks, please visit his website .
Enjoy!

