Sand Art for Second Grade

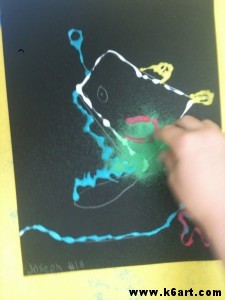
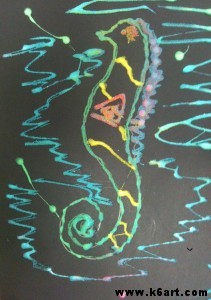
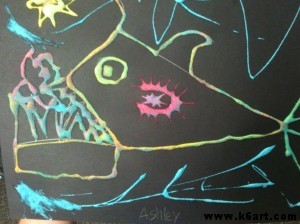
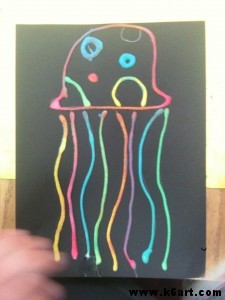
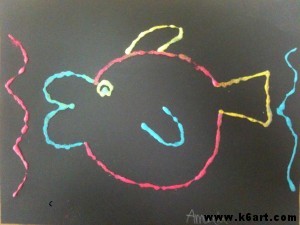
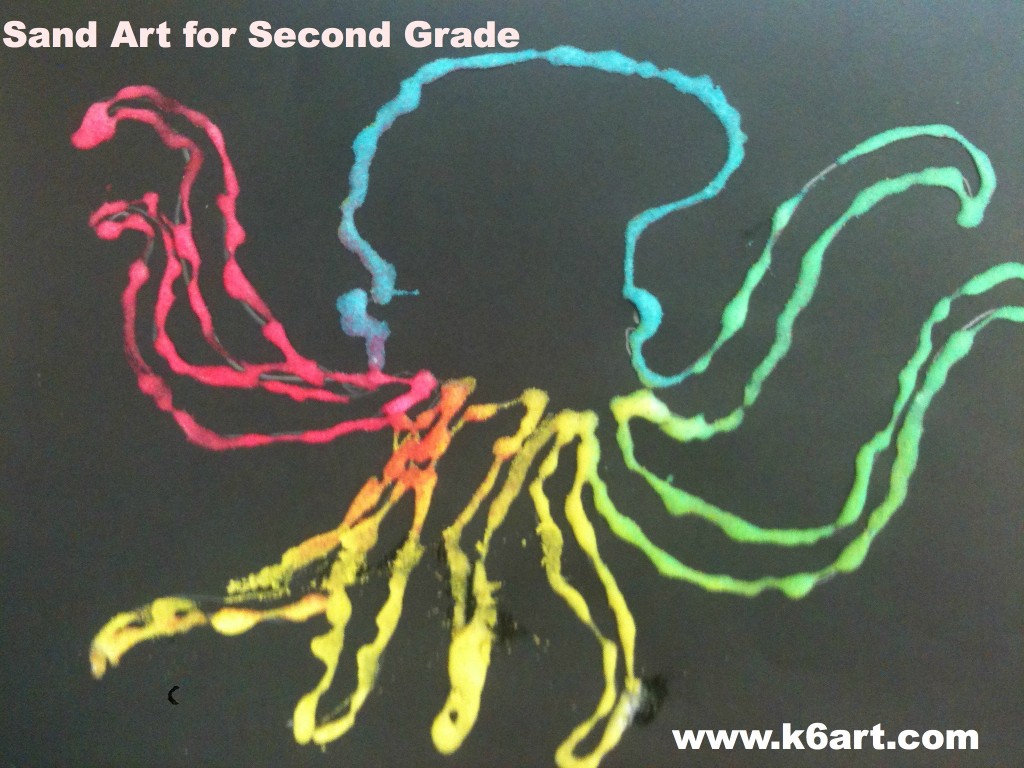
Summer is almost here. For our last project of the year, second graders made sea creature sand art. Allow two 40-minute sessions.

Materials:

  • white glue in squeeze bottles
  • colored sand (I used four different colors) in shallow trays
  • bamboo skewers
  • black construction paper, 9″x12″
  • pencils and sketch paper
  • reference photos of sea creatures for sketching

Day 1:

Students sketch various sea creatures using pencil and paper.

Day 2:

Each student picks a favorite sketch and draws it on black construction paper. Encourage kids to make simpler, larger designs.

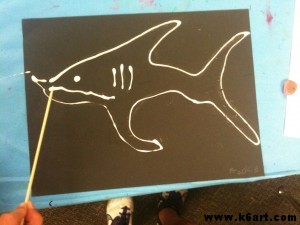
Trace pencil lines with glue.
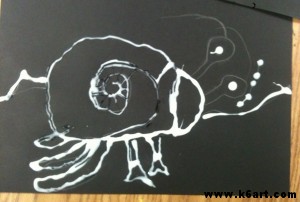
If kids make a glue mistake, they can try moving the glue around with a skewer.
Sprinkle on one color of sand at a time.
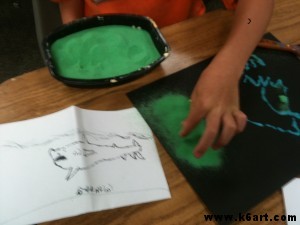
Then tap excess sand back into the tray.

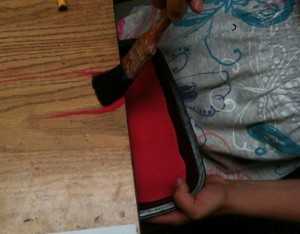
When kids spill sand on the table….a house paint brush makes clean up easy.

Kids love to clean up sand with a large paintbrush.

Completed work:


Clean up:

I store leftover sand in old apple juice jugs. At the end of class, I put a funnel in each jug and let the kids pour in their sand.

Seriously fun! This would also be a fun summer camp or vacation art project.

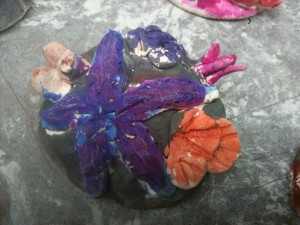
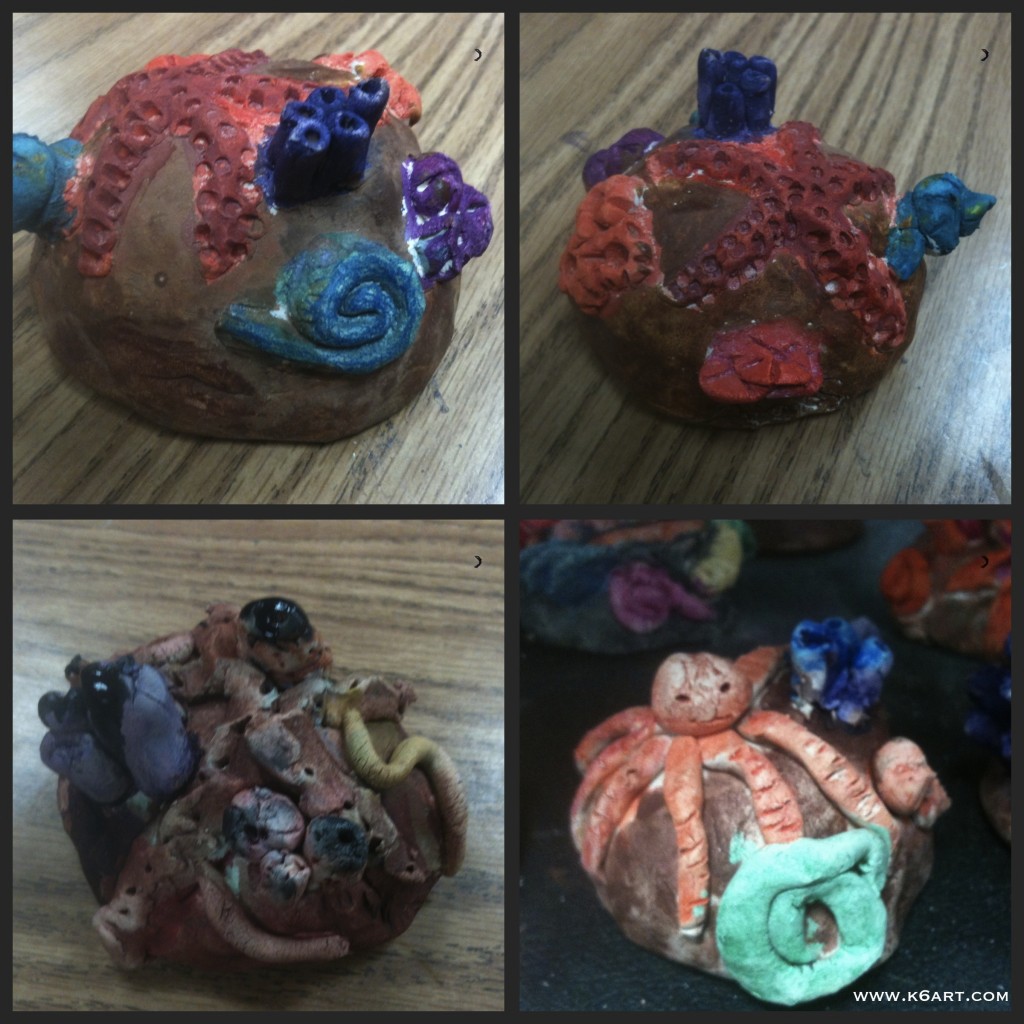
Clay Sea Rocks

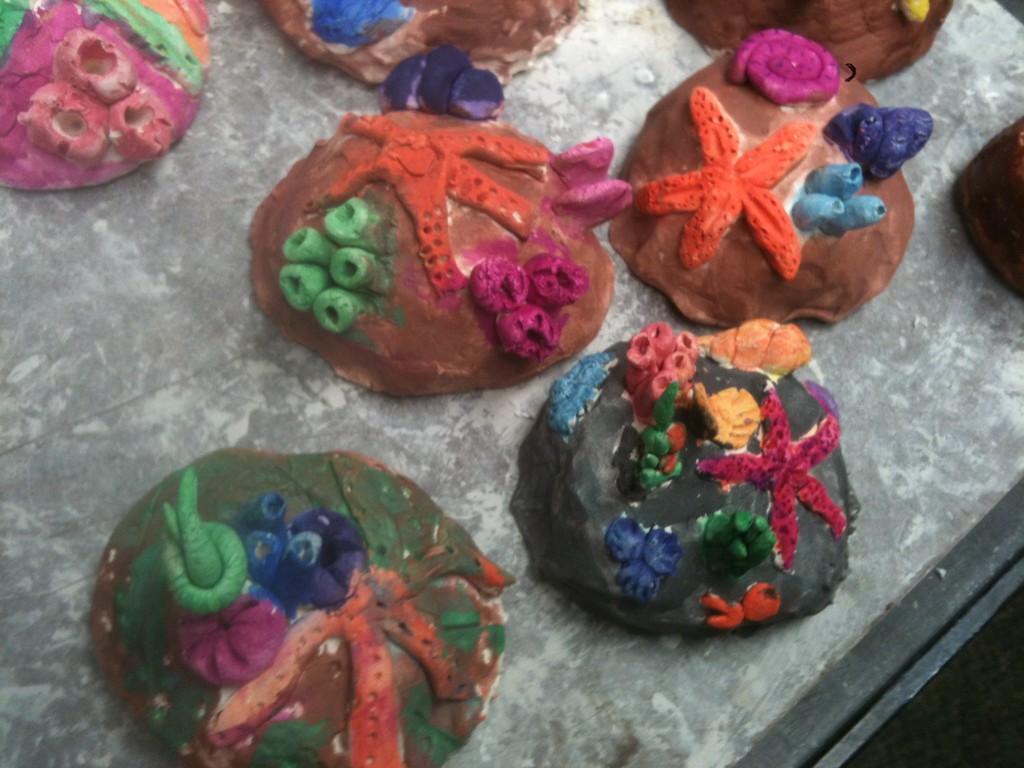
5th graders made clay 'sea rocks'. Allow three 40-minute sessions.

Want an ocean-themed clay project with high success? Super fun? Colorful? Only one firing? And……NO SLIP!

Try this sea rocks lesson plan!

Supplies:

  • clay
  • newspaper
  • white vinegar in small cups
  • Q-tips
  • toothpicks
  • pencils
  • Popsicle stick or other clay tools
  • gallon-size Ziploc storage bags (if more than one session is required)

Day 1:

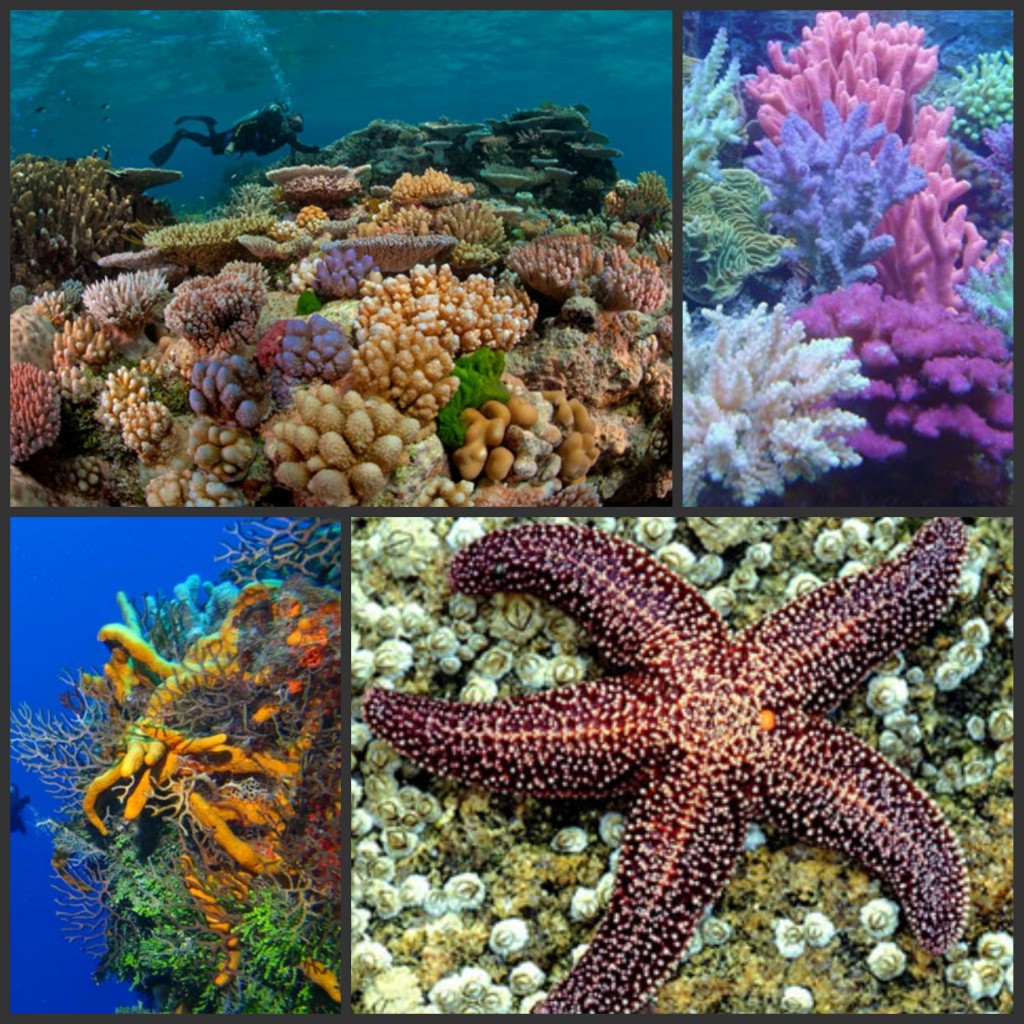
Look at photos of sea life that attaches to rock.

Coral reef.

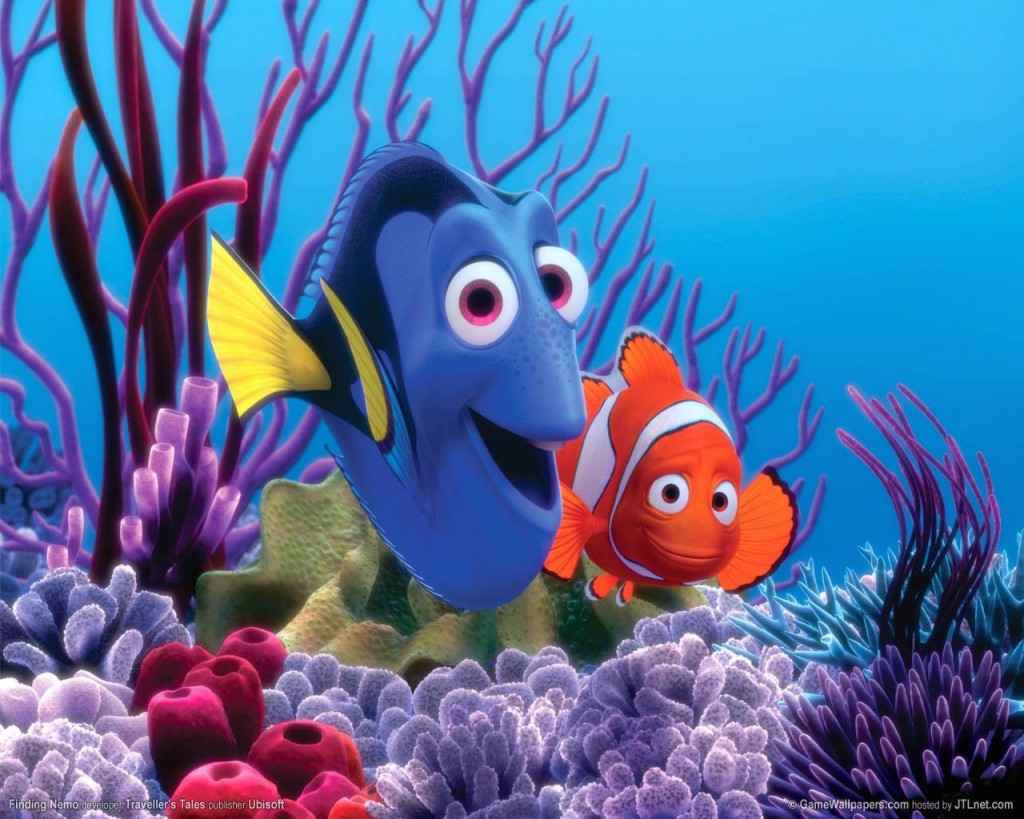
For another artist’s take on sea life, view images from Disney movie ‘Finding Nemo’. Look at the sea life on the ocean floor.

Inspiration: colorful sea floor from Disney movie 'Finding Nemo'

Download this clay sea rocks powerpoint from CAEA conference (we think this project was presented by clay educator Barry Bernam around 2005).

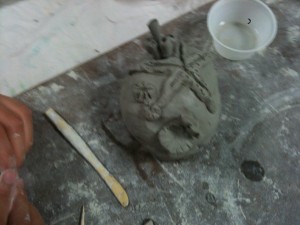
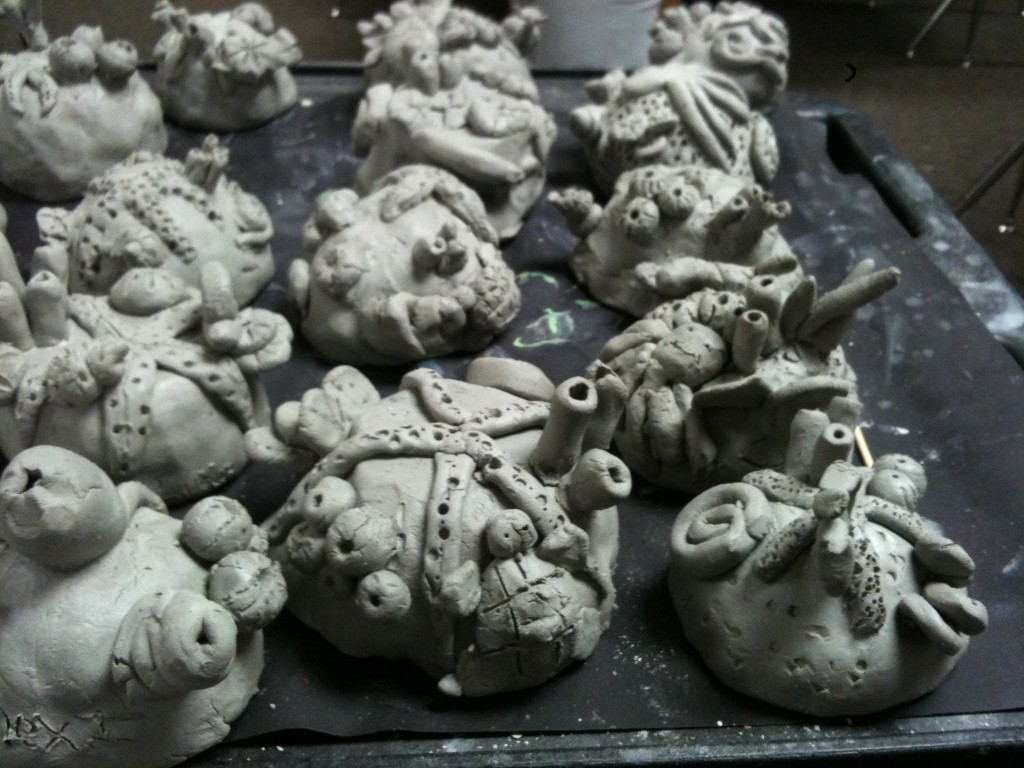
It all starts with a pinch pot. Stuff with crumpled newspaper for support and turn upside down. Apply starfish, urchins, coral etc. to top of rock using vinegar to attach.

Vinegar, clay tool, toothpick


http://youtu.be/TUuvmrJIXiQ


If you don’t finish, wrap clay in damp paper towels and seal in Ziploc bag.

Day 2:

Finish adding sea life to rock.


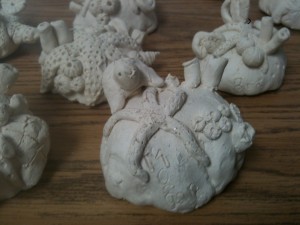
I let them dry for 12 days, then fired on slow setting.

Although no slip was used to attach decorations, only one decoration came off during bisque firing.

Day 3:

We painted with pan watercolors and tiny brushes. Students had option of rinsing off excess paint (they called this ‘fading’). Also could draw on painted ‘rock’ with colored pencil.


I will add shine with a little spray gloss (I use Rust-Oleum Painter’s Touch Spray Gloss ).

A huge thank you to SDAEA’s Carol Catalano Webb, who brought back this lesson from California state conference AND made the YouTube movie. A huge thank you to the clay teacher who created the Powerpoint (we think it was Barry Bernam-please leave a comment if you know Barry!).

Related Posts Plugin for WordPress, Blogger...