Observational Drawing with Sixth Grade

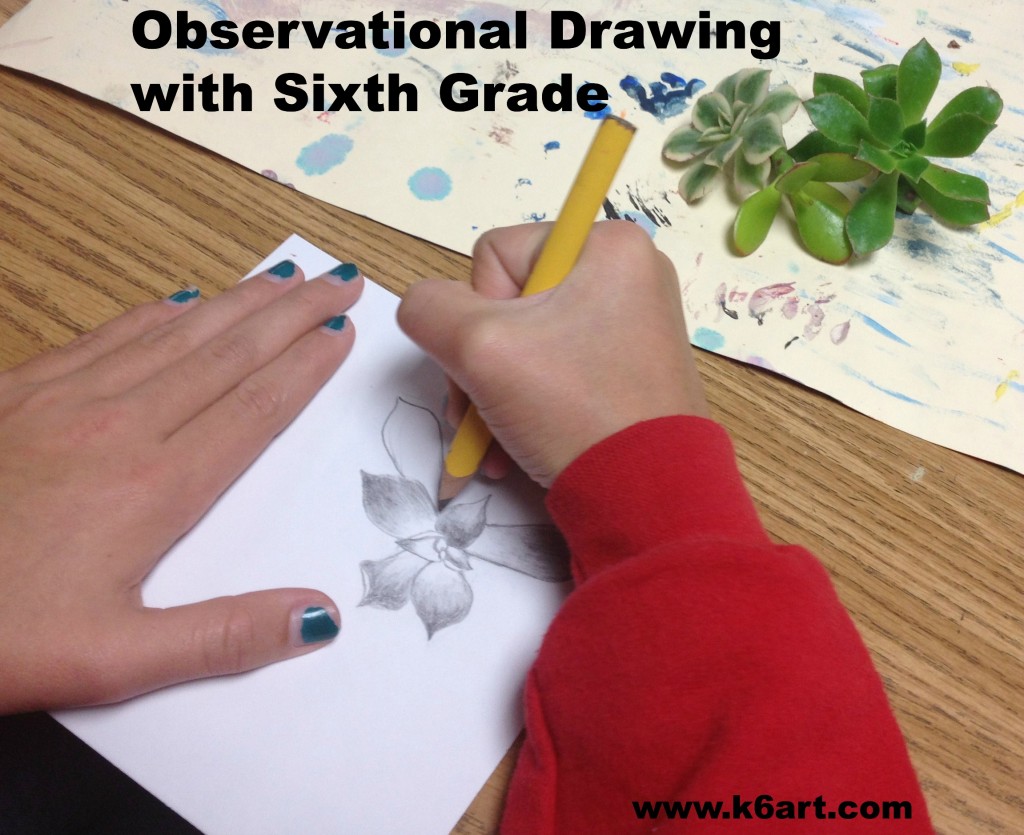
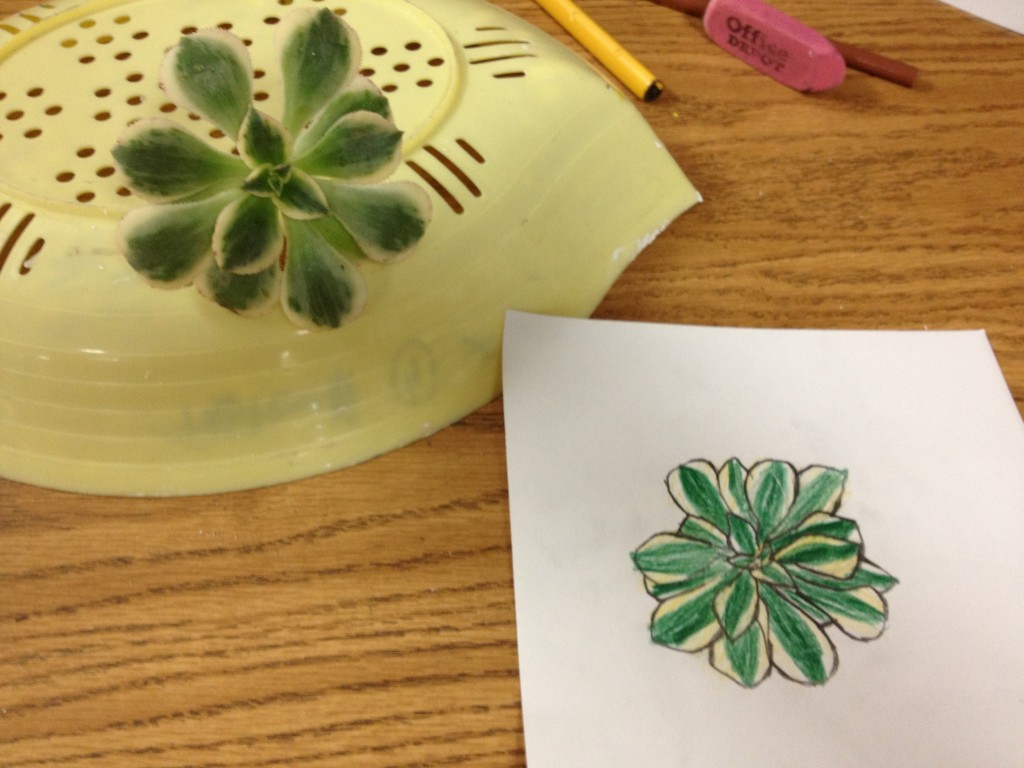
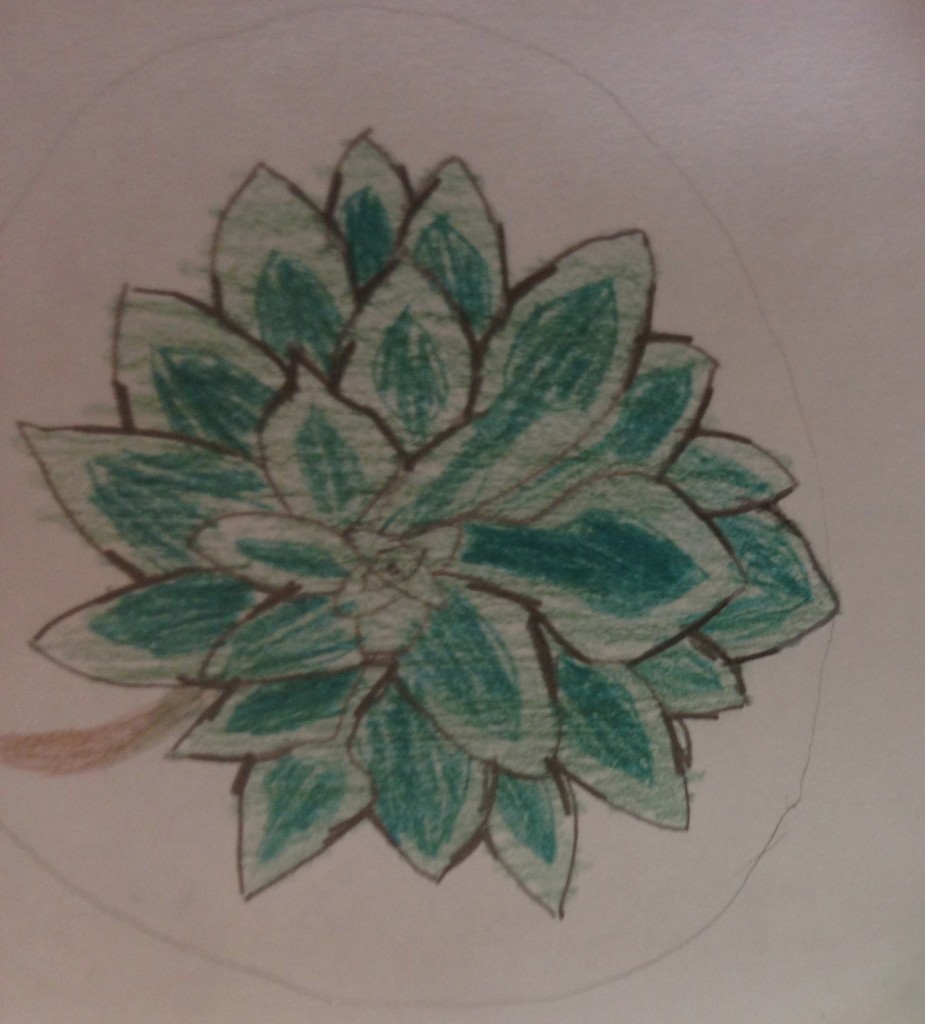
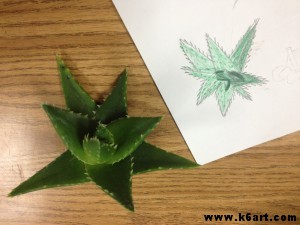
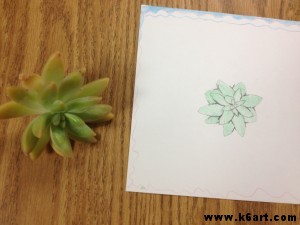
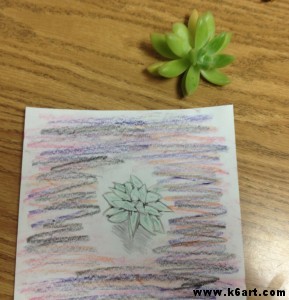
Sixth graders drew succulent plants from observation. I emphasized drawing what they observed, not drawing from imagination or what they think the plant should look like. They should focus on shape.

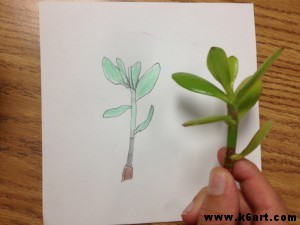
Sixth graders made observational drawings of fresh cut succulents.

They used pencil and colored pencil on 6″x6″ squares of white paper.

After the students had a basic drawing, I asked them to look at the areas where the leaves overlapped. Each overlap creates the letter ‘Y’. I asked them to darken all the ‘Ys’, and then taper the pencil lines.

Darken the ‘Ys’ formed where the leaves overlap.

It was quiet in the art room as the sixth graders concentrated on their drawings. Most students enjoyed this activity, some loved it, and no one complained.

Earlier this fall we studied value and drawing and shading forms (thank you Pinterest!)  and I am happy to say that these exercises have increased student confidence: several students who have stated they ‘can’t draw’ are now turning out drawings with pride.

This is one of those times I wish I had more than 40 minutes a week to teach each class. I would love to start every class with a quick observational draw.

Regarding our plant cuttings:

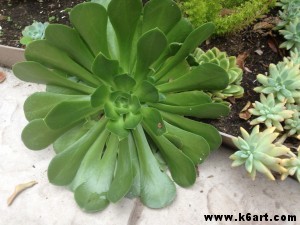
We have many varieties of fleshy-leaved succulents here in Southern California. Succulents are similar to cactus, but do not have needles. Succulent cuttings are great for observational drawing: the cuttings do not need water and do not wilt. In fact, if your students do not pull off the leaves they will look great in a week, without any water or soil!

Succulents are super-easy to grow from cuttings. After class, I poked all the cuttings into the ground. They root in about three weeks.

All the succulents were fresh cut the day of class from our school garden and my  San Diego backyard.

Succulents in my San Diego backyard.
 

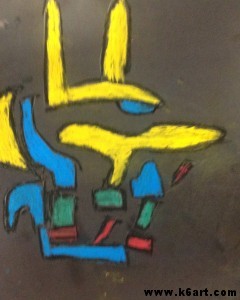
Paul Klee Name Art

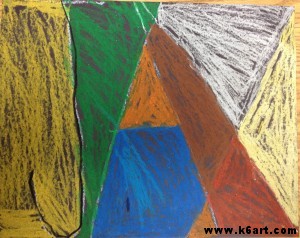
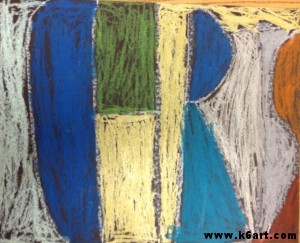
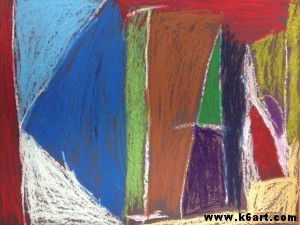
Looking for an exciting name art project? How about introducing a famous artist at the same time? Try this Paul Klee-inspired graphic name art project.
Second graders create name art in the style of Paul Klee. Allow 1-2 40 minute classes. Artwork by Tyler.

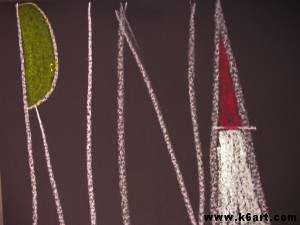
Start out by introducing artworks by Paul Klee. This project is inspired by his graphic works such as Castle and SunWikiPaintings has lots of images of his art. Click here,  herehere, and here to see some of Klee’s other graphic artworks. This is a good time to talk about abstract art.

Materials:

  • Black construction paper, 11″x14″
  • pencils and erasers
  • Oil Pastels (including white)

Students should turn their paper horizontally. They write their names in pencil, using all capital letters. Encourage students to S-T-R-E-T-C-H their letters from the bottom to the top of the paper (note: students with long names may need to draw extra skinny letters, use longer paper, or perhaps use their nicknames).  The letters can touch the left and right sides of the paper AND touch each other: letters such as ‘E’, ‘F’ and ‘K’ look more abstract when drawn in this manner.

After they are pleased with the layout, they trace over their pencil lines in white oil pastel.

Students write their name in white oil pastel, then fill in the spaces with colored pastels.

Next they color in the spaces in their name. Encourage them to use a variety of colors, although it is fine to repeat colors. Students must not color in with black pastels.

Completed second grade art:

Randie

Flynn

Jax


Chris

Kian

Show students the completed projects and ask if they can read the artist’s name. Successful artworks are often abstracted to the point it is challenging to see the artist’s name! How does this compare to Klee’s graphic artworks?

This lesson plan was inspired by (or abstracted from!) this fabulous post on the Kids Artists blog.

Enjoy!

Do you have a favorite name art lesson plan for the beginning of the year?


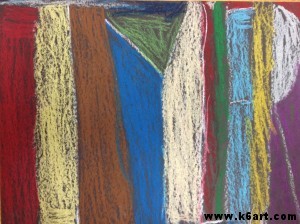
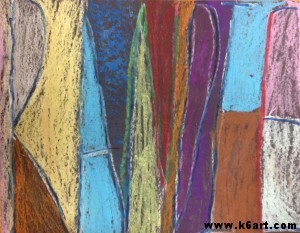
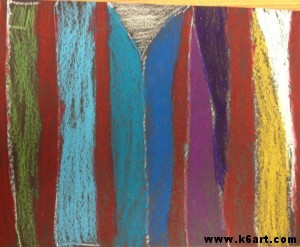
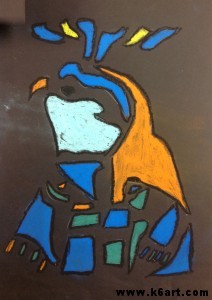
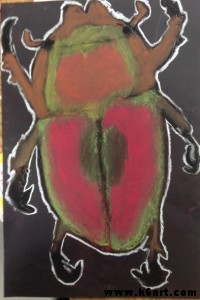
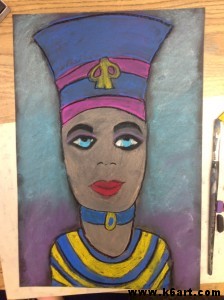
Ancient Egypt Chalk Art for Sixth Grade (and Pinterest bonus!)


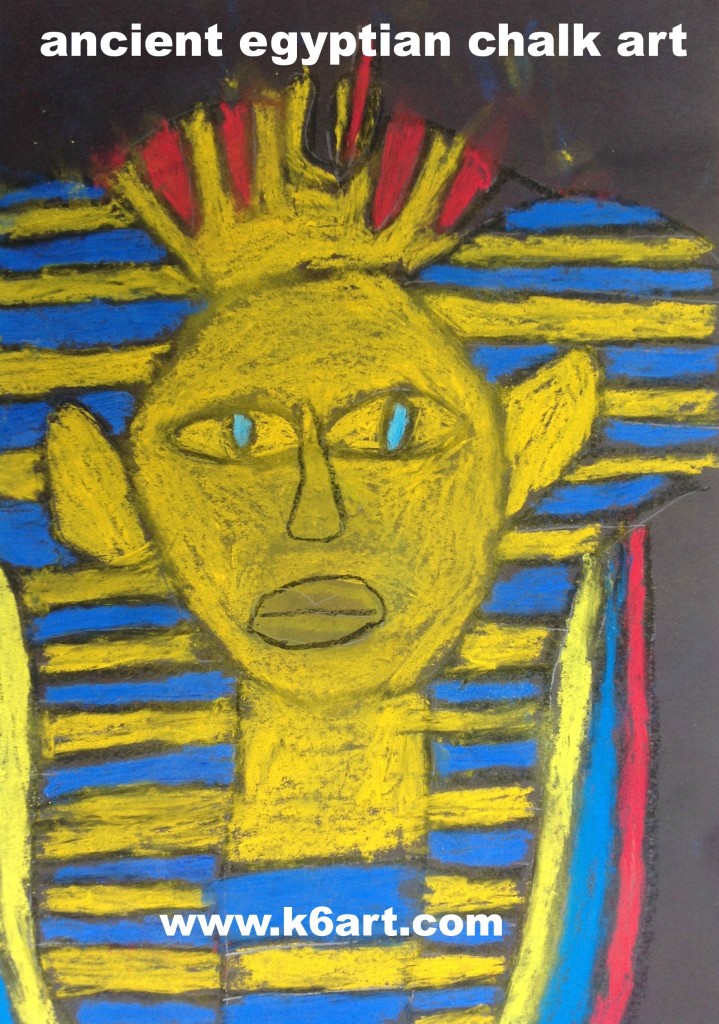
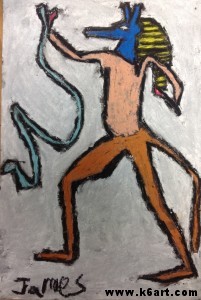
Do you study ancient Egypt at your school? Here is a colorful, successful art project inspired by the art of ancient Egypt.

Materials:

  • black construction paper, 12″x18″
  • pencils with eraser tip
  • chalk pastels
  • black oil pastel
  • reference photos
  • hairspray or other fixative
  • newspaper to cover tables

We looked at images from King Tut’s tomb, old issues of National Geographic magazine (I think they cover Egypt every year!), and reviewed images of the Egyptian gods.

Students were instructed to select a subject and draw it on the black paper. Encourage students to 1) draw  LARGE (fill the sheet) and 2) don’t add too many tiny details.

I model drawing with an eraser: draw layout lines on the black paper only using the eraser.  If you mess up, just wipe away the rubbings and try again.

After students draw with pencil, they should go over their pencil lines with black oil pastel. Color in the portraits with chalk pastel. As a final step, retrace the oil pastel lines a second time.

Spray with hairspray or other fixative to prevent smearing (note: this will dull colors somewhat).


This art project is adapted from the Arts Attack curriculum. In addition to my reference photos and the Arts Attack drawing aids, I offered three step-by-step handouts from the library book How to Draw Egypt’s Sights and Symbols (ISBN 978-0823966820).

Pinterest bonus: here are some ancient Egyptian pins that I have collected for next year:

You can’t go wrong! Kids LOVE ancient Egypt. Enjoy!

Sport Trophies for Fifth Grade: Update


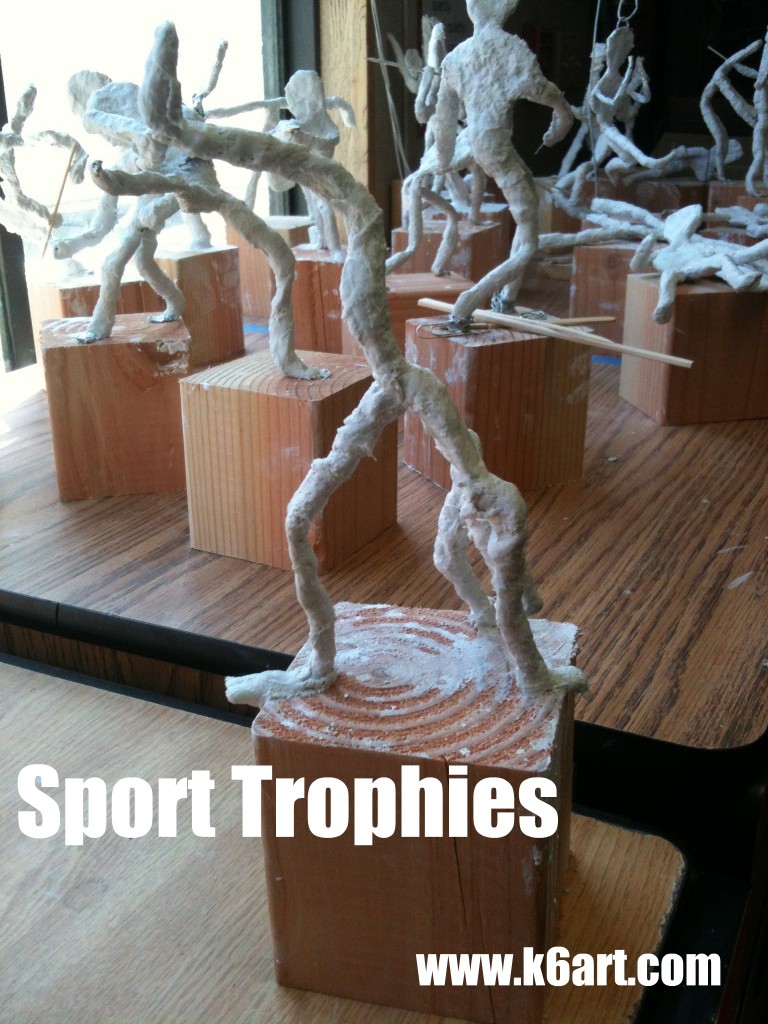
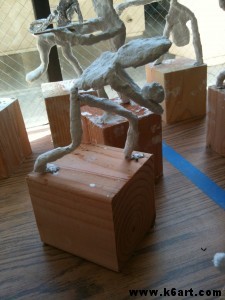
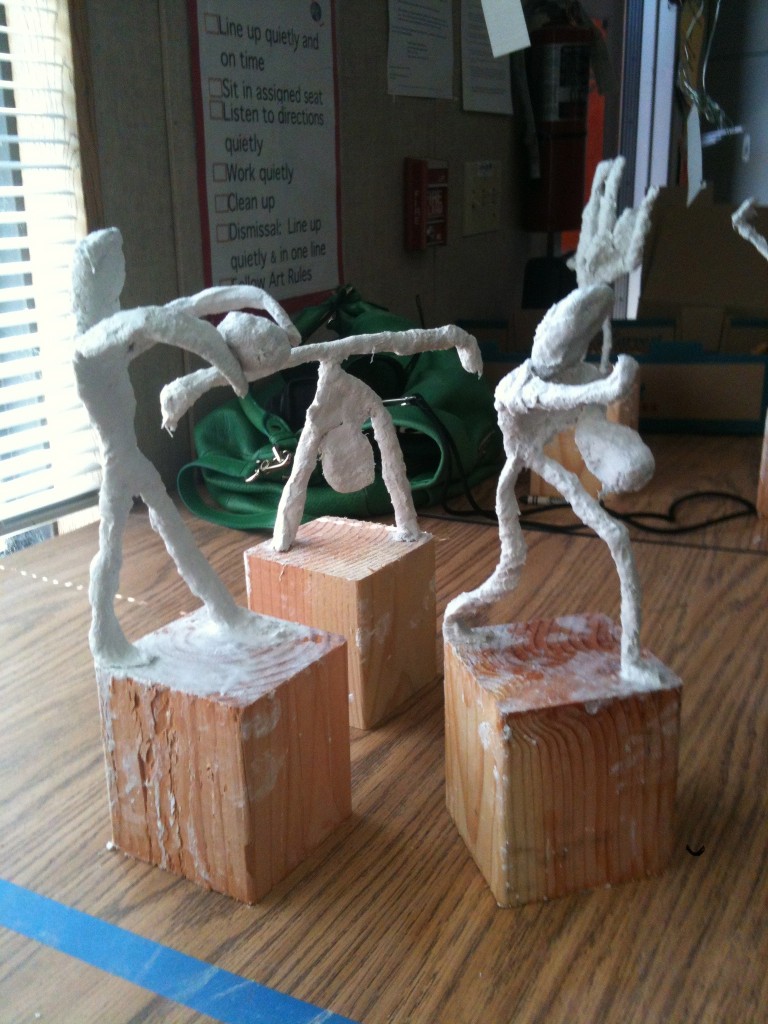
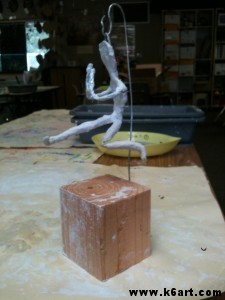
This week the fifth graders continued work on their spectacular sport trophies. The wire and foil figures are now posed and wrapped with plaster wrap. Almost all have been stapled to wooden bases. Our fifth graders have experience working with plaster (see this post and this post) so almost all finished wrapping the figures during our 40 minute class.

Volleyball

Don’t you love the poses and accessories?

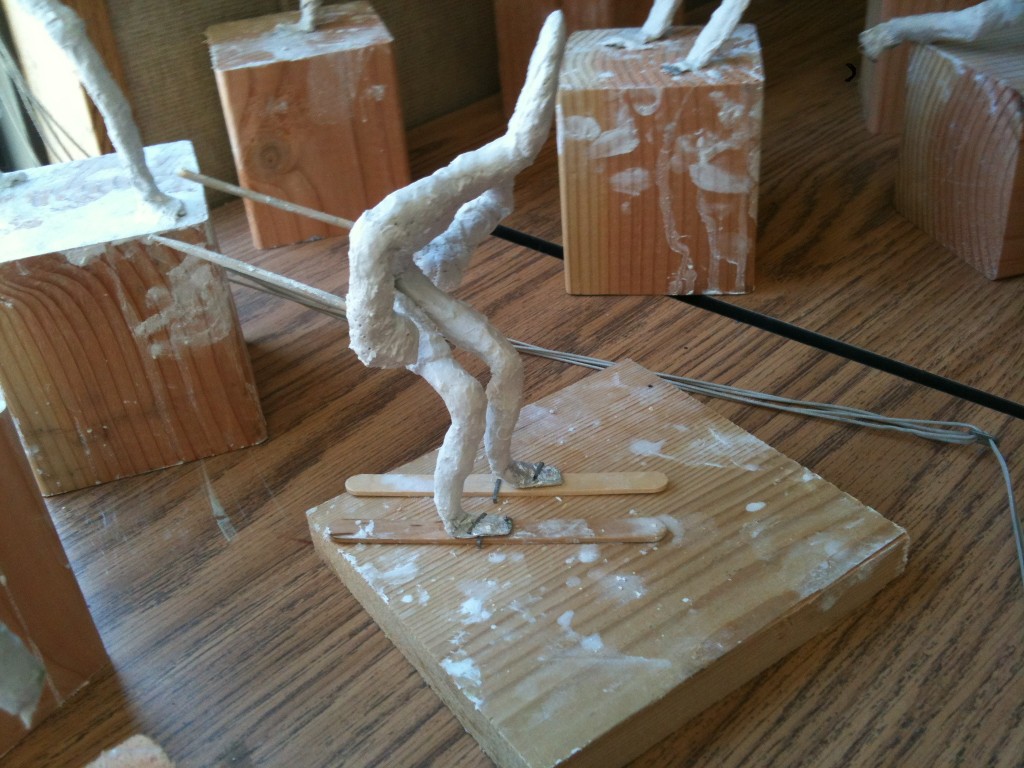
Skier with popsicle stick skis and bamboo skewer poles.


Here’s a ‘wrap up’ (get it?) of all the steps so far:

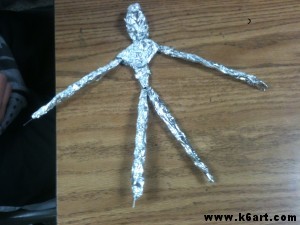
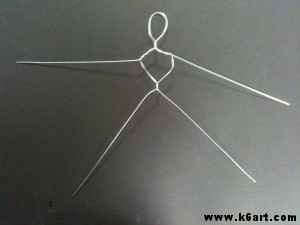
wire armature made from two pieces of 18 inch pre-cut floral wire

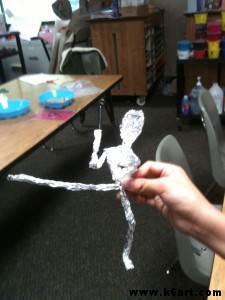
Wrap wire with foil, trim arms

Wrap with plaster wrap and mount

UPDATE: see the finished Olympic trophies in this post!


NOTE: I used three basic supplies for these sport sculptures:

  • Plaster wrap
  • Pre-cut floral wire (aka stem wire)
  • Pre-cut aluminum foil

Pacon 52720 Plast’r Craft Plaster Impregnated Gauze Strips, 20 lbs.

 18″ Pre-Cut Stem (Floral) wire 20 Gauge Bright Silver

(similar product available at Michaels and Wal-Mart craft department)

Pre-cut Aluminum Foil Popup Sheets

(similar product available at Costco and Smart & Final)


Related Posts Plugin for WordPress, Blogger...