Video Lesson: Flower Fields in One-Point Perspective

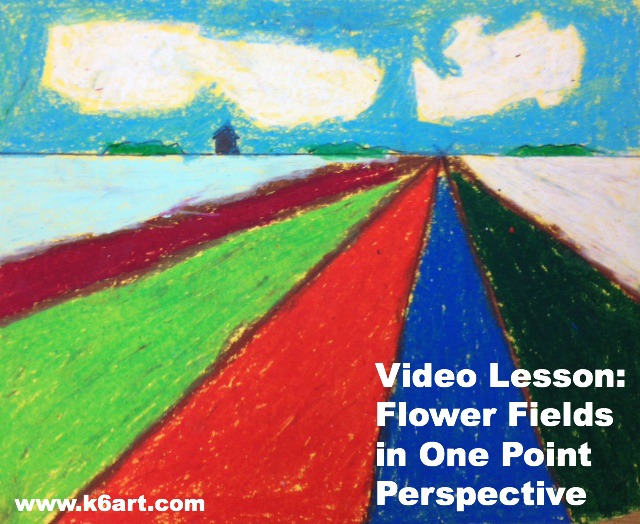
flower fields in one point perspective

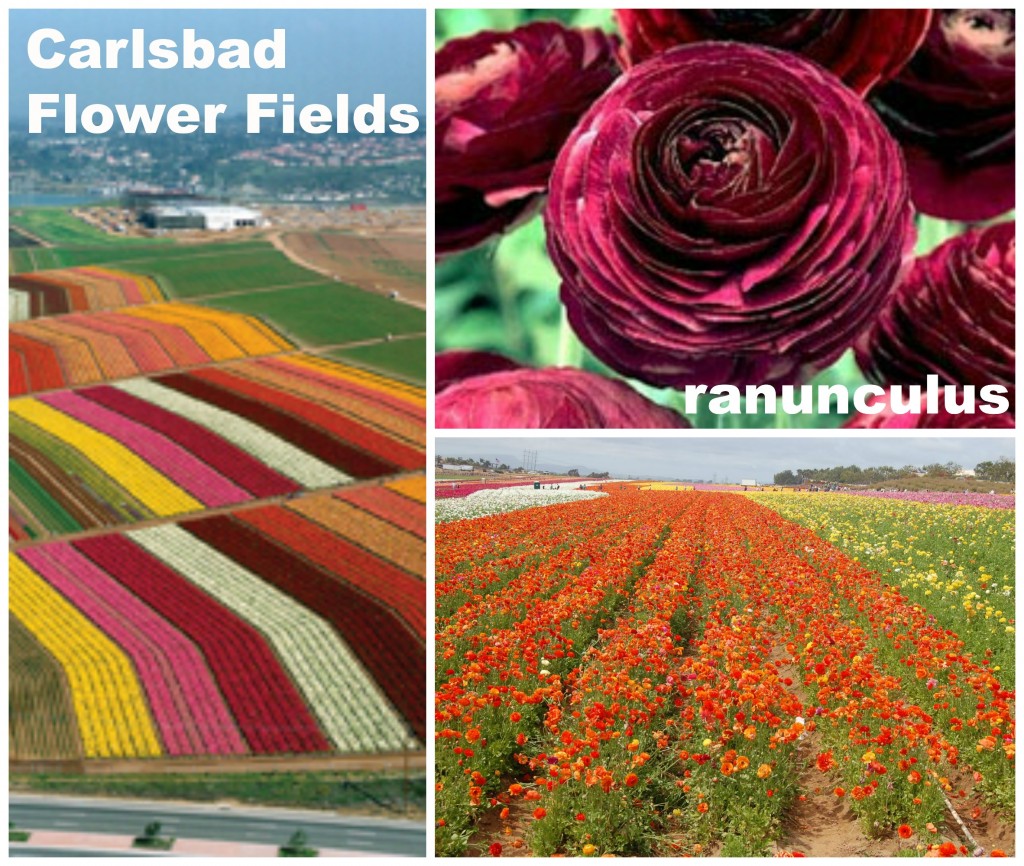
Spring is here. This month the beautiful Flower Fields in Carlsbad, California burst into bloom.

Flower Fields in Carlsbad, CA. Photo sources: bloomingbulbs.com;

Flower Fields in Carlsbad, CA. Photo sources: bloomingbulbs.com;

The fields are filled with colorful ranunculus flowers. Each spring families throughout San Diego trek to the Flower Fields to admire their beauty. This outing is very popular – a show of hands revealed almost all my 5th and 6th graders had visited the Flower Fields.

We drew the flower fields in one-point perspective to create an illusion of depth. We used colored 9″x12″ construction paper, rulers, pencils and erasers and oil pastels. In this 13 minute video, I demonstrate drawing the horizon line, vanishing point, and orthogonals to create the illusion of depth.

https://www.youtube.com/watch?v=gJ7NYjGPY0c

Thanks to Hope Knight at Mrs. Knight’s Smartest Artists for this lesson. For similar lessons using markers check out this post on A Faithful Attempt and this post on Kids Artists.

Enjoy!

The Magic Pear: Easy Drawing Project for Kindergarten

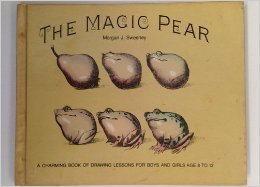
The Magic Pear by Morgan Sweeney

The Magic Pear by Morgan Sweeney

If you want an easy art lesson or sub plan that kindergarteners will LOVE, try The Magic Pear.

The Magic Pear by Morgan Sweeney has 12 step-by-step drawing lessons, all beginning with the basic pear shape.

First of all, I cut a set of pear tracers. It took 20 minutes to make 30 tagboard tracers (tip: I was able to stack my tagboard and cut three pears at a time).

When the kindergarteners arrived, I gave each student a Magic Pear tracer, a piece of copy paper and a pencil.

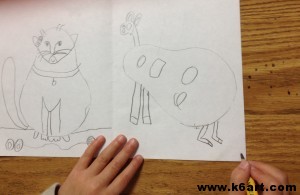
Kindergarteners used the Magic Pear tracer for directed draws, and as a basis for their own drawings.

Kindergarteners used the Magic Pear tracer for directed drawing, and as a basis for their own drawings.


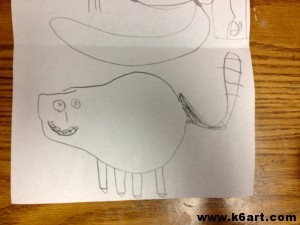
The Magic Horse

The Magic Cat and the Magic Horse

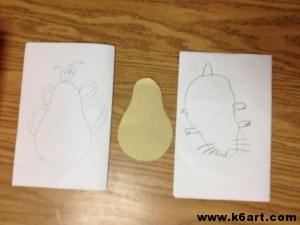
We folded the copy paper. They traced the Magic Pear, then added features in a directed draw. Together we made a cat and a mouse. Then the students created their own art using the Magic Pear. The kindergarteners created a total four Magic Pear drawings, one on each page of their little books.

Kindergarten Magic Pear drawing

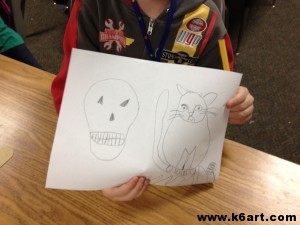
Imaginative! The Magic Skull!

Imaginative! The Magic Skull!

All ready to color with crayons!

You really don’t need the book to do this art lesson. Just make up some Magic Pear tracers and come up with your own drawing activity. Trust me, the kindergarteners will love it!

Enjoy!


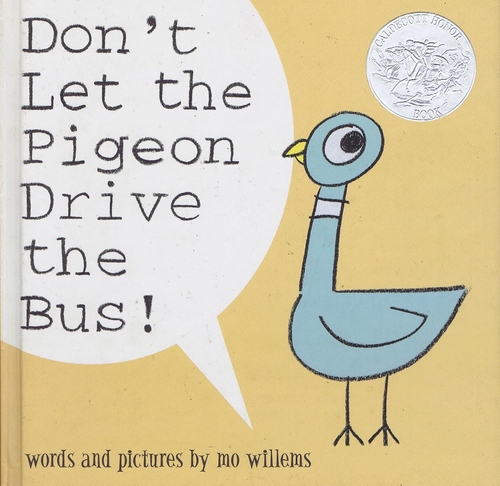
Don’t Let the Pigeon Drive the Bus!

don't let the pigeon

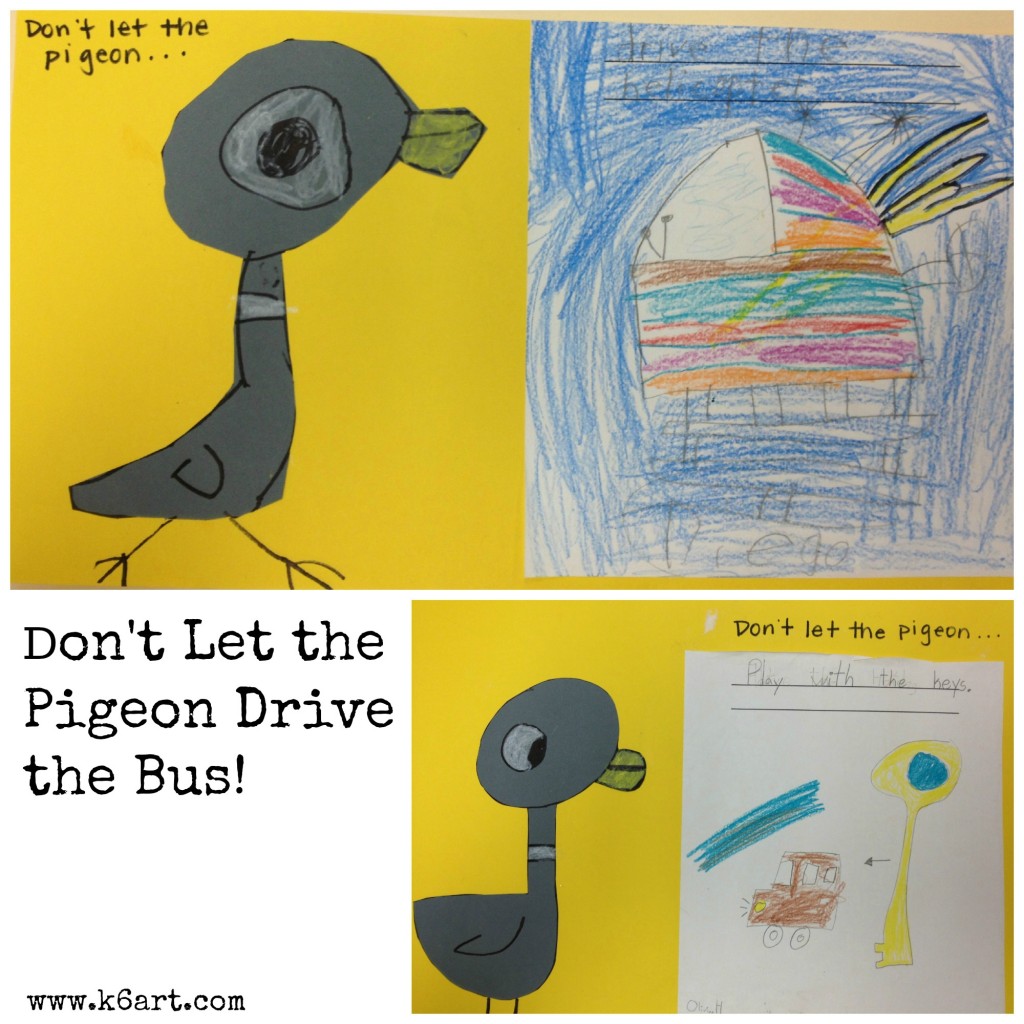
Don’t let that naughty pigeon drive your helicopter or play with the car keys!


Apparently I am the last parent on earth who hadn’t read Don’t Let the Pigeon Drive the Bus! by Mo Willems. I will use the lame excuse that my sons are teenagers, and that this hilarious book wasn’t yet written when they were in their prime story time years. I became enlightened when I saw this post on the Shine Brite Zamorano blog. 

This book is hilarious. The pigeon is simple to draw – he is a nice collection of circles and lines. I’ve included a YouTube video so you can do this project right now.

71ShXn7qtoL

http://www.youtube.com/watch?v=V10jhsNIMI8

Materials

  • 9″x12″ gray construction paper
  • yellow and white Construction Paper Crayons
  • Sharpie
  • 12″x18″ construction paper for background
  • scissors
  • glue sticks
  • copy paper, 8.5″x11″
  • crayons or markers

Day 1: Read book. Discuss naughty pigeon behavior! Pass out copy paper. Use your crayons or markers to draw something the pigeon should not be touching.

Day 2: Draw pigeon on gray construction paper using Sharpie. Note circular eye and pupil, egg-shaped head, and simple half circle for the body. Skip the legs. Color in the eye, beak and neck band with construction paper crayons.

Now cut out the pigeon. Glue the pigeon and drawing to a large piece of colored construction paper. Use Sharpie to draw legs on the paper.

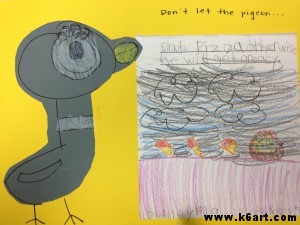
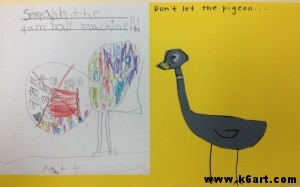
Hilarious first grade results:

‘Don’t let the pigeon eat pizza otherwise he will get greasy’

Don't let the pigeon smash the gum ball machine.

Don’t let the pigeon smash the gum ball machine.

This could definitely be modified for a sub plan: 1) show the video/read the book 2) do a directed draw of pigeon 3) have students show pigeon doing something naughty.

If you want to know a little more about author Mo Willems, check out this video:


Enjoy!


Sub Plan: Matisse Vase of Flowers

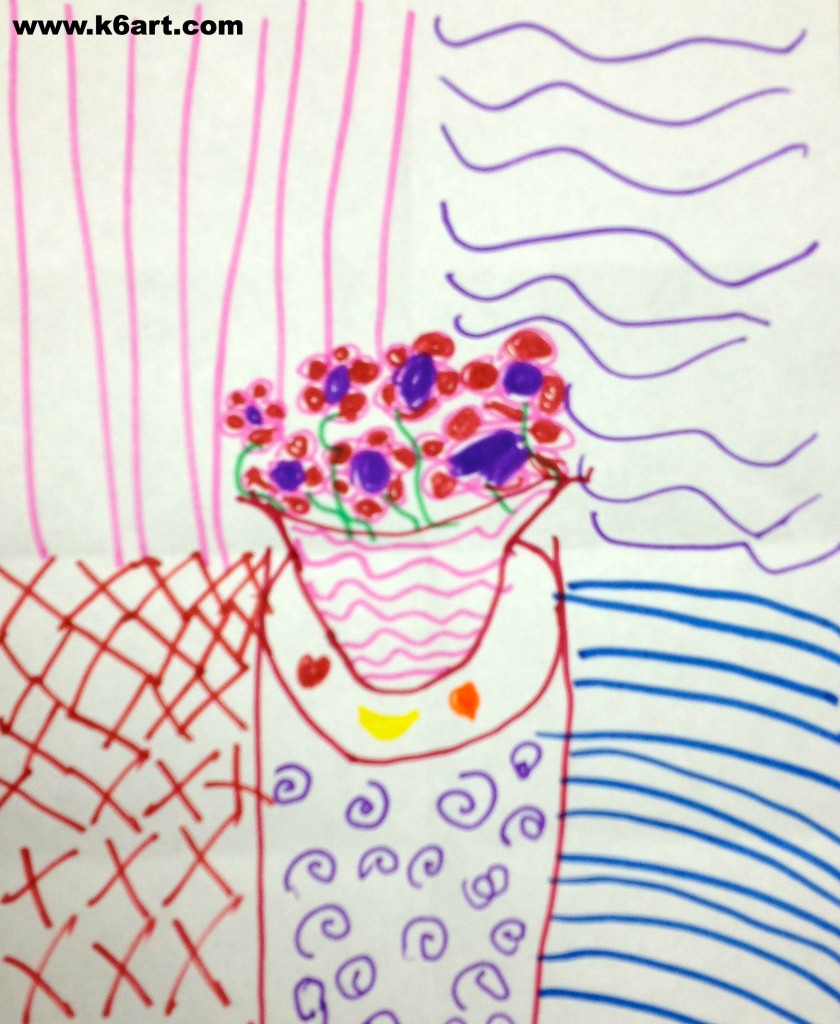
Here is a quick Matisse-inspired lesson suitable for grades K-1. All you need is copy paper and markers. It is just right for a substitute teacher, or anytime you need a low-mess 40-minute project.

matisse vase 2

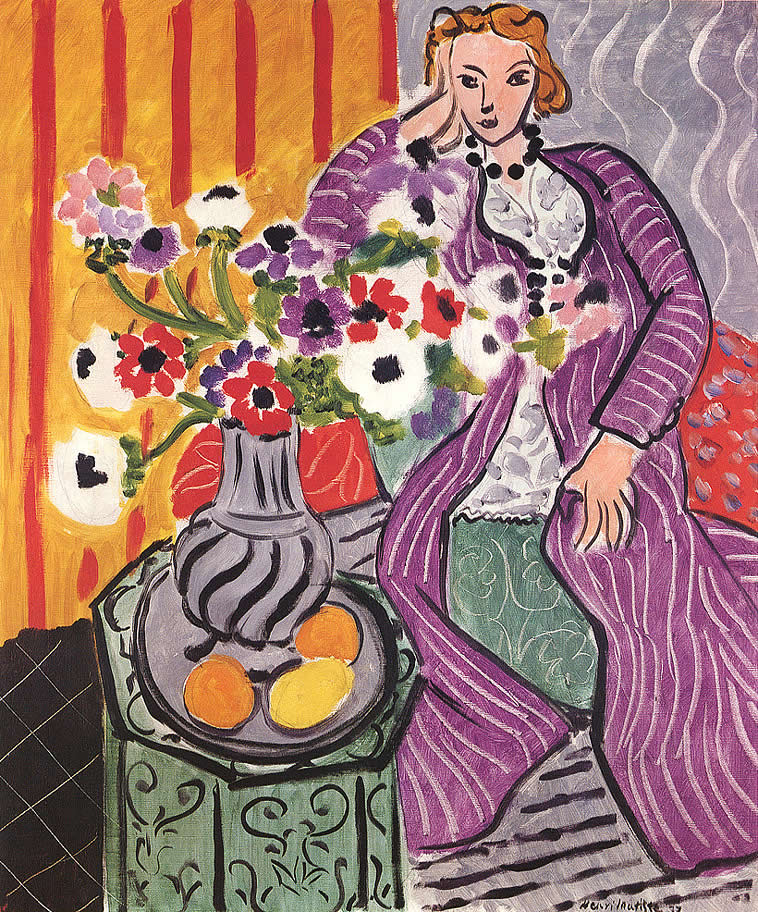
We began by looking at this painting by Matisse.

Matisse's Woman in a Purple Dress

Matisse ‘Purple Robe and Anemones’ 1937. Source: wikipaintings.org

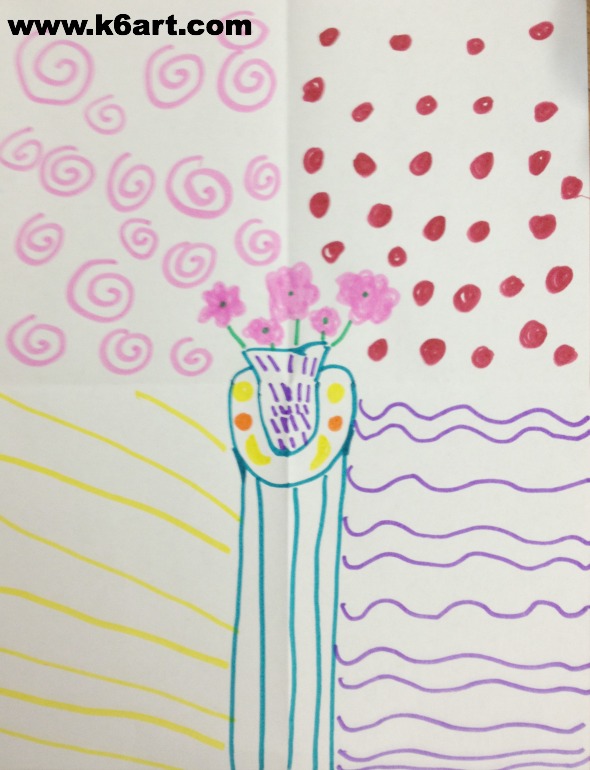
We identified patterns in the artwork: I said, “thumbs up if you can see an orange striped wall…a vase with wavy stripes…a floor with black diamonds” etc.  We noticed Matisse used a lot of colors as well.  Next students folded the copy paper into quarters. I modeled how to draw of a vase of flowers on a pedestal in the very center of the paper.

Then the children drew a different colored pattern in each quadrant of the paper. They added a pattern to the pedestal and base as well. Some even added fruit to the pedestal, just like Matisse.

matisse vase of flowers 1

We had enough time to watch this cute video of When Pigasso Met Mootisse by Nina Laden (via Storylineonline.net).

Enjoy!


Do you have a favorite sub plan? 


Colorful Landscape Name Art

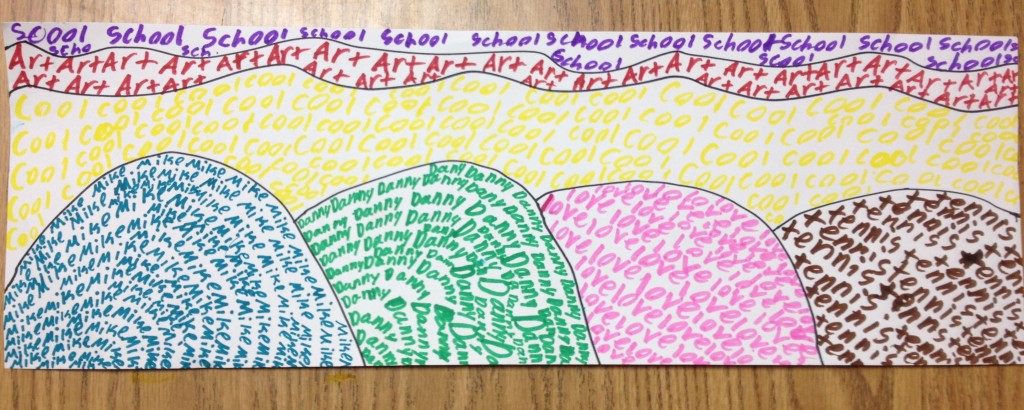
Fourth graders use markers to make landscape name art. Allow two 40-minute sessions.


Looking for quick,  fun name art project? Here is the colorful project that gives 100% success and lets you get to know your students.

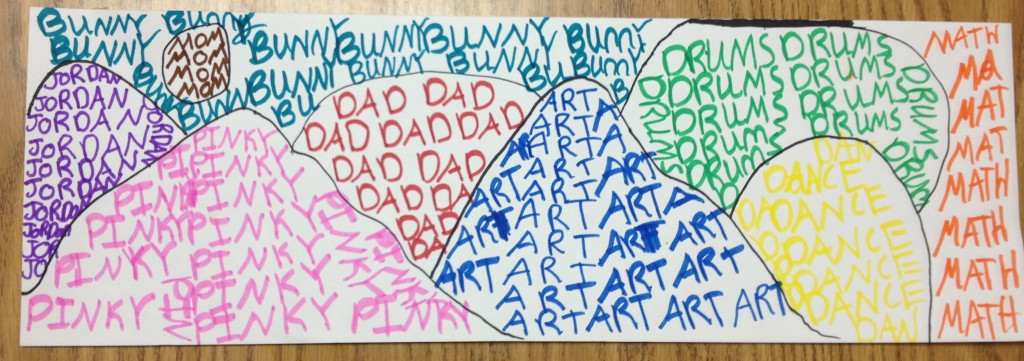
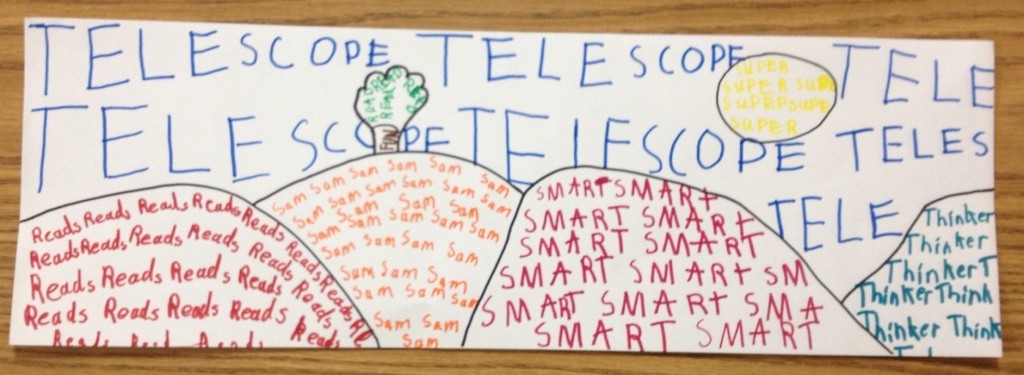
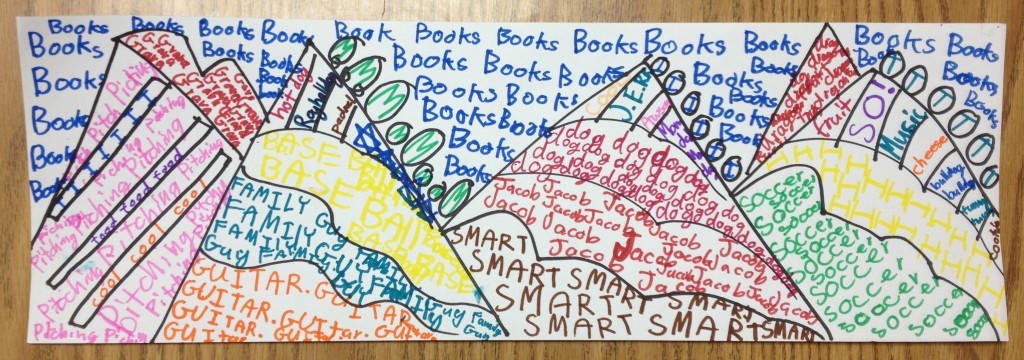
Students made a simple landscapes using curved lines. Each section was filled with a single repeated word. One section had to filled with the student’s name; the other sections had to be filled with single repeated words that described the student in some way. Students incorporated their pets, favorite subjects (yay art!), sports, activities, family members and favorite foods.

Jordan included her dog, Pinky, in her name art.

Sam likes telescopes.


I love how Jacob personalized his landscape.

This lesson is adapted from this landscape lesson plan on the Arteascoula blog (via Deep Space Sparkle).


P.S. I love name art!  I started a name art board on Pinterest to help plan our fall name art unit.

Related Posts Plugin for WordPress, Blogger...