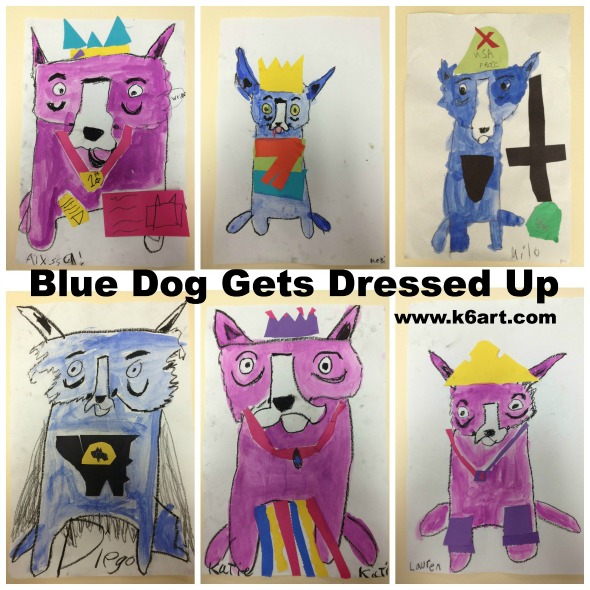
 Our first graders learned about artist George Rodrigue’s Blue Dog. They had a fabulous time creating their own blue (or green or magenta) dogs and dressing them up in paper collage. The George Rodrigue Foundation website has every resource you could possibly need. I downloaded the Blue Dog PowerPoint slideshow, and learned the Blue Dog was inspired by Rodrigue’s late dog, Tiffany. The PowerPoint has lots of ‘dressed up’ Blue Dog paintings, including a secret agent dog, hula dog and motorcycle dog. Of course the first graders LOVED that! I also showed students the first few minutes of this video from CBS Sunday Morning.
Now on to the art project!
Materials
- white sulphite drawing paper – 12″ x 18″ (or other white paper that is strong enough for painting)
- black crayons
- tempera cakes
- water cups and brushes
- glue sticks
- scissors
- colored construction paper scraps
Day 1: Students watched Blue Dog PowerPoint, then did a directed draw of the blue dog using black crayon. Next they painted the dog in a single solid color using tempera cakes. Amazingly, this took only 40 minutes thanks to the easy-to-handle tempera cakes.
Day 2: Students decorated their dogs using scrap paper and glue stick. 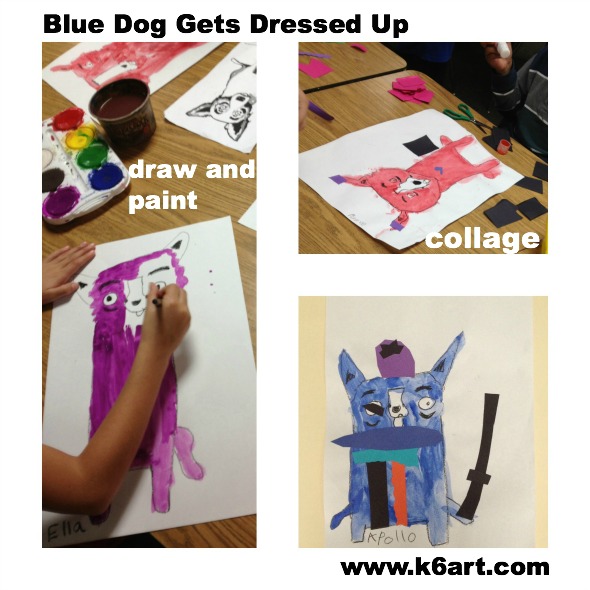
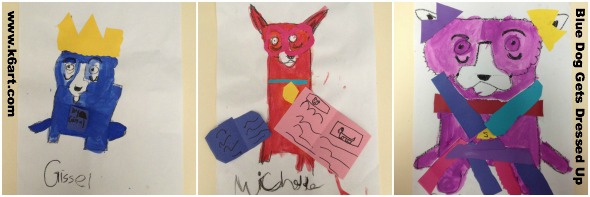 This was a popular and super successful project with easy clean up. I will definitely repeat next year.
Enjoy!
Bonus: FREE Blue Dog app on the iTunes store!
Blue Dog Books You Might Like:


