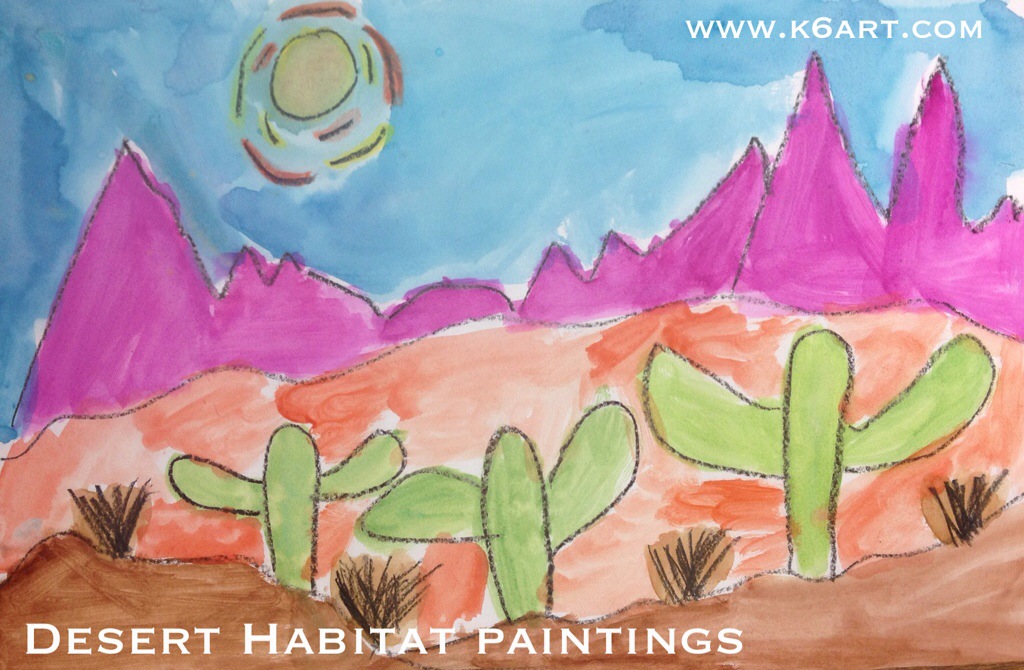
Each year our third graders study habitats (also known as biomes) in the science lab, in the General Ed classroom, and in the art room. These colorful watercolor paintings are our contribution to the habitat unit.
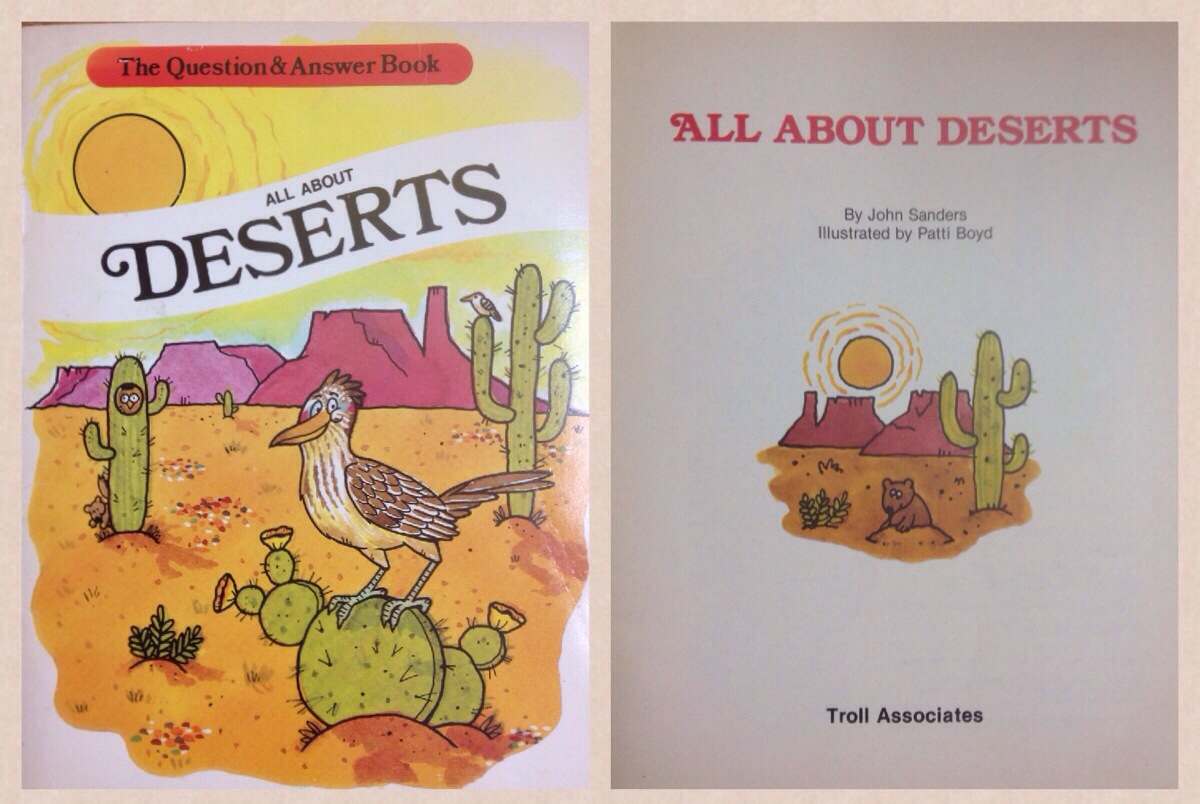
The book was full of fun facts and charming illustrations. We looked carefully at the desert landscape illustrations and identified foreground, middle ground and background. I emphasized that to create a sense of depth, items in the foreground should appear larger and more detailed while items in the background should appear smaller. I modeled several simple line drawings so they could get the hang of it.
We used just three materials: sulphite drawing paper, black crayons, and pan watercolor. We created the black crayon drawing on day one and painted it on day two.
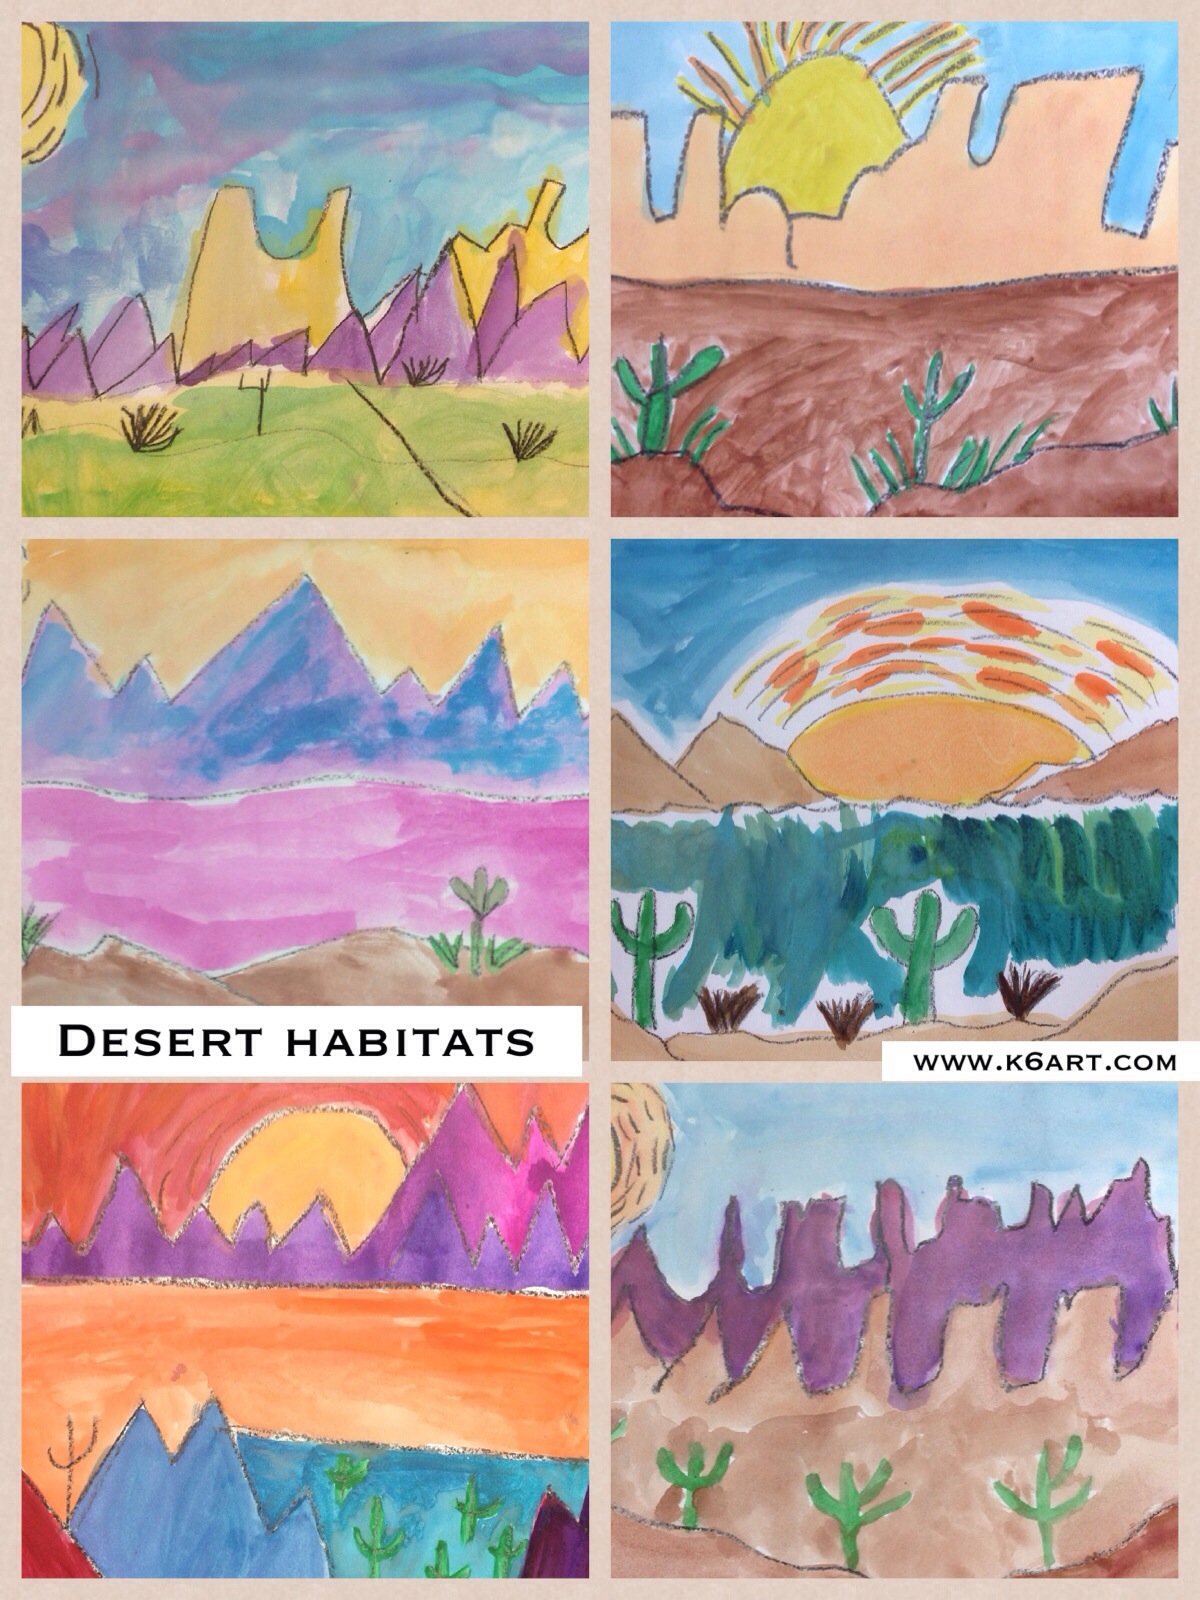
Third grade results:
I am happy to report that this project was highly successful with the third graders.
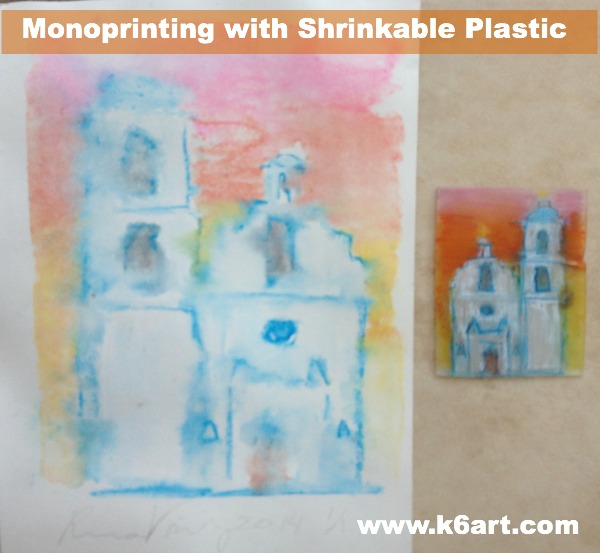
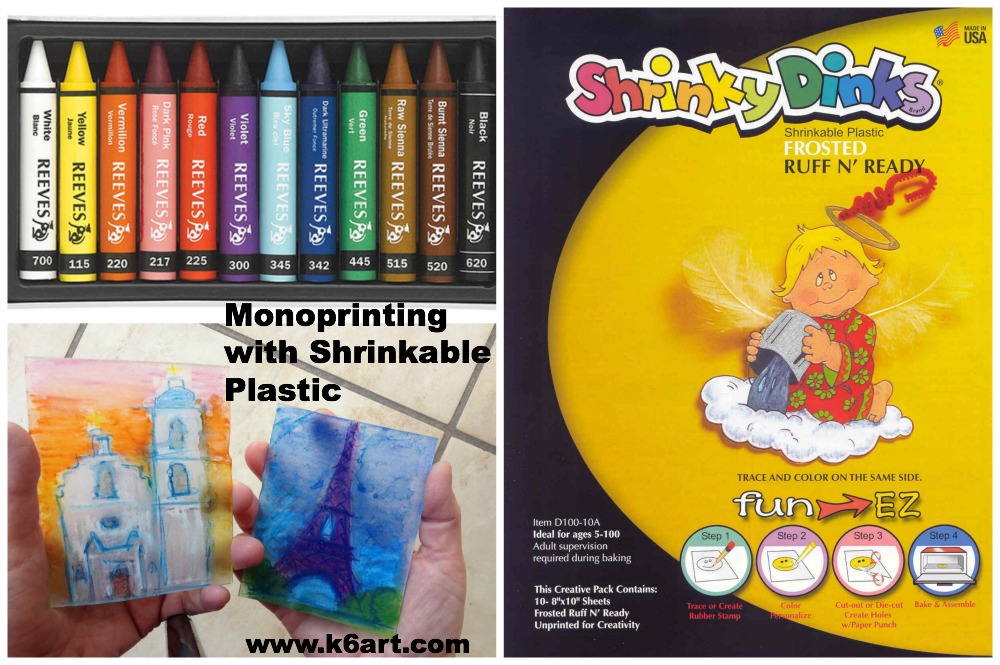
Isn’t it wonderful when you have time to make your own art? I experimented with mono printing this week as part of my homework for the Artsy Book Club. I used Shrinky Dink shrinkable plastic for my printing plate. It worked beautifully as a plate, plus I got to shrink it in the oven after I was done!
You’ll need wax pastels, frosted Shrinky Dinks, watercolor paper, and an oven.
Directions:
Make a sketch on copy paper
Place the shrinkable plastic (AKA the printing plate) on top of the sketch
Trace sketch with wax pastel, then color background/negative space
Brush plastic with wet paintbrush to blend colors
Dampen paper in dish pan of water, blot in towel
Place dampened watercolor paper on plastic
Rub
Pull the print
Add more wax pastel (in select areas) to the wet print.
You can re-use the full size shrinkable plastic plate over and over; just re-color for every new mono print.
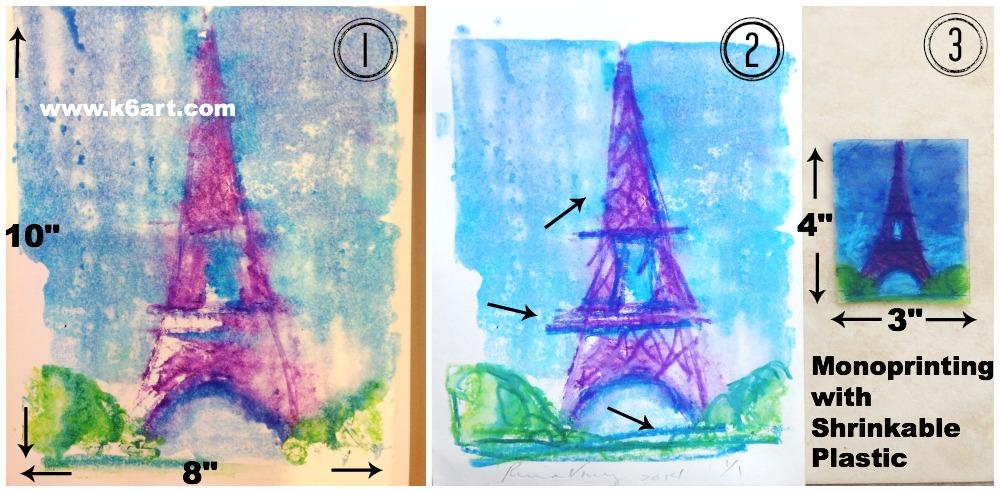
1. Monoprint onto watercolor paper. 2. Rework wet print with wax pastels 3. Rework plastic plate and shrink in oven.
Shrink the printing plate
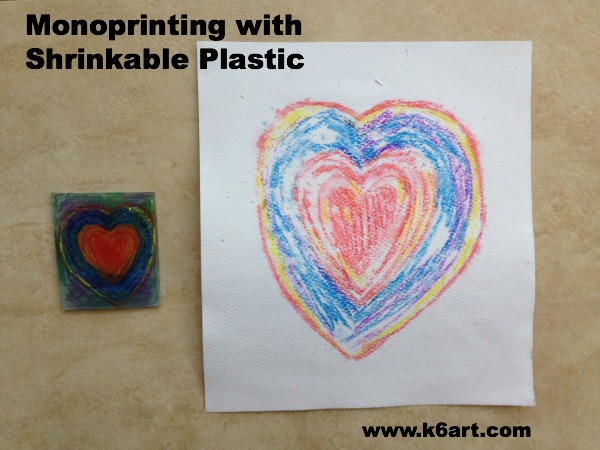
Ready for even more fun? When you are done printing, re-color the Shrinky Dink printing plate and shrunk it in the oven.
Yes, that’s right: I shrunk my printing plate in the oven. It’s beautiful! The colors are concentrated and rich. Just follow the directions on the Shrinky Dink package.
This mono print was made with watercolor pencils onto a scrap of dampened mat board. Time to shrink the printing plate!
Monoprinting with watercolor pencils
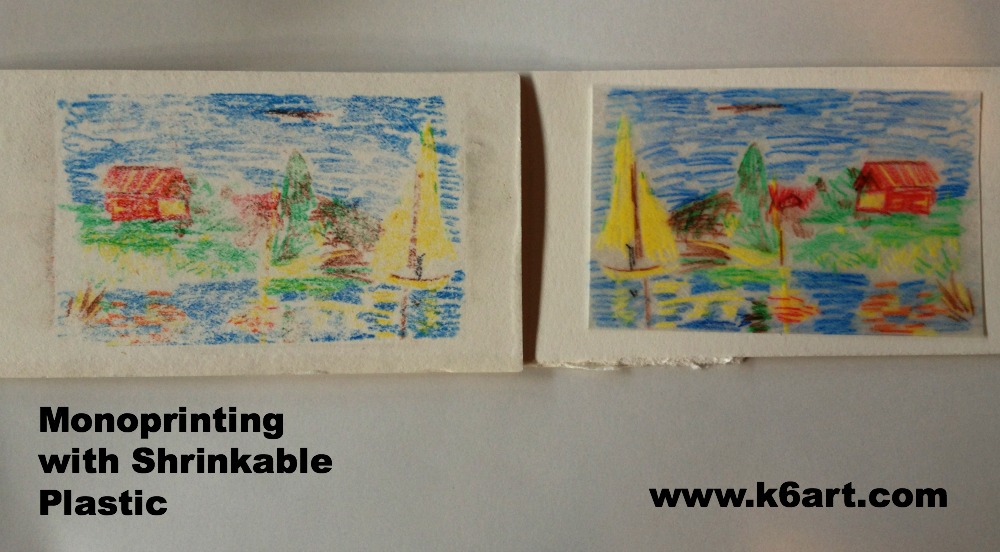
I used Reeves Watercolor Pencils to trace an impressionist painting onto my frosted Shrinky Dink plate. Then I printed onto a scrap of dampened mat board.
The printing plate started as a 1/4 sheet (4″x5″) of Shrinky Dink plastic. After printing, the plate shrunk to 1.5″x2″ Student work.
Try a mini monoprint with the kids
I used a full 8″x10″ sheet of Shrinky Dink plastic for my architectural mono prints, and I had to shrink each plate individually. This is not practical at school. Instead, try a 1/4 sheet of shrinkable plastic for the printing plate. I can shrink about 7 at a time on a full size cookie sheet. This is also a great way to use up scraps of watercolor paper.
Relax and enjoy the process…
These mono prints are somewhat experimental. You never know exactly what you’ll get. Try not to get caught up in perfectionism. If a print is less than perfect, rework it.
Thanks to Col Art for the samples of Reeves Watercolor Pencils and Reeves Wax Pastels. Thanks to awesome art teacher/blogger Cassie Stevens for creating our Artsy Book Club!
Enjoy!
What is the weirdest printing project you’ve ever tried?
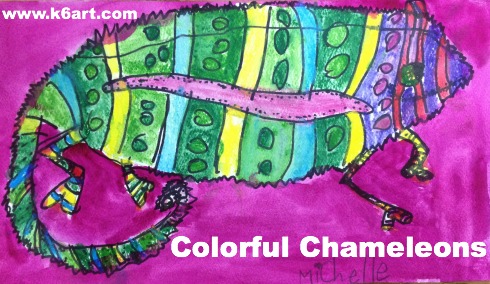
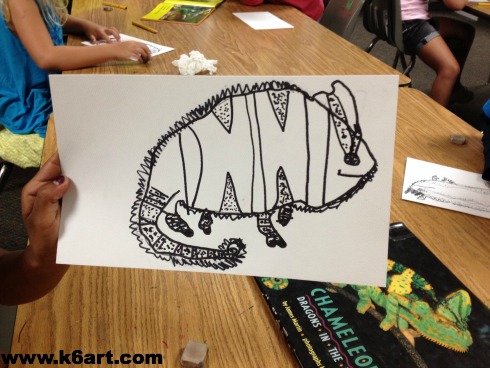
We watched the ‘Super Chameleon’ video on YouTube. The kids were amazed to see the chameleon change colors over and over. Then we took a close look at the chameleon books from our school’s media center. Next it was on to a directed draw. I modeled the basic contour of the chameleon’s head, body, tail and legs. Kids started in pencil, then outlined in Sharpie. They were free to use Sharpie to add their own details (stripes, patterns, dots, spikes) based on their reference photos.
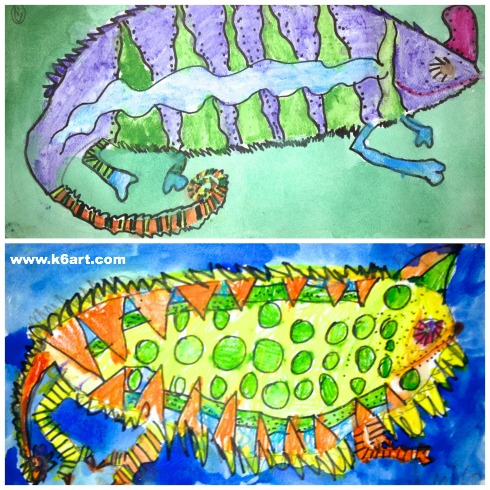
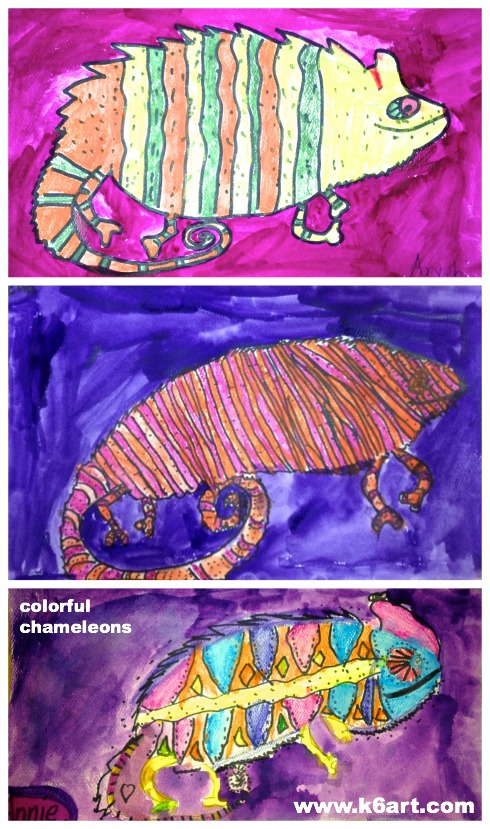
Day 2: Color your chameleon
Kids used watercolor pencils dipped in water to color in the chameleons. The watercolor pencils were great for coloring in all the stripes and little spaces. The colors turned out really vibrant! The final step was to paint the background a single color using pan watercolors.
I encouraged everyone to stick to an analogous color scheme for their chameleons. Some kids did, some didn’t, but they all turned out beautiful. After all, a chameleon can be any color.
http://www.youtube.com/watch?v=KMT1FLzEn9I
We tried a similar chameleon project last year using Crayola markers: click here to see more results.
Overall this was a popular, super successful project with minimal prep and clean up. It was my first watercolor pencil project, but it won’t be my last.
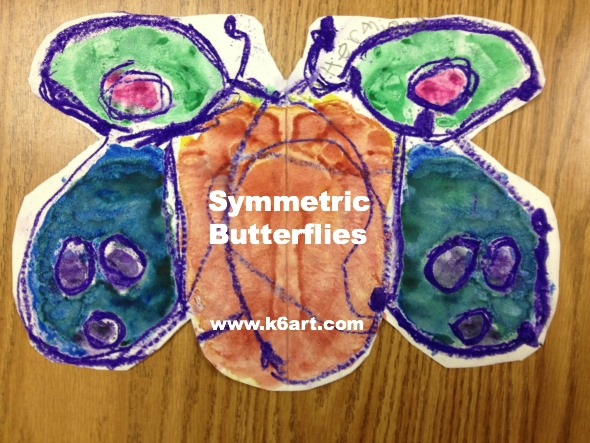
Here is a nice butterfly watercolor resist project that teaches symmetry. It was very popular with the kindergarteners and first graders.
Materials:
white paper, 9″x12″
oil pastels in bright or dark colors (NO yellow, light pink, light blue, white, etc.)
rubbing tool – optional (I use the flat side of a beginner pencil)
watercolors
Optional: scissors, glue stick and colored paper for mounting
Discuss symmetry
Introduce symmetry. We talk about how our faces are symmetric. Then we look at butterflies and identify the line of symmetry.
Create 1/2 butterflies:
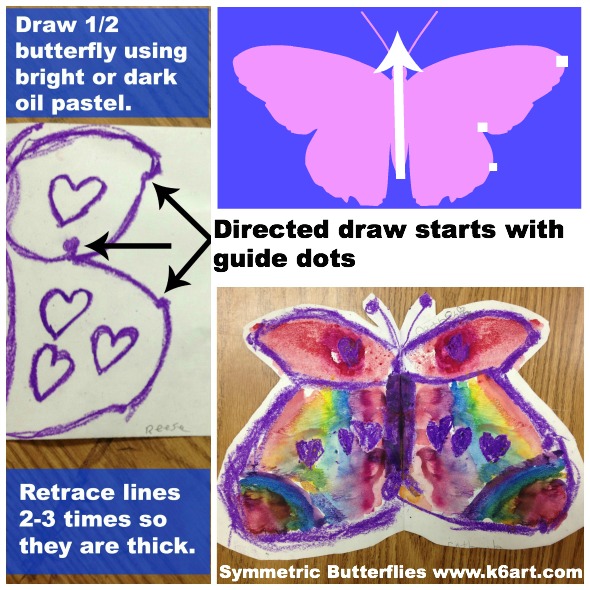
Students fold paper in half ‘the short way’ (aka hamburger fold). Do not unfold paper. Using oil pastel, direct students to create a series of dots on ONE folded half. The students then connect the dots to make a 1/2 butterfly.
Now ask students to trace their lines two more times using that same oil pastel. Students should press hard – oil pastel lines should be thick and dark.
Students can add some simple decorations such as shapes and lines to their 1/2 butterflies. Remember, each decoration must be traced a total of three times.
Ready to rub:
Now students close up their papers so the color is on the inside of their ‘books’. Time to rub HARD. I have students stand up so they can put their whole bodies into it! We use the flat side of a beginner pencil for this. You could use the flat side of a popsicle stick as well.
Now open the ‘book’. Students should see a ‘ghost’ image (faint lines) opposite their oil pastel drawing. You will hear oohs and aahs of amazement!
About 75% see the ghost image the first time they try this. If the oil pastel didn’t transfer, it means a) the students didn’t retrace their lines hard enough and/or 3)the students didn’t rub hard enough. I ask neighbors to help their friends out at this point. On their second try, the remaining students all succeeded.
The next step is to retrace the ghost lines with that same color of oil pastel.
Paint
Finally, paint the butterflies with watercolor. Encourage students to keep their butterflies symmetric – match up the paint colors on the right and left sides of the line of symmetry.
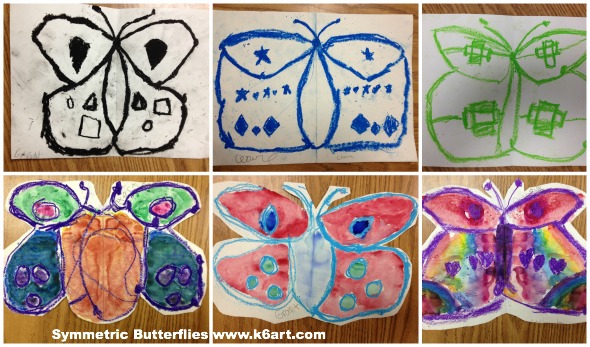
Kindergarten and first grade results
Options for finishing the project: cut out the butterflies, mount on construction paper. Or just trim and stick onto your window or bulletin board.
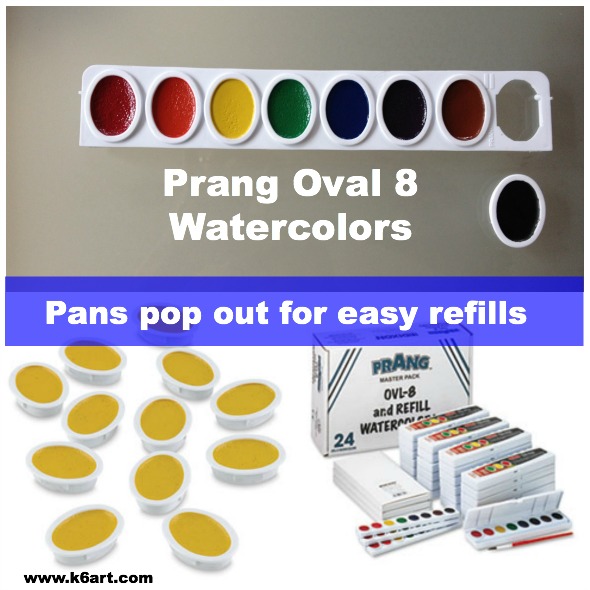
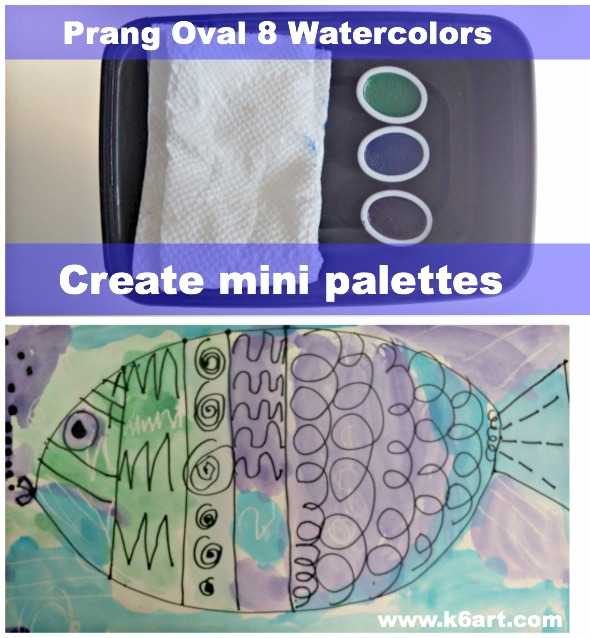
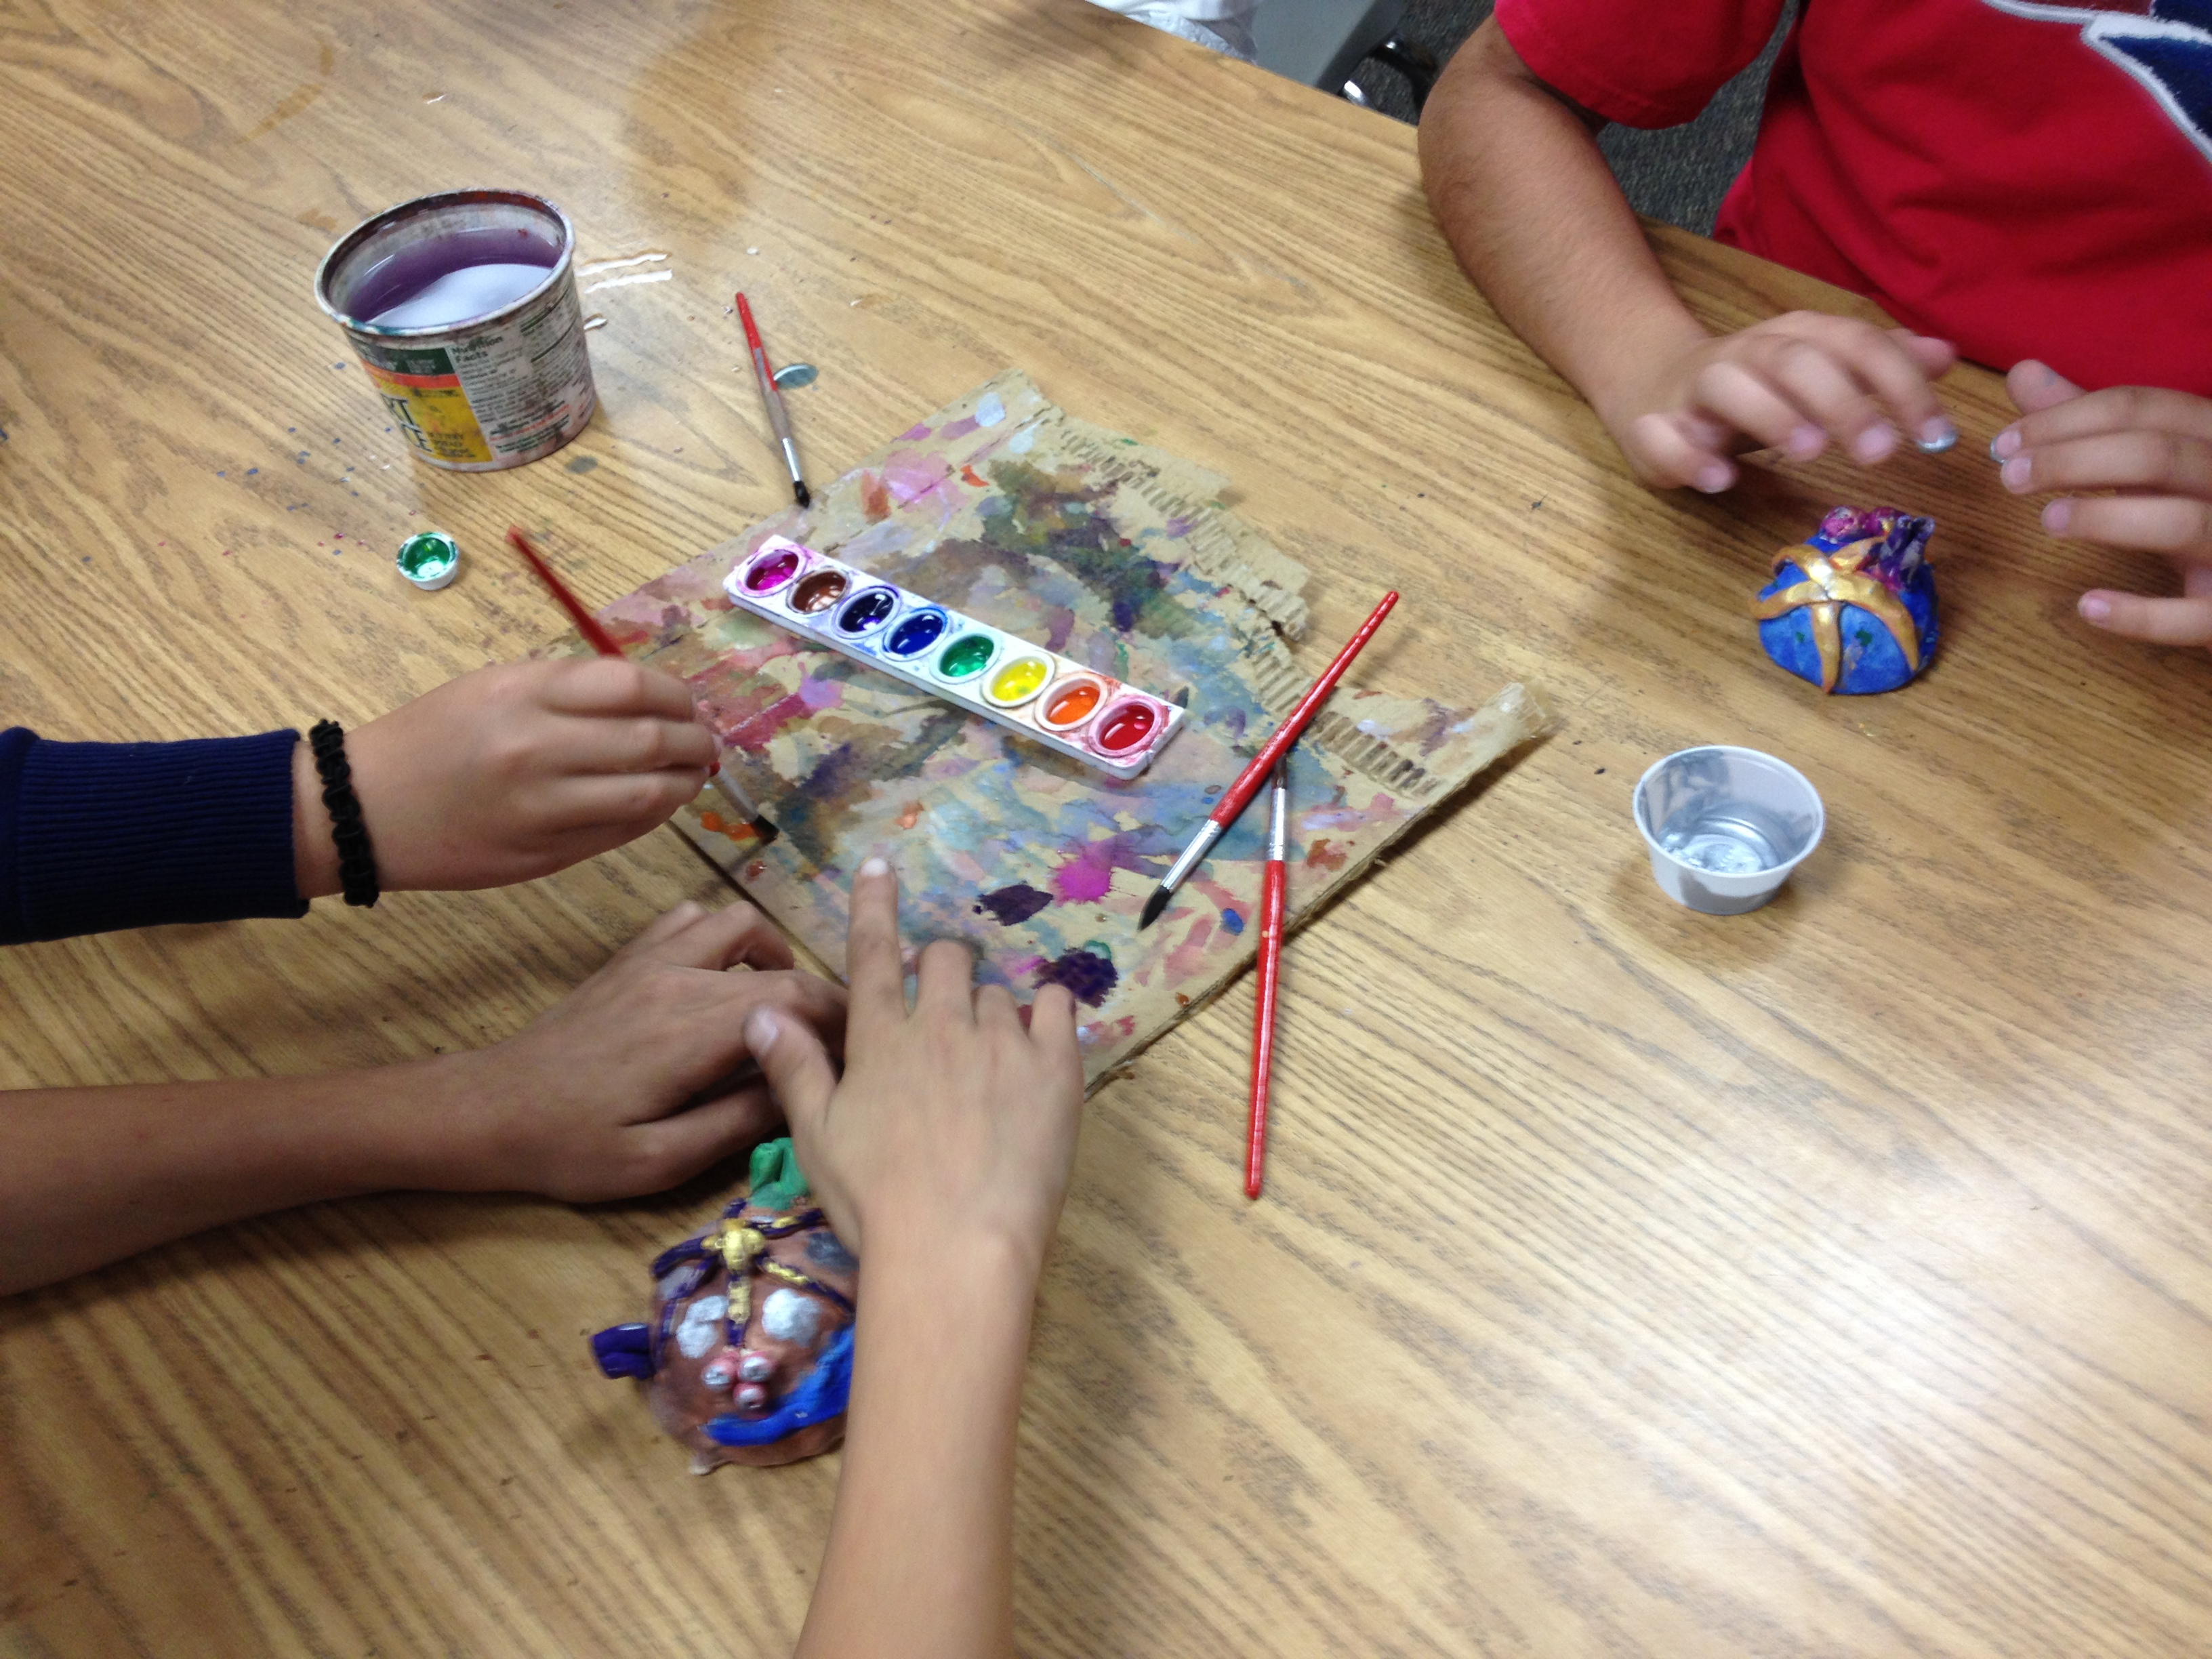
The folks at Prang/Dixon Ticonderoga just sent me a big box of back-to-school supplies to test out. First up: Prang Oval-8 watercolors.
I have used these watercolors for the past nine years. You know what I love about them? You can pop out individual watercolors and replace them with fresh pans.
Customizable
I love to customize my Oval-8s. I prefer to pop out and remove the black, and replace it with a pan of special ordered magenta oval refill pans. When the blue gets used up, I replace it with a pan of special ordered turquoise. You can get lots of tertiary color pans for your Oval-8s and customize your watercolor palette.
If you want the whole range of colors, try Prang Oval-16 Pan Watercolor Set, with primary, secondary and tertiary colors (includes the magenta and turquoise).
(note: this post contains compensated affiliate links)
Less waste
Refill strips and individual color pans are available. You generate less waste because you don’t need to replace entire white plastic case, when you run out of watercolors. In addition, the white plastic case is recyclable.
Great for creating mini-palettes for special projects
I use my refills to create mini-palettes of cool colors (or warm colors), especially when I’m working with kindergarteners. For this Rainbow Fish project, I set out individual pans of just the cool colors in small trays.
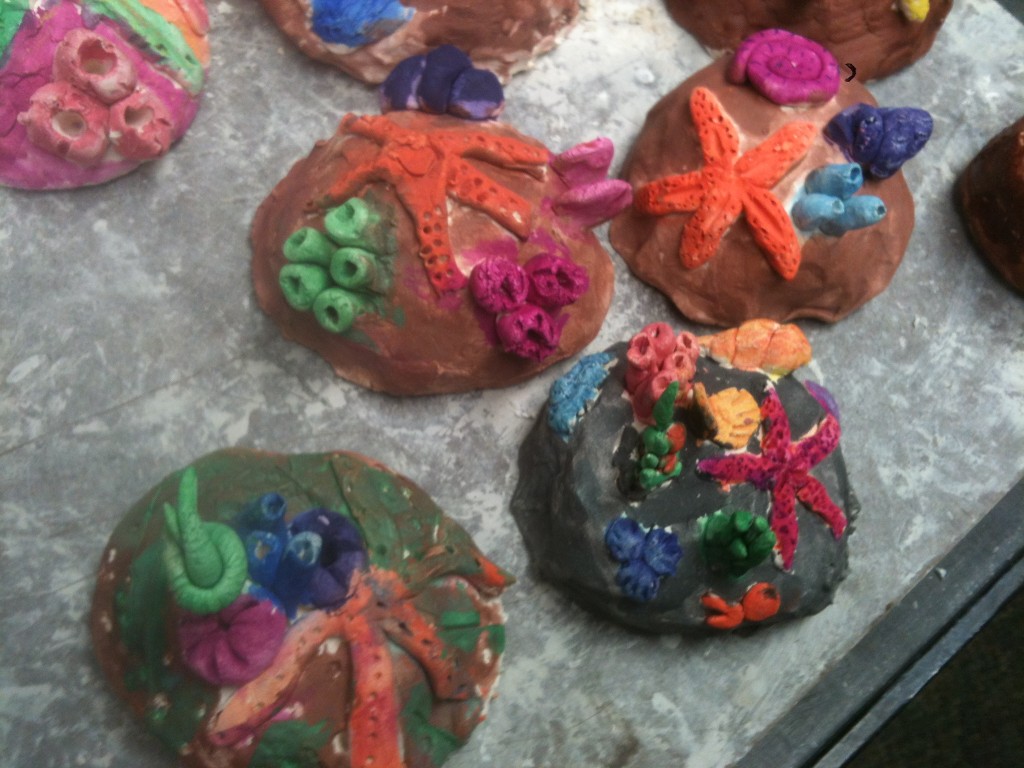
Great on Bisque-fired Clay
Have you ever tried watercolor on bisque-fired clay? Prang Oval 8s look great on our Clay Sea Rocks. So easy!
Bisque-fired clay painted with Prang watercolors (including that magenta!)
Available in class packs
Prang Oval 8s are available in class packs from Amazon, Blick, and many other art supply (and even office supply) catalogs.
Prang also offers ‘Prang Power’ – a frequent buyer program that lets you save points towards school supplies.